Integrating with Drupal
This guide walks you through the process of implementing AI Bot Analytics on your Drupal website using the Writesonic AI Analytics module.
Prerequisites
- An Active Writesonic account
- Admin access to your Drupal website
- Drupal 8.x or higher
- Composer CLI to download the module
- Drush CLI to install/uninstall the module (Optional)
Phase 1: Start in Writesonic
- Head over to the AI Bot Analytics page on Writesonic and choose ‘Drupal’ as provider.
- Click ‘Continue’ to initialize your integration
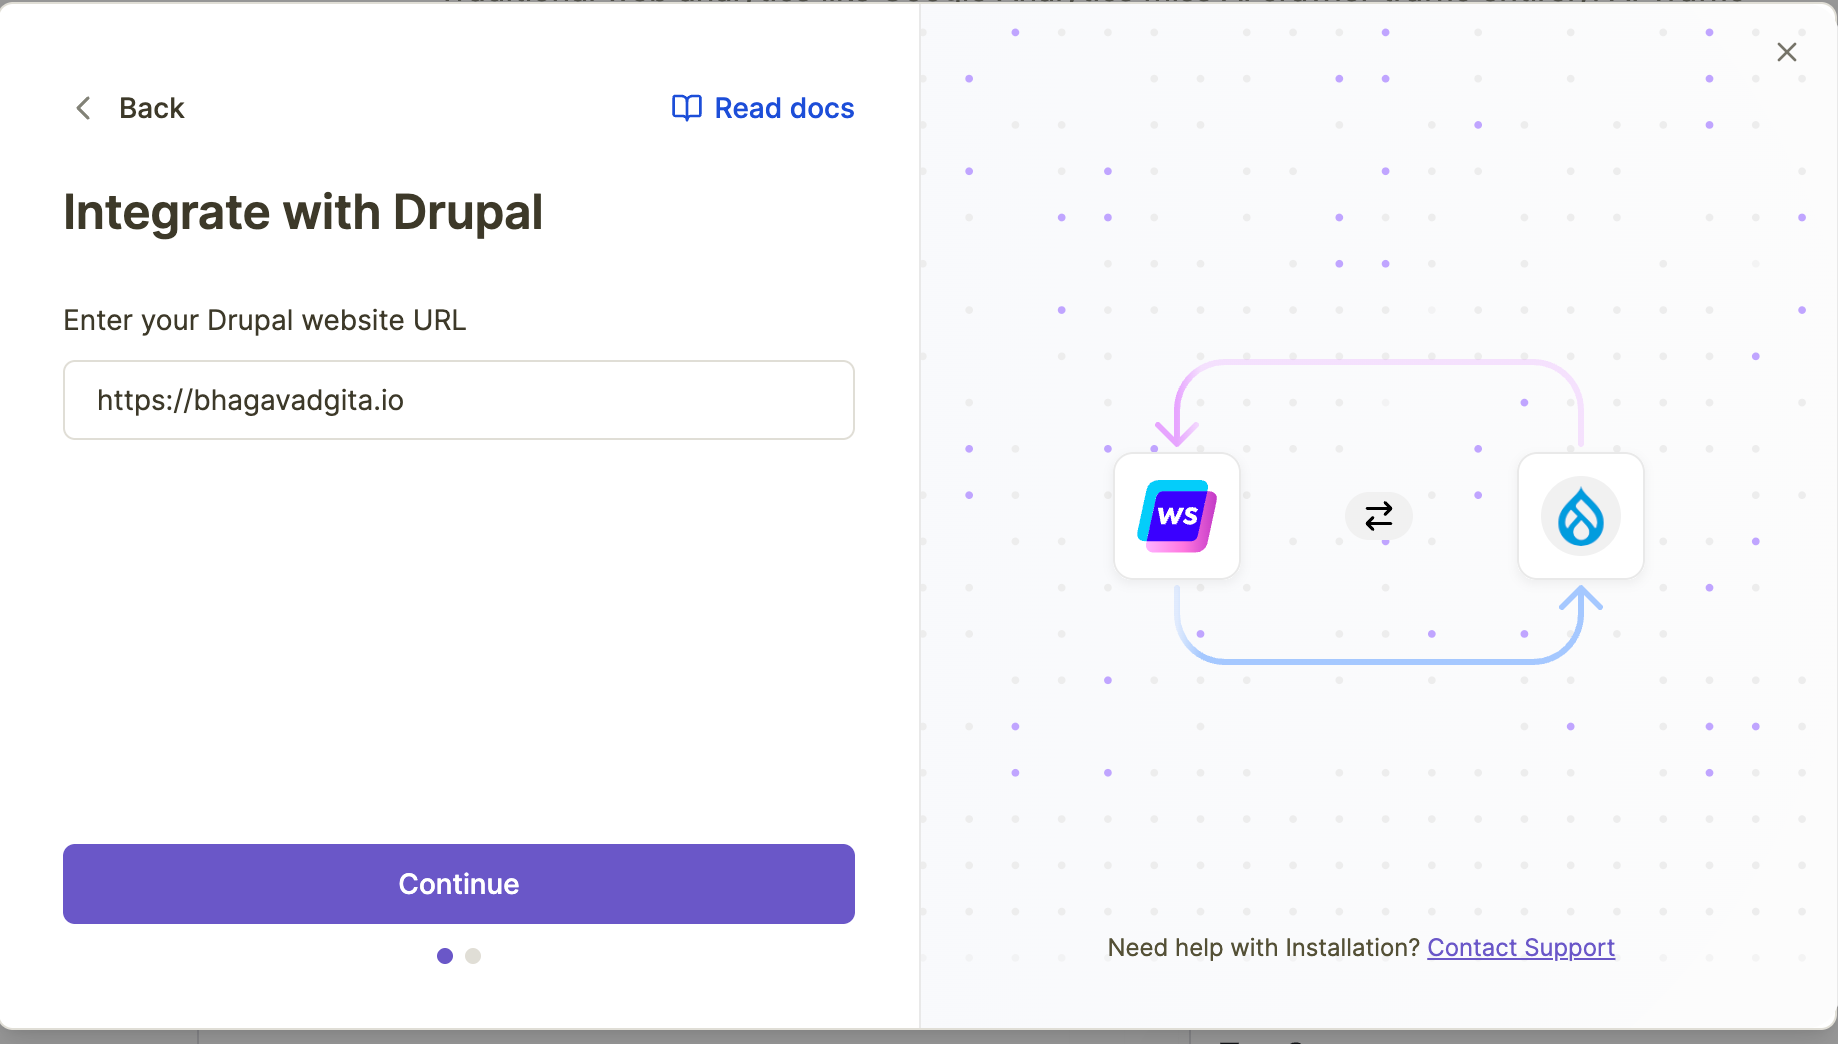
- Writesonic will generate a unique API key for your website. Keep this page open as you'll need this API key during the module installation.
Phase 2: Download the Drupal Module via Composer CLI
- Open your terminal and navigate to your Drupal project root directory
- Add this snippet to the root level composer.json, if it does not have already:
"repositories": [
        {
            "type": "composer",
            "url": "https://packages.drupal.org/8"
        }
]- Run the following composer command:
composer require 'drupal/writesonic_ai_analytics:^1.0'- Wait for the composer installation to complete
writesonic_ai_analyticsmodule files must have been added to*/modules/contribdirectory.
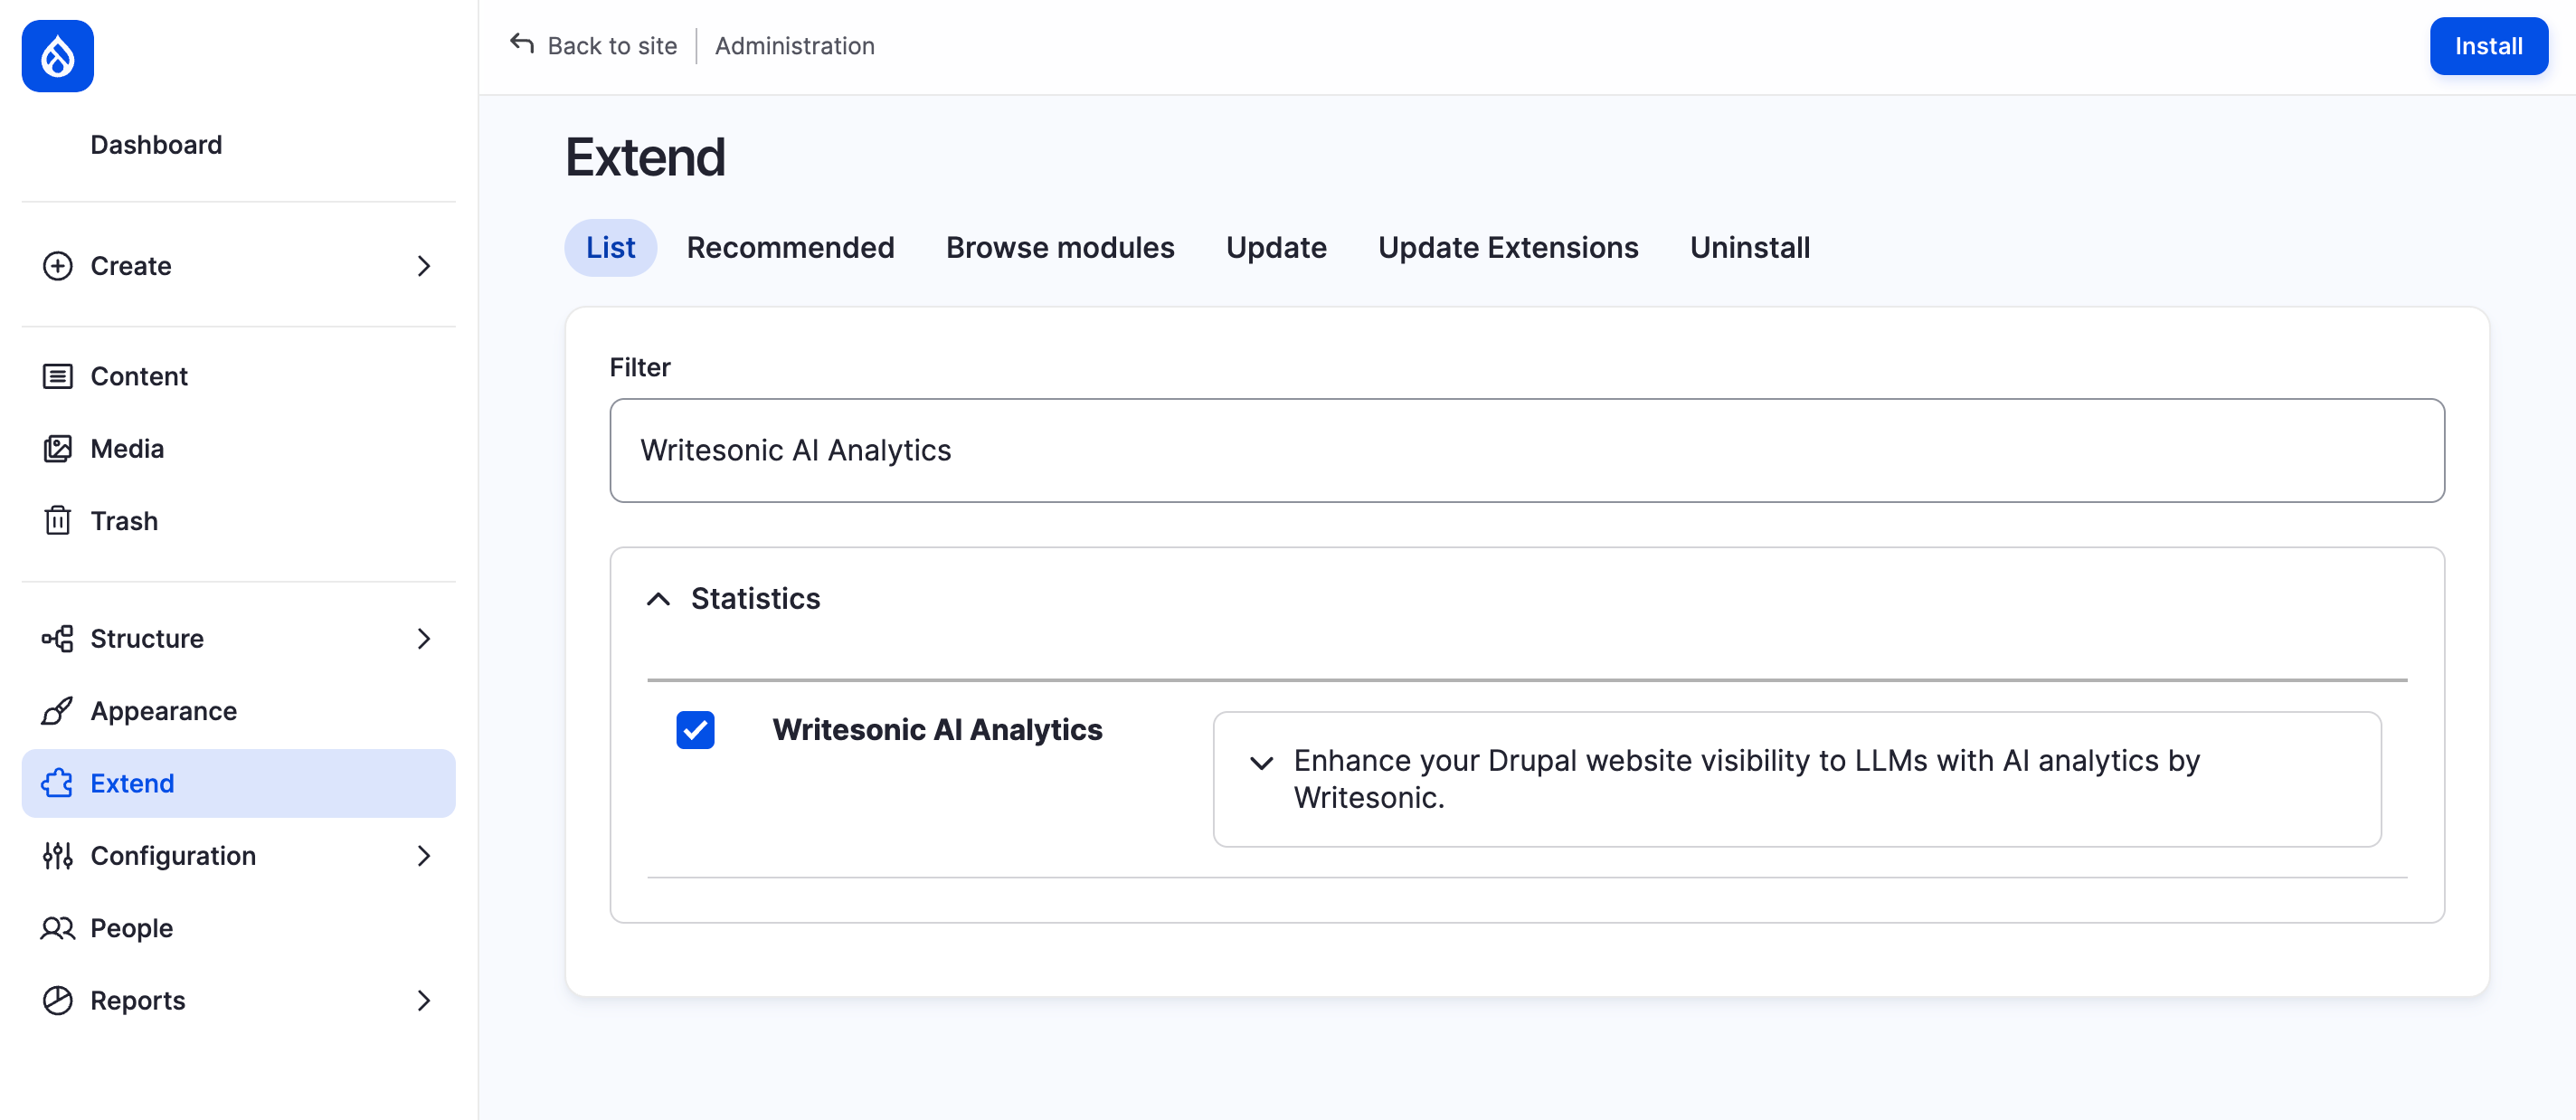
Phase 3: Enable the Module
- Log in to your Drupal admin dashboard
- Navigate to Extend in the admin panel
- Search for 'Writesonic AI Analytics' in the dropdown list
- Check the box next to the module and click "Install"
Alternatively, you can install it via Drush CLI:
drush en writesonic_ai_analyticsPhase 4: Configure the Module
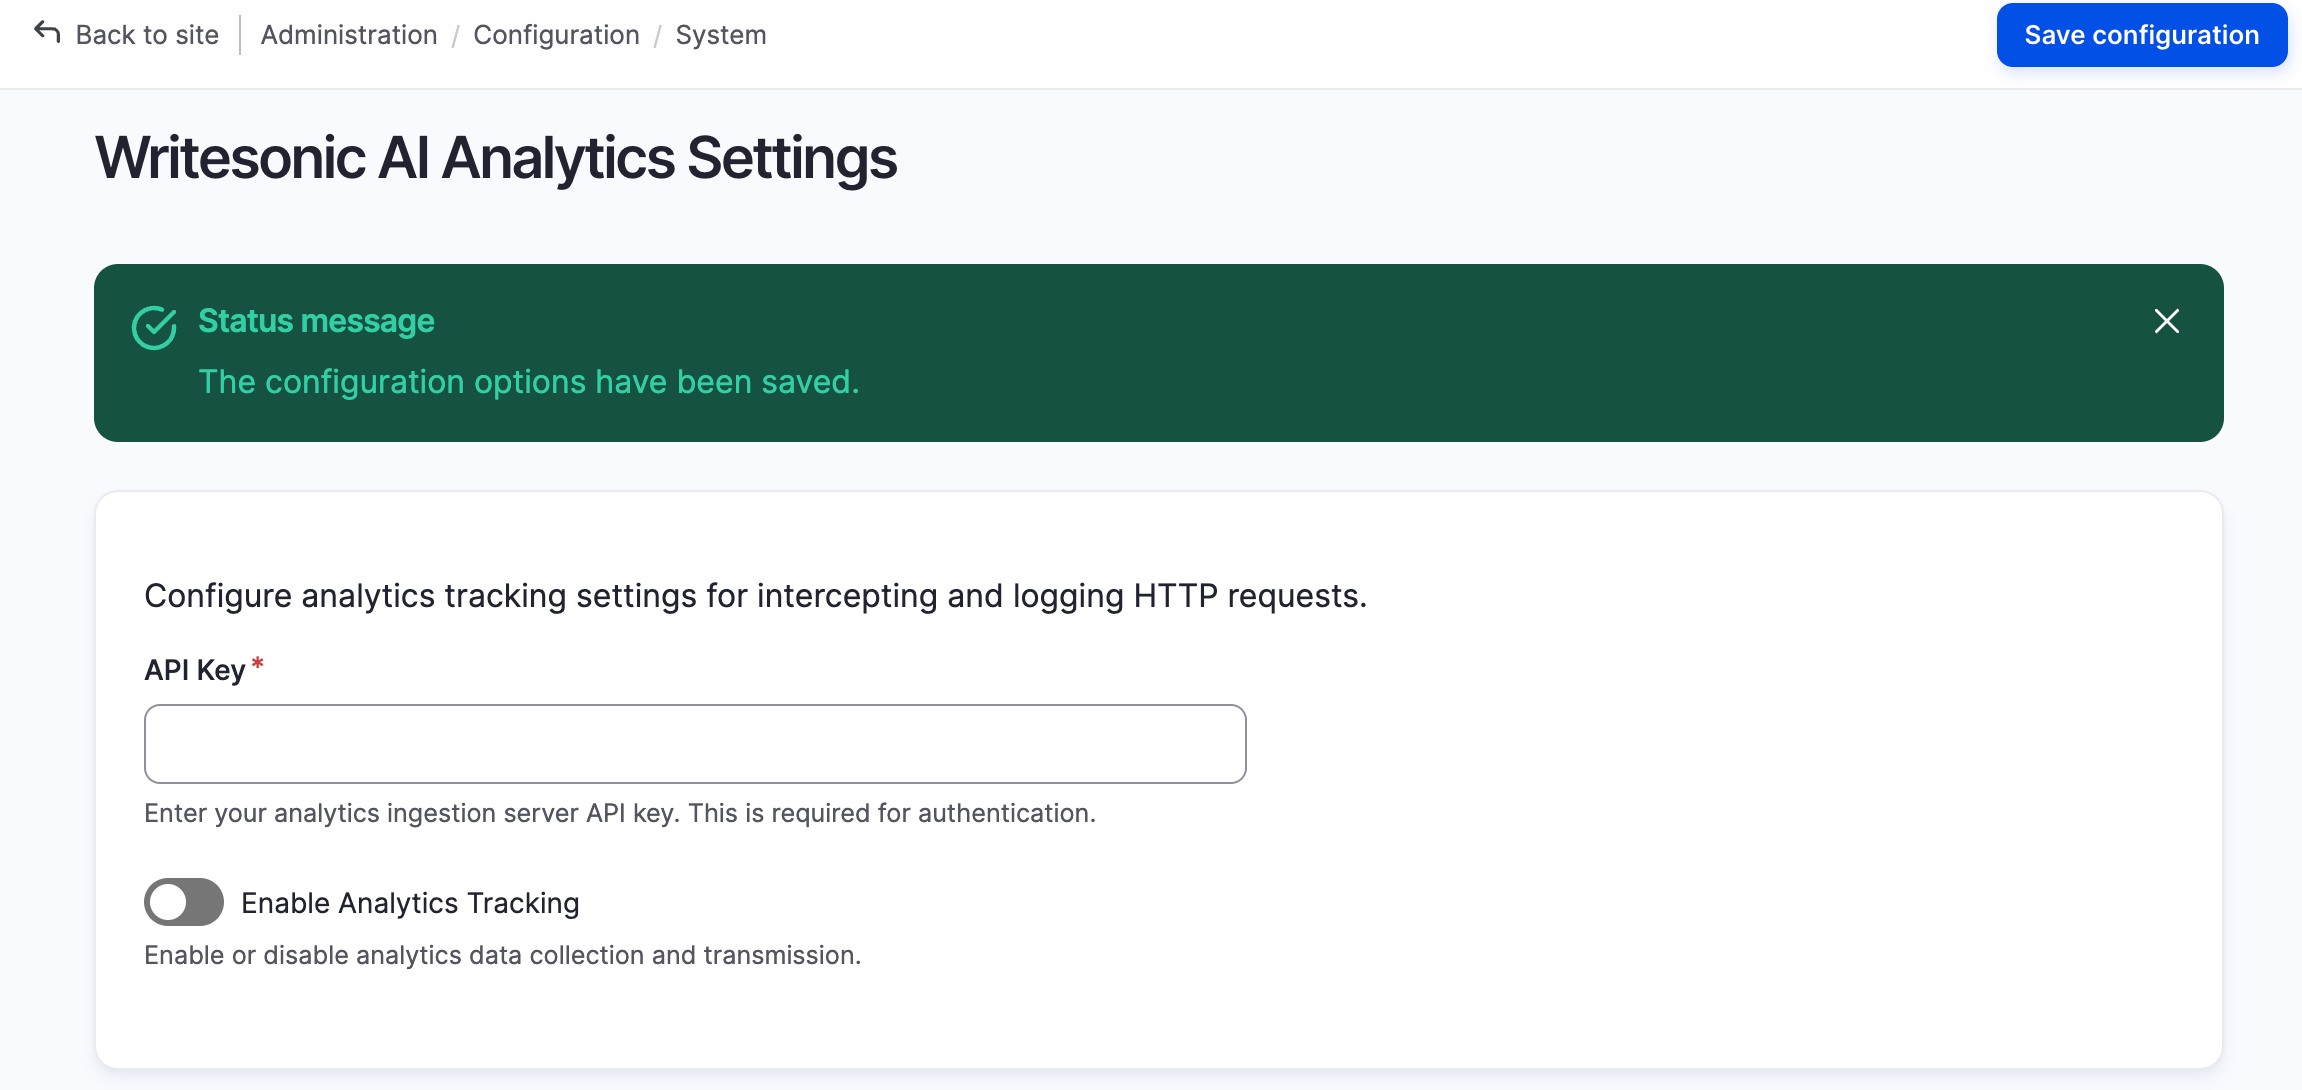
- Navigate to Configuration > System > Writesonic AI Analytics Settings in your Drupal admin panel
- Copy the API key provided by writesonic and paste it on the configuration page of your Drupal Website.
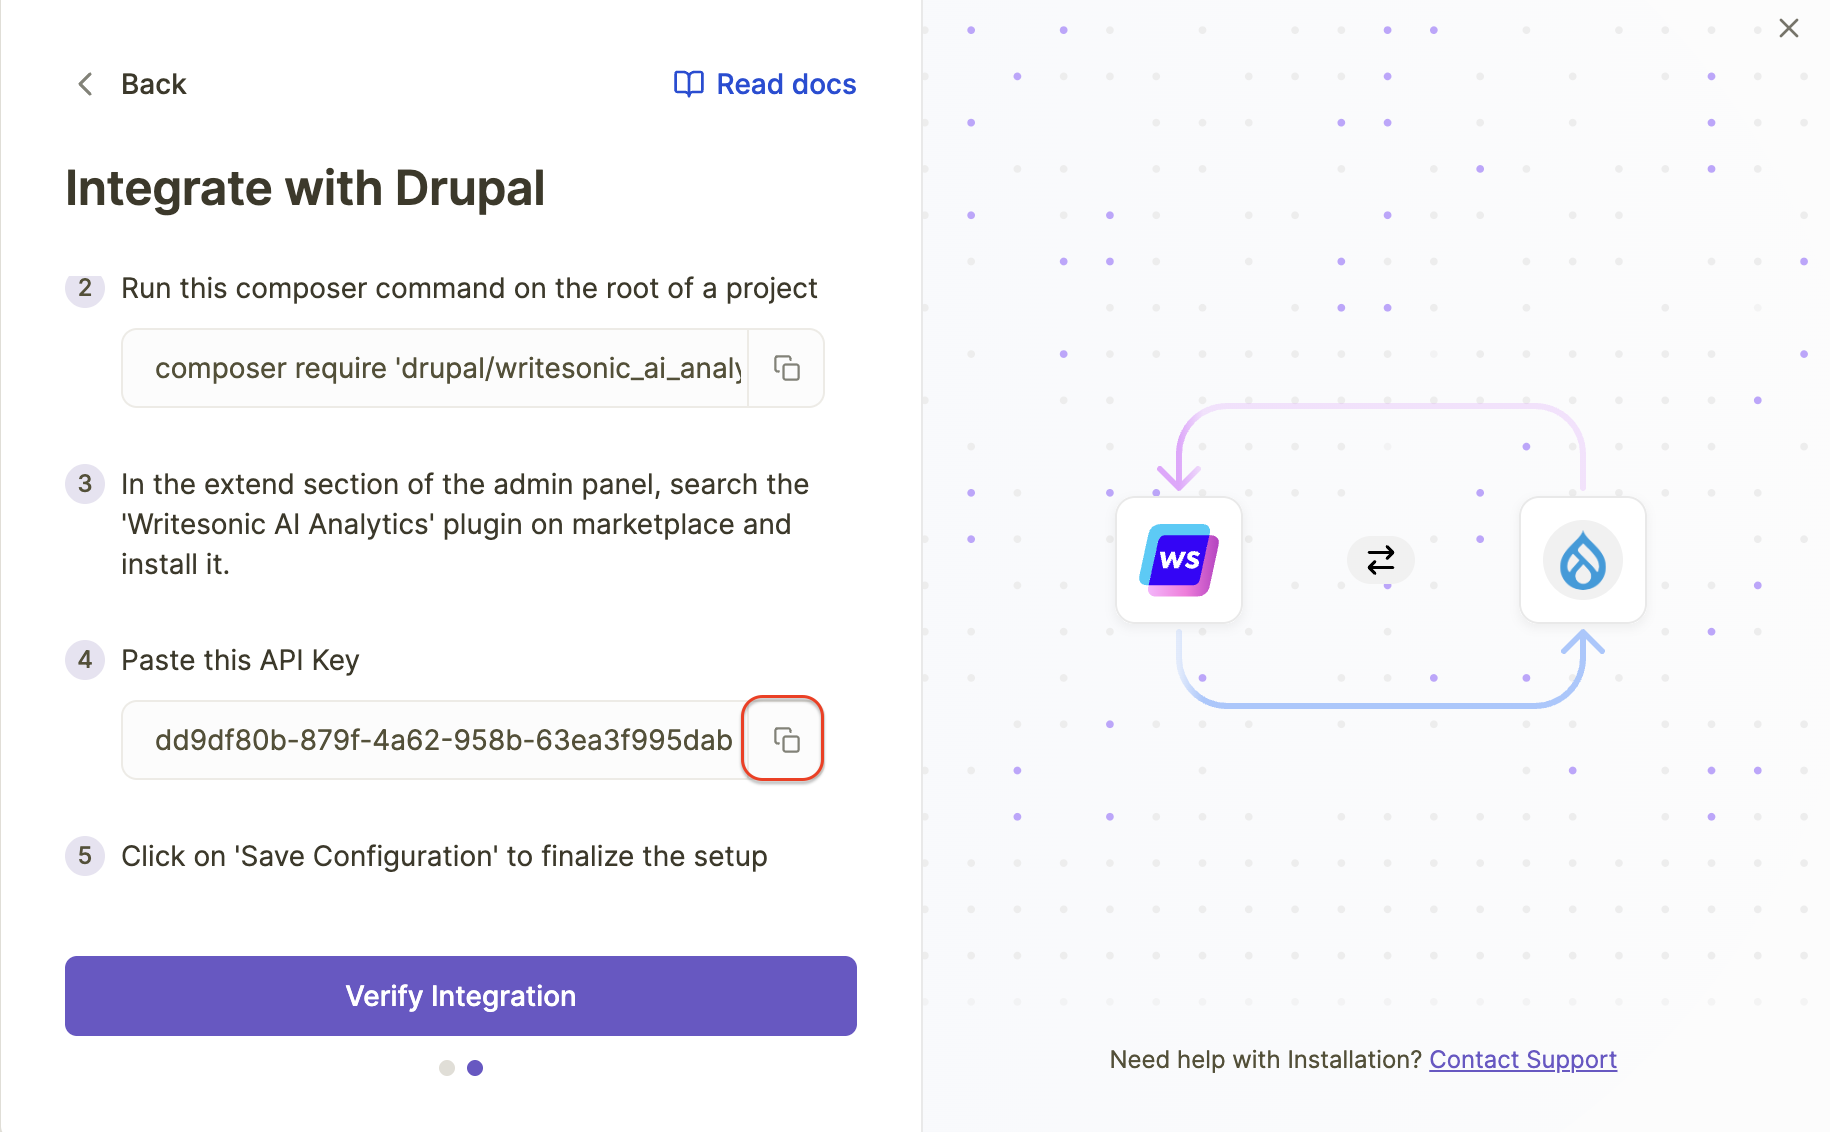
- Click "Save Configuration" to finalize the setup
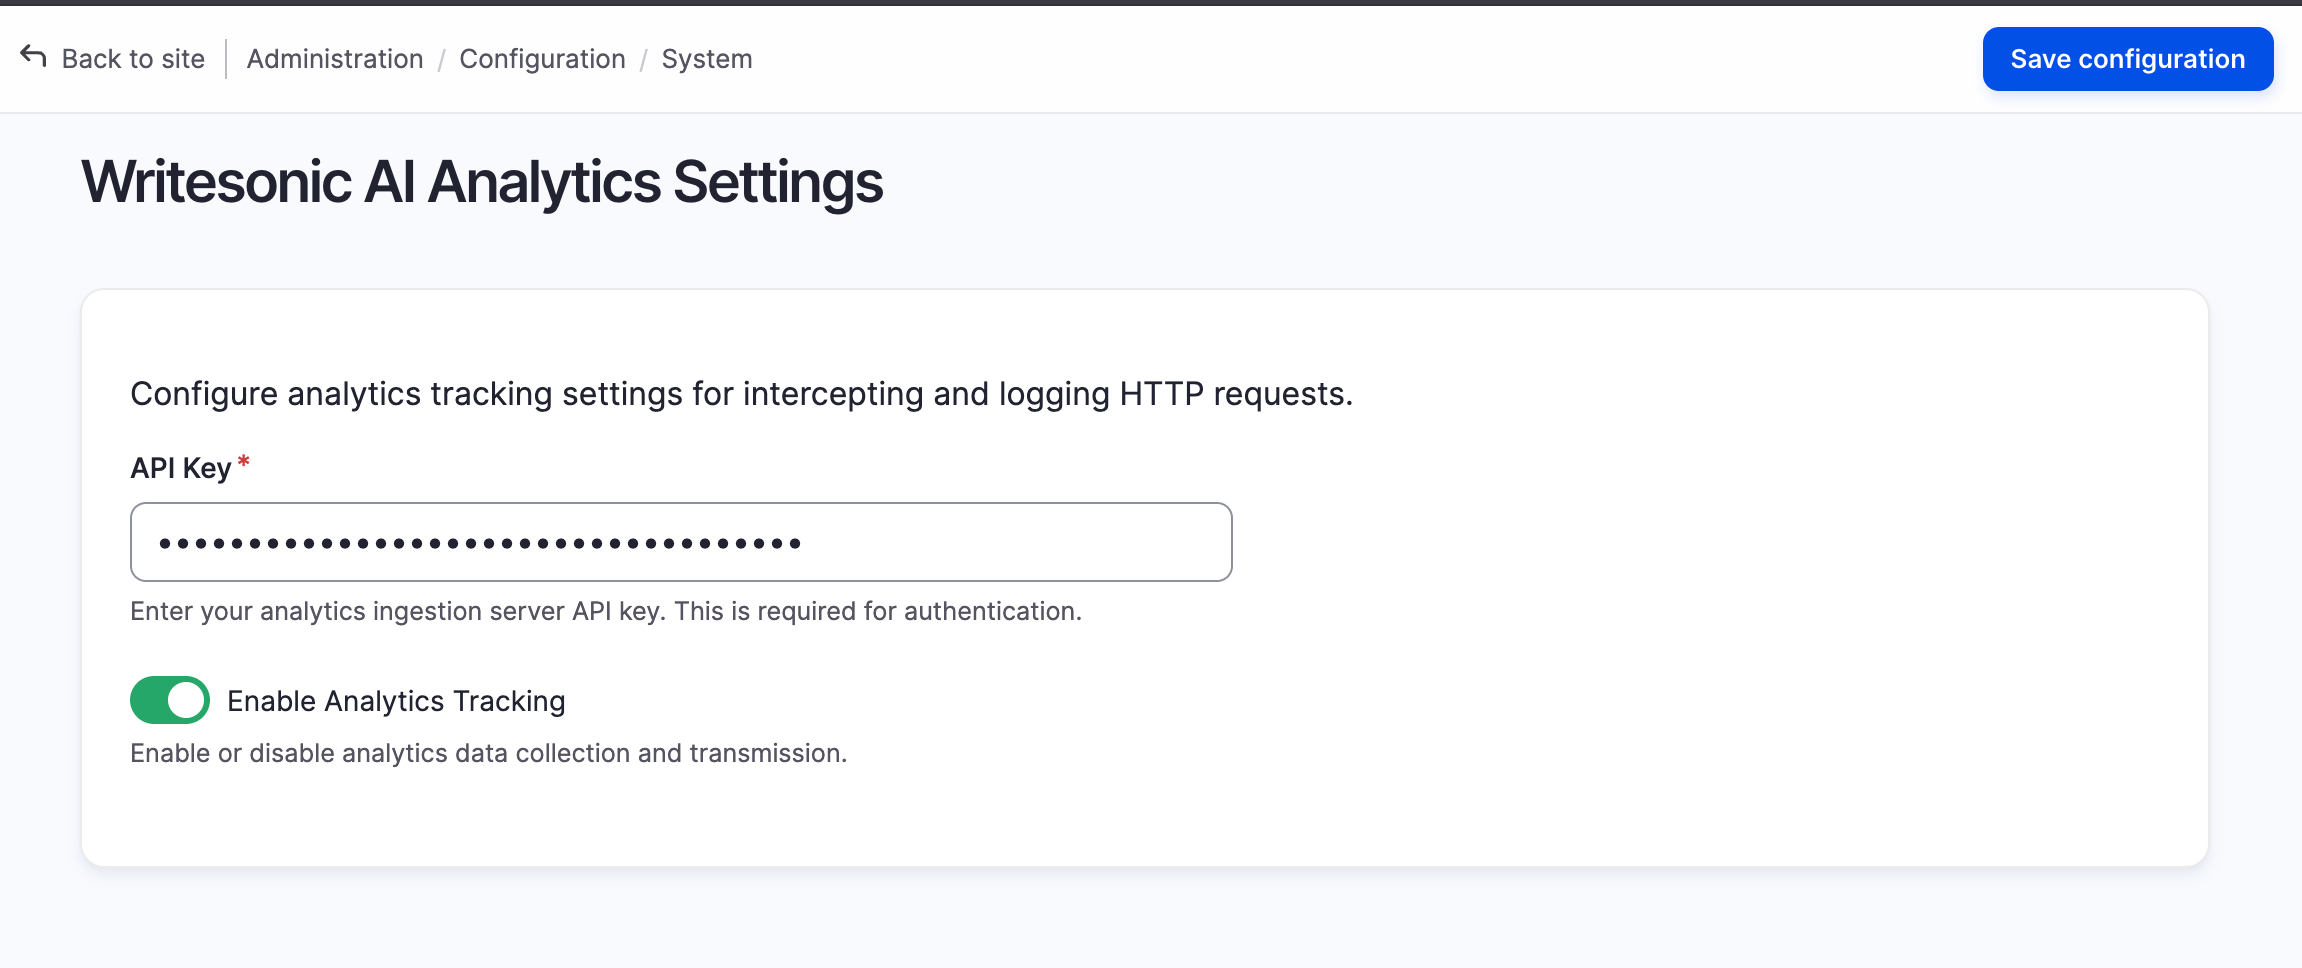
Do not disable the Analytics Tracking unless you want to actually pause analytics data collection
Phase 5: Verify Installation in Writesonic
- Return to Writesonic AI Bot Analytics page.
- Click on "Verify Integration" to confirm that your Drupal site is properly connected
- Once verified, you'll be redirected to your analytics dashboard. The process typically finishes in 1–2 minutes but may take up to 5 minutes.
Troubleshooting
If you encounter any issues during setup:
- Ensure your API key is entered correctly
- Verify that your Drupal site is publicly accessible
- Check that the module is downloaded and is present in the
*/modules/contribdirectory. - Make sure that Analytics data collection is not disabled in the Configuration > System > Writesonic AI Analytics Settings page
For assistance, contact [email protected]
Managing the integration
Disabling Analytics Data Collection and Ingestion
- If you want to disable the analytics data collection, navigate to the System > Configuration > Writesonic AI Analytics Settings
- Disable the Analytics Tracking
- Click on ‘Save configuration’ to save your changes
This will pause the analytics data collection and ingestion from your drupal website to writesonic.
Deleting/Uninstalling the Module
- If you want to completely uninstall the module, you can navigate to Extend in your Drupal admin panel
- Select the ‘Uninstall’ tab, and type ‘Writesonic AI Analytics’ in the search filter
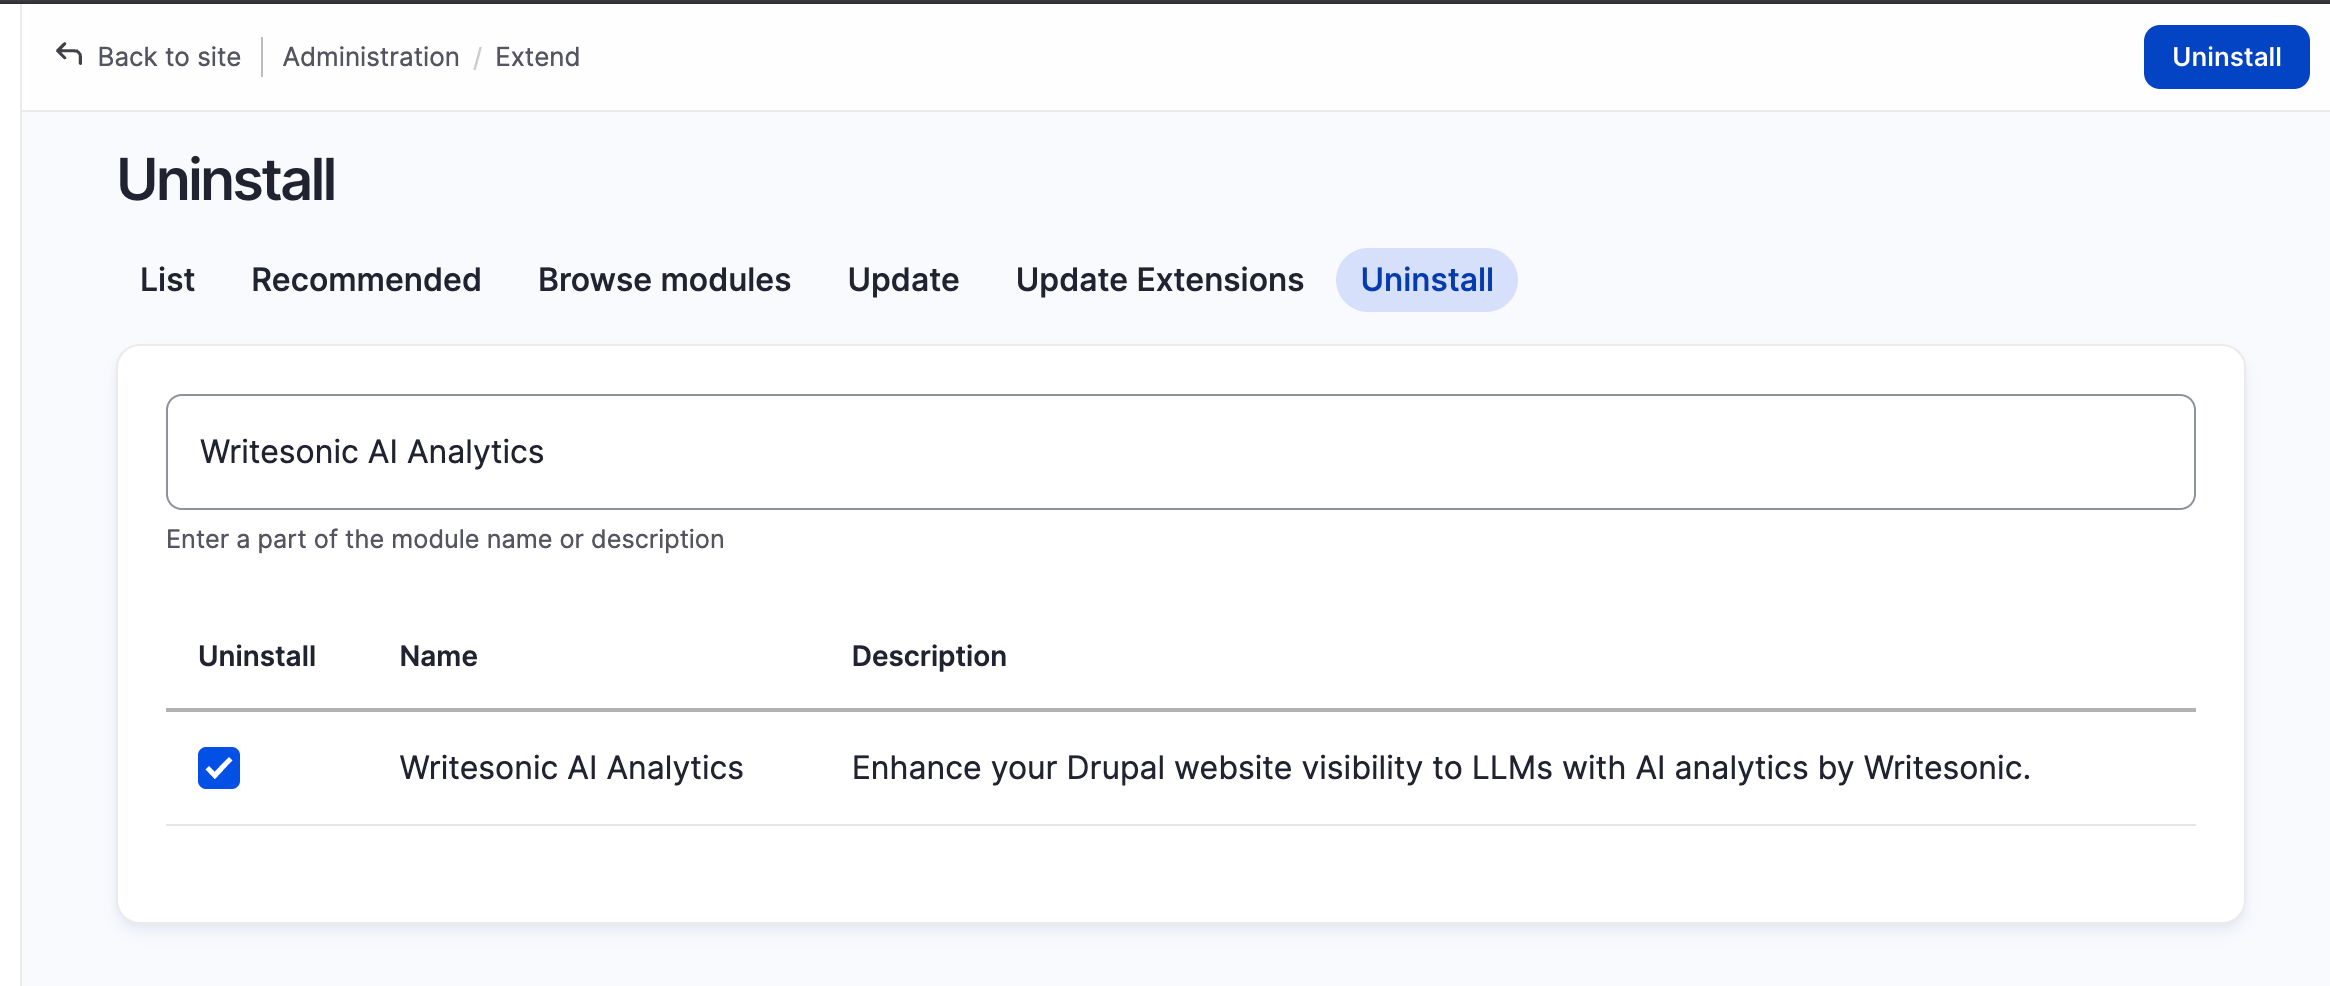
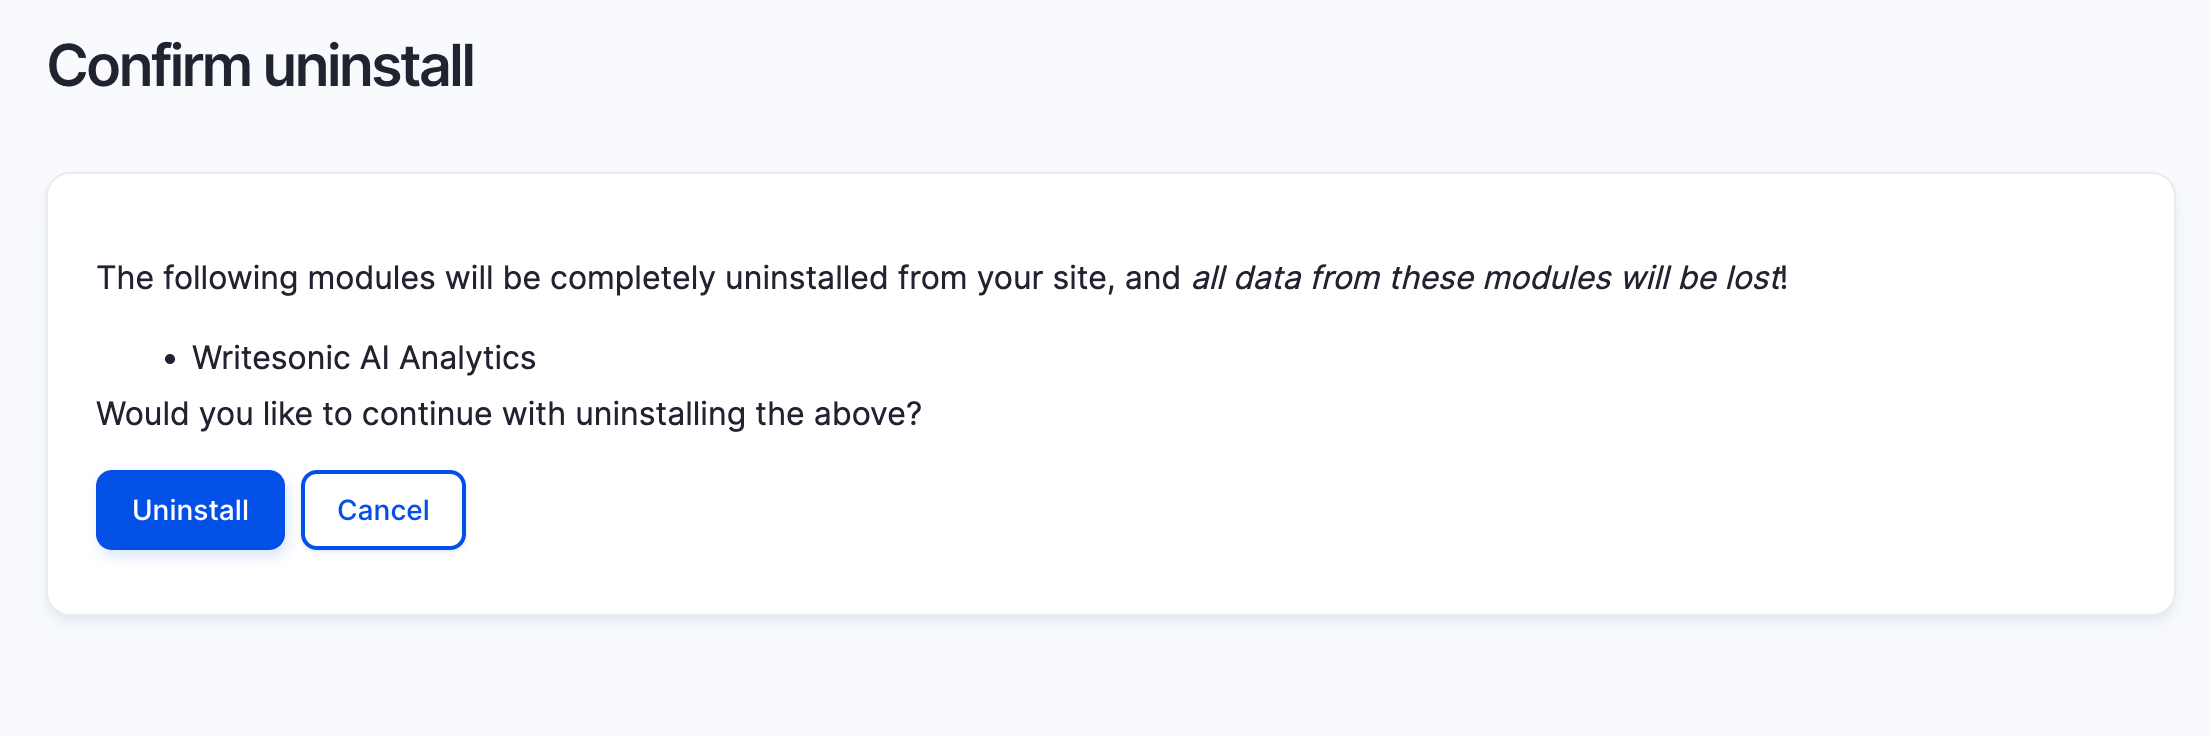
- Click on ‘Uninstall’ and confirm the uninstallation
Alternatively, you can also uninstall the module via Drush CLI:
drush pmu writesonic_ai_analytics- To completely remove the writesonic_ai_analytics module and it’s files from your drupal project, you can run
composer remove writesonic_ai_analytics