Publish to Wordpress.org
Learn how to integrate your Writesonic account with your WordPress site to streamline your content creation and publishing process.
WordPress is one of the most popular platforms for creating blogs, powering over 43.3% of all websites on the Internet. With Writesonic, you can now seamlessly publish your AI-generated content directly to your WordPress website.
This guide will walk you through the simple steps to connect your Writesonic account with your WordPress site, enabling you to streamline your content creation and publishing process. Whether you manage a single site or multiple WordPress sites, this integration will enhance your productivity and ensure your content is published effortlessly.
Follow the steps below to get started and take your content management to the next level.
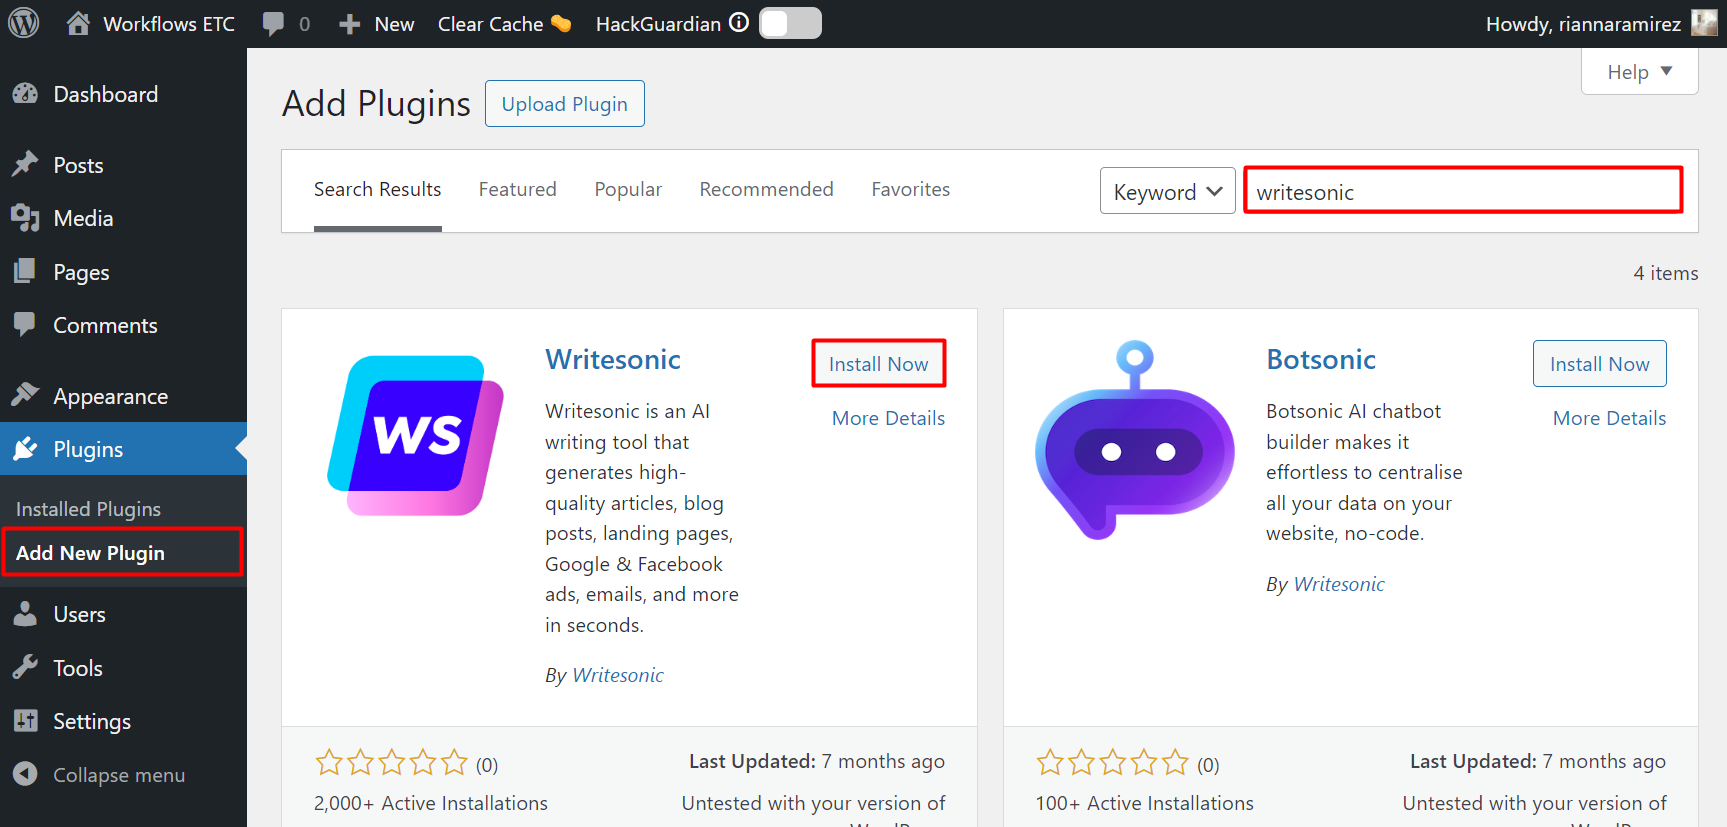
Step 1: Install the Writesonic plugin
- In your Wordpress.org account, click [Plugins] located on the left hand side menu, then click [Add New Plugin]
- Search for "Writesonic," then click [Install Now].
Alternatively, you can download the Writesonic plugin from https://wordpress.org/plugins/writesonic/
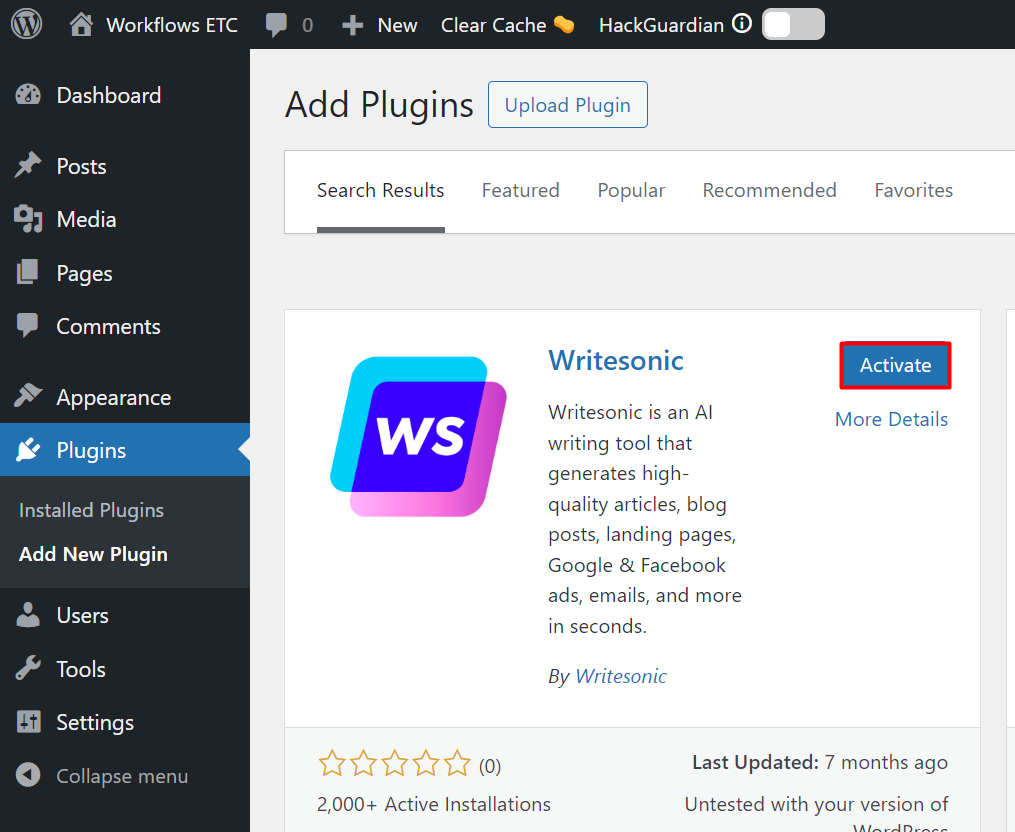
Step 2: Activate the plugin and connect with Writesonic
- Click [Activate]
- Click [Settings], the select [Writesonic]
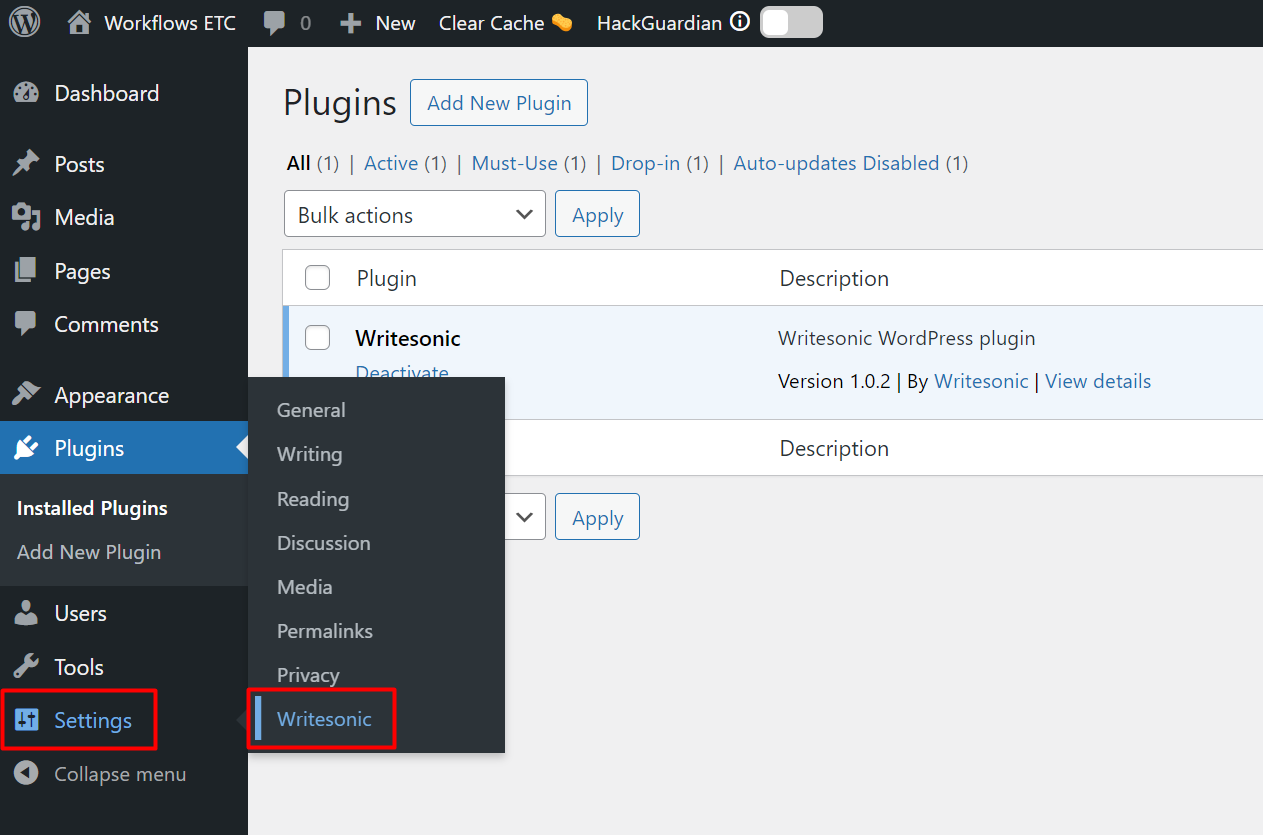
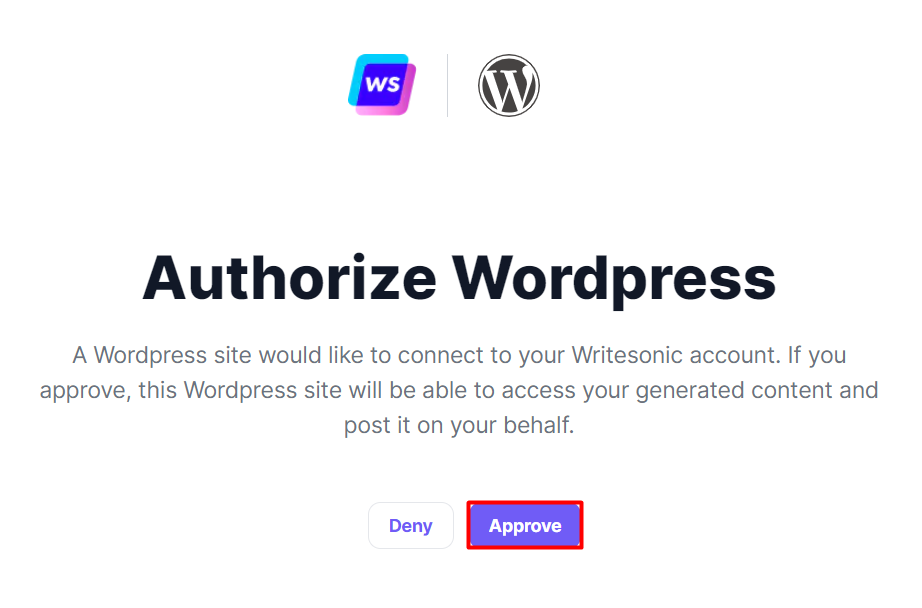
- Click [Connect], you will be redirected to your Writesonic account to approve the connection request.

- Click [Approve] on the Writesonic dialogue box
Step 3 - Open the Writesonic article you want to publish on Wordpress
- In your Writesonic account, open an existing document
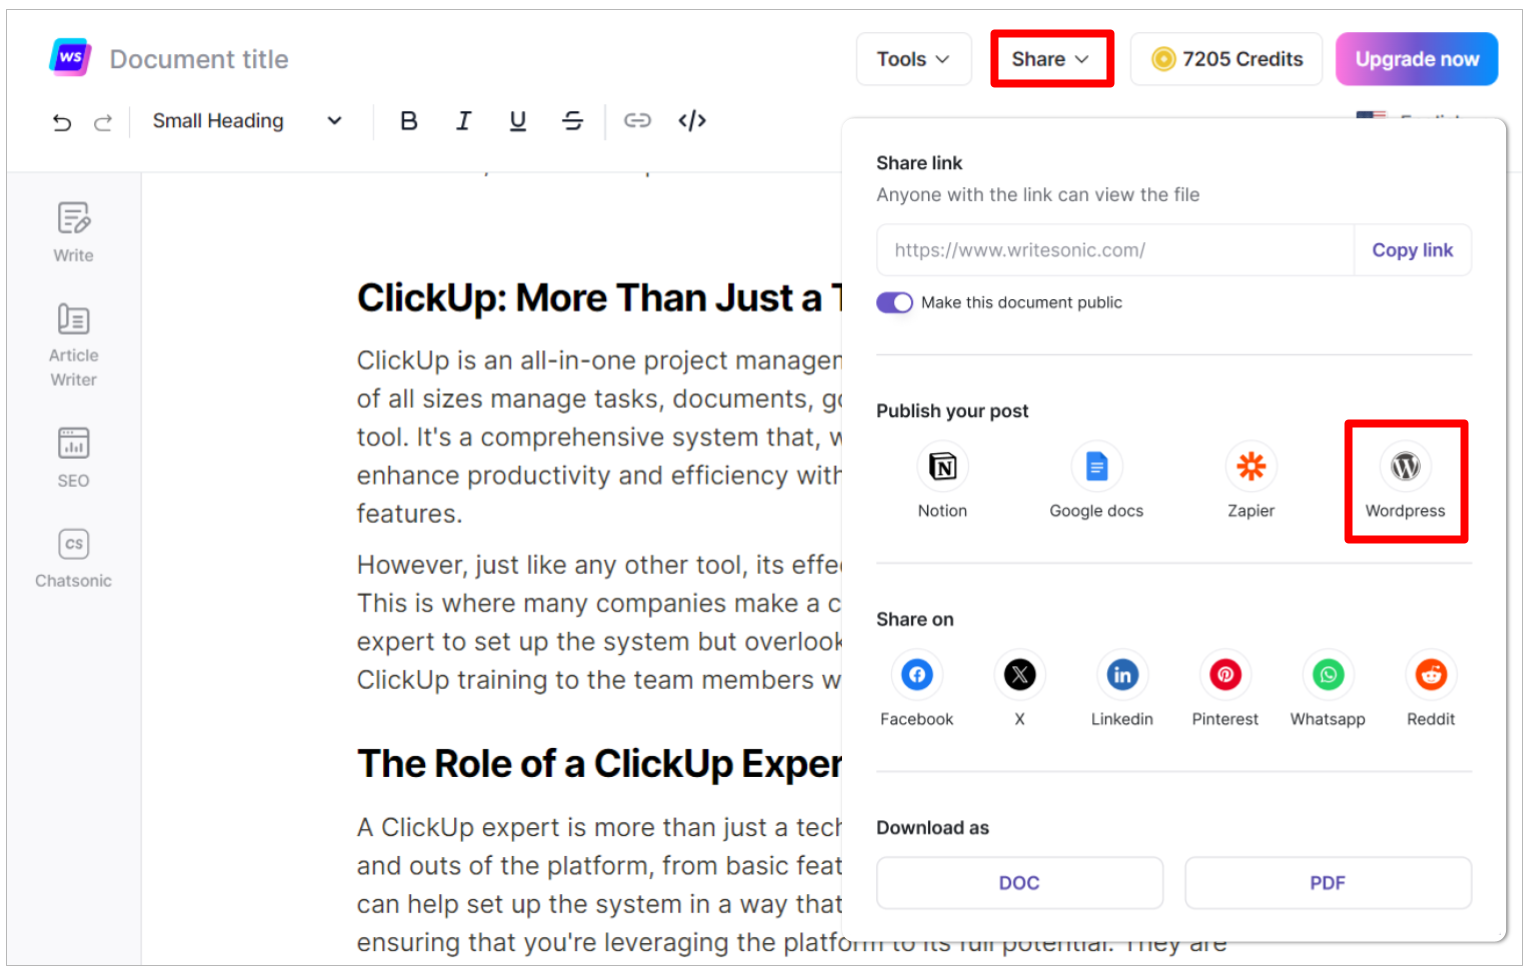
- Click the [Share] button located at the top right section of the AI Content Editor
- In the "Publish your post" section, click the [Wordpress] icon
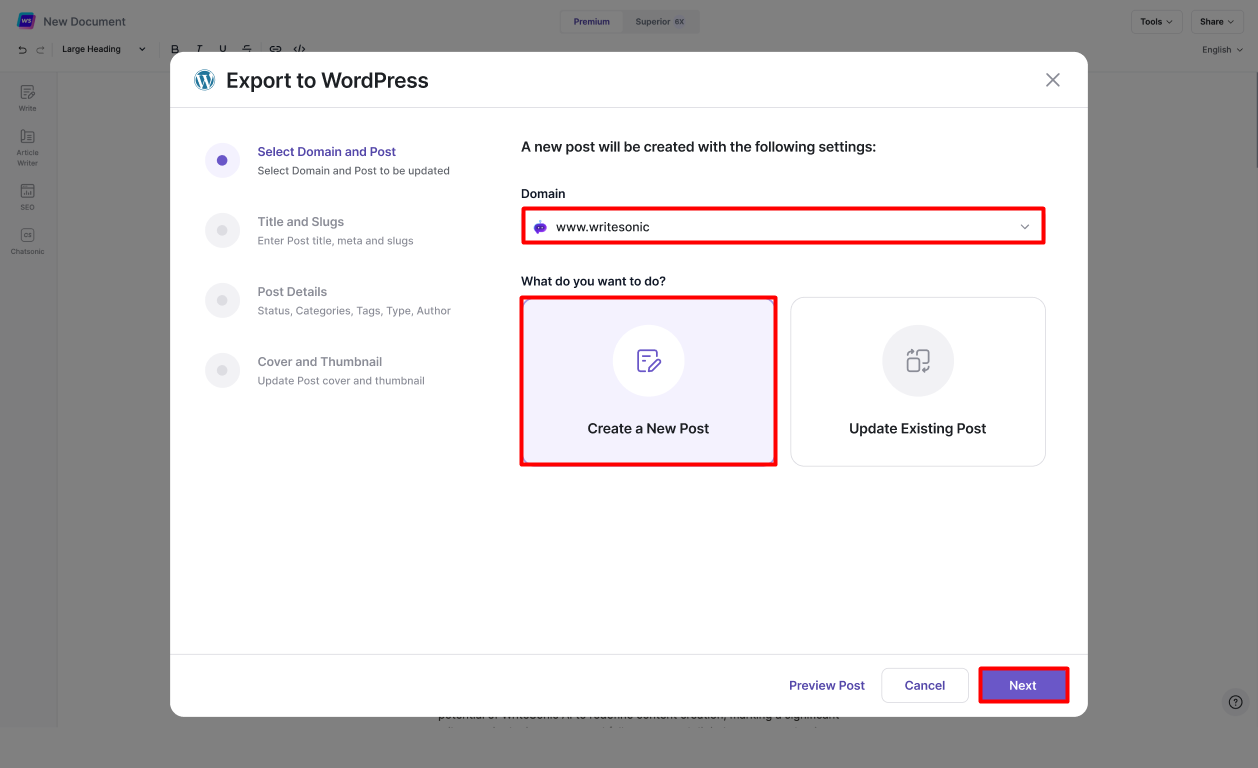
Publish a New Post
- Select the [Domain] you want to publish your Writesonic content to.
- Select [Create a New Post]
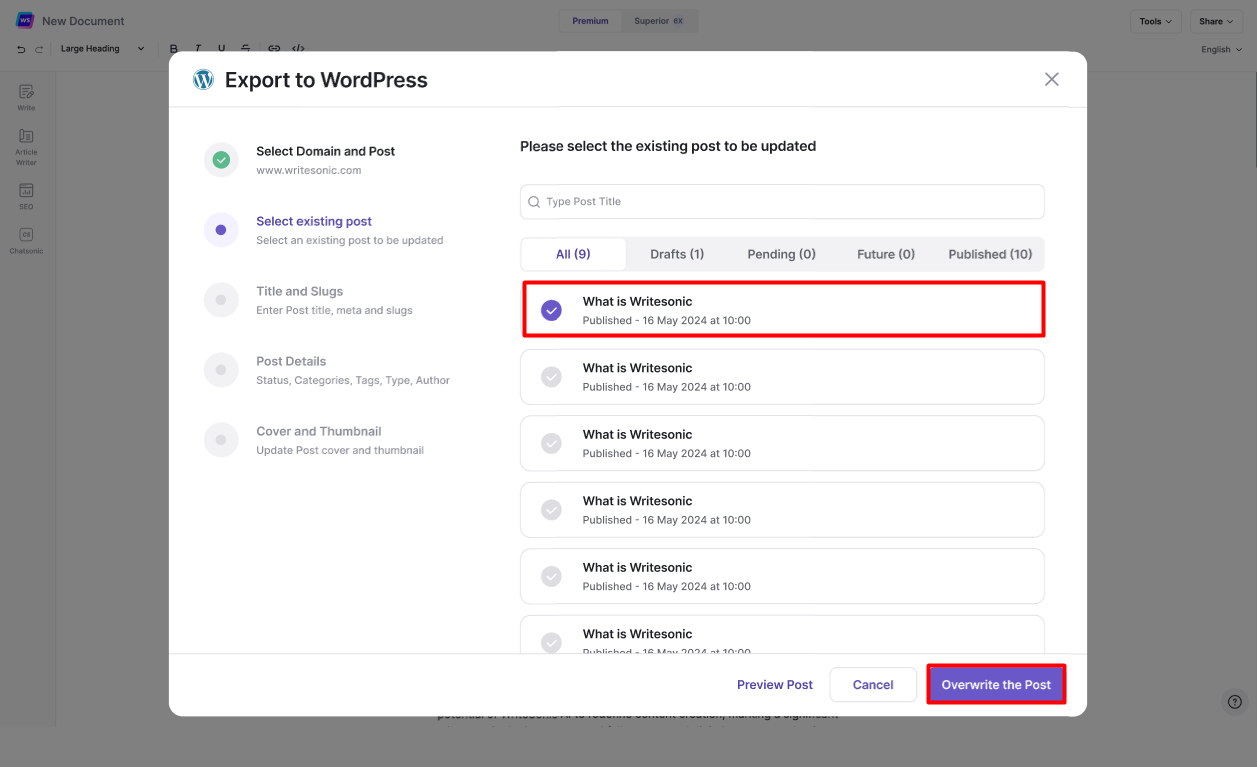
Publish an Existing Post
- Select the [Domain] where the existing post is published to.
- Select [Update Existing Post]

- Select the existing post to be updated, then select [Overwrite the Post]
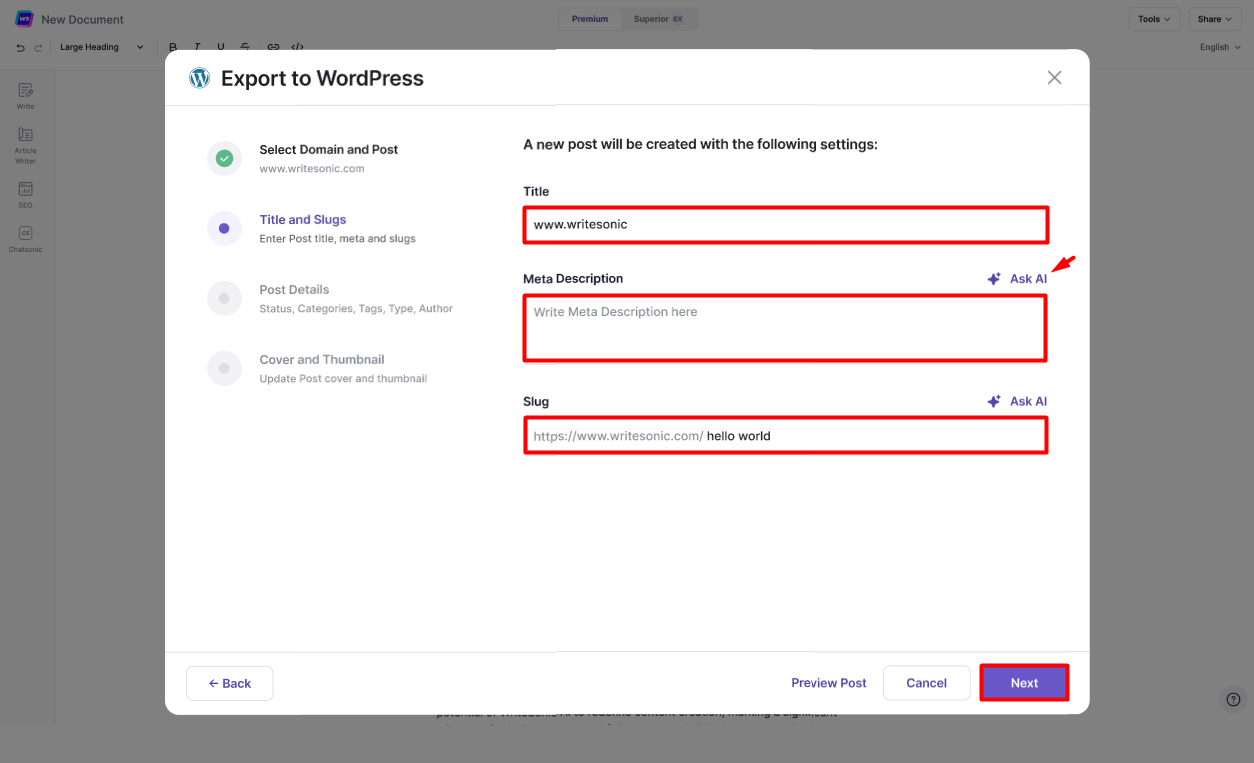
Step 4 - Enter Post Details and Publish
- Enter the post Title, Meta Description, and Slug, then click [Next]. Click [Ask AI] for assistance.
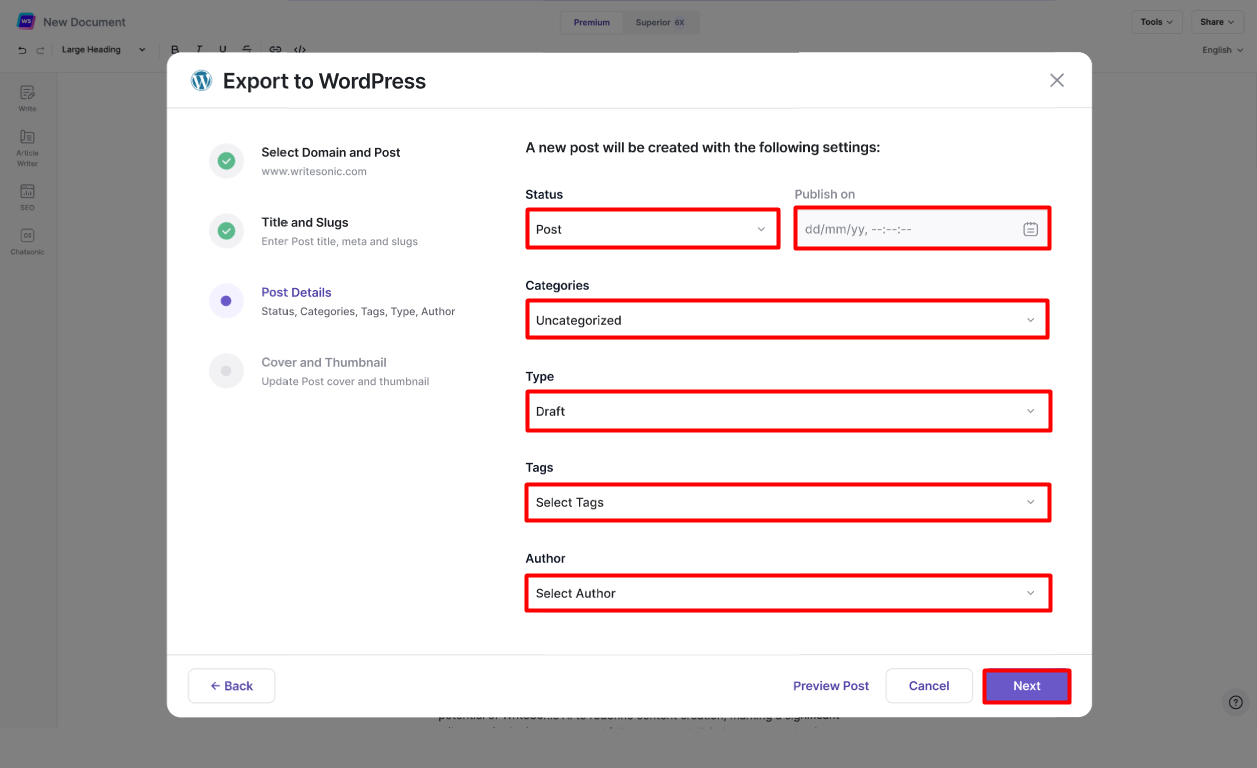
- Enter the following Post Details, then click [Next]:
- Status
- Publish date
- Type
- Tags
- Author
- Upload a cover photo and/or a thumbnail preview for your blog post, then click [Publish]
- Click the upload box to upload [Cover Photo] that will be displayed at the top of your blogpost, or click [Ask AI] to generate an image for you.
- Click the upload box to upload a [Thumbnail Preview] image for Google, Twitter, LinkedIn and other sites, or click [Ask AI] to generate thumbnail preview image for you.

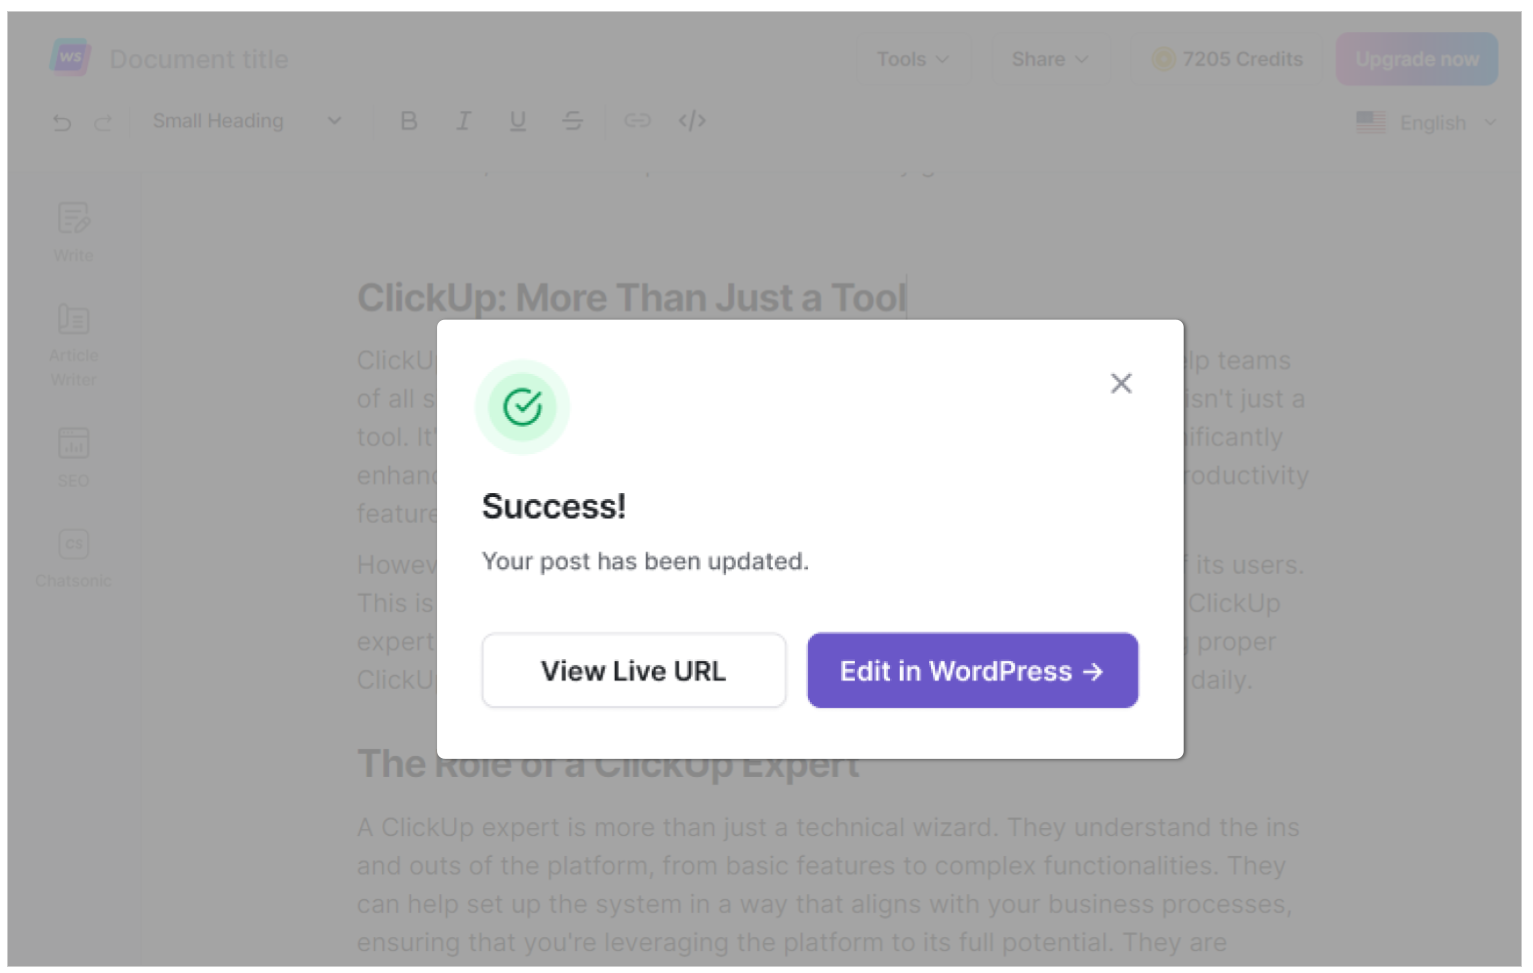
- Click [View Live URL] to see the live page, or click [Edit in Wordpress]
Connect Multiple Sites
Your Writesonic account supports connecting up to 10 WordPress sites, enabling you to publish your generated content directly to any of those sites. Simply follow the same steps as before to connect and manage your sites.
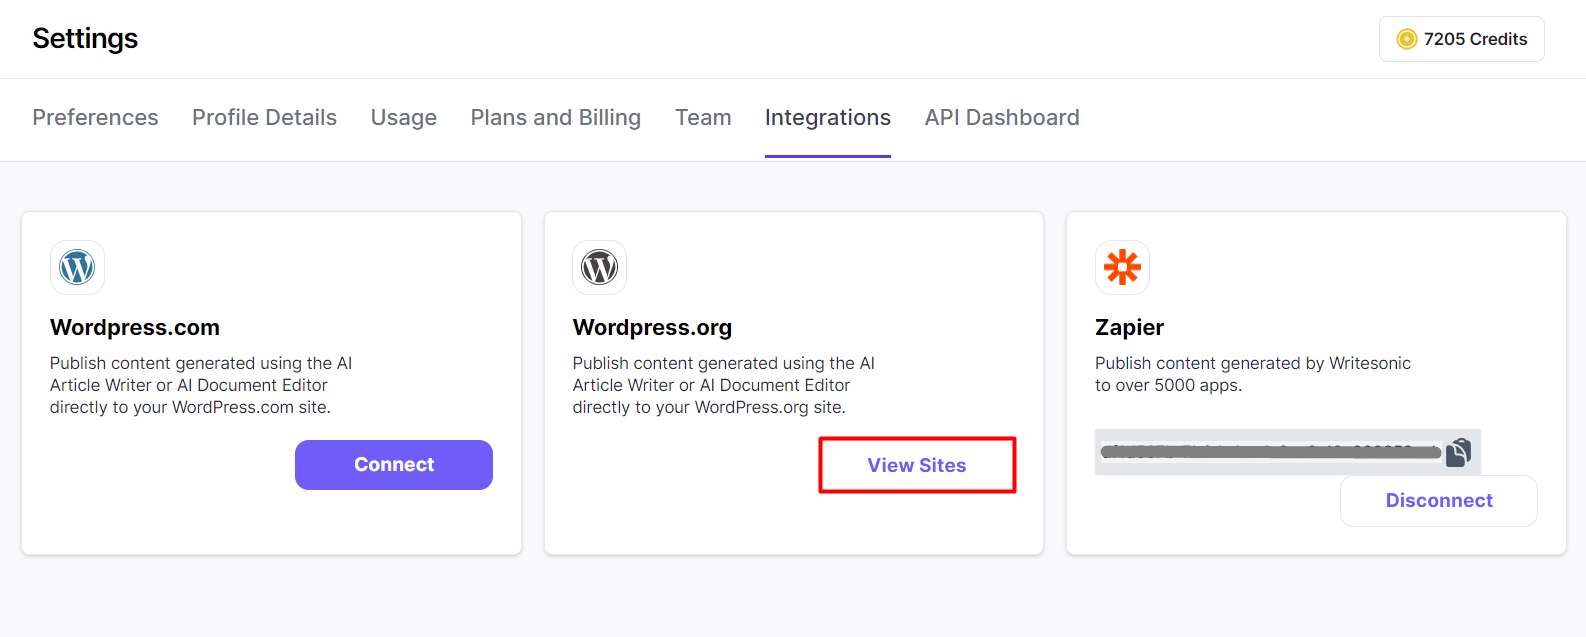
View Connected Sites
- In your Writesonic account, click your [Avatar] located at the bottom left corner of the page.
- Click [Integrations]
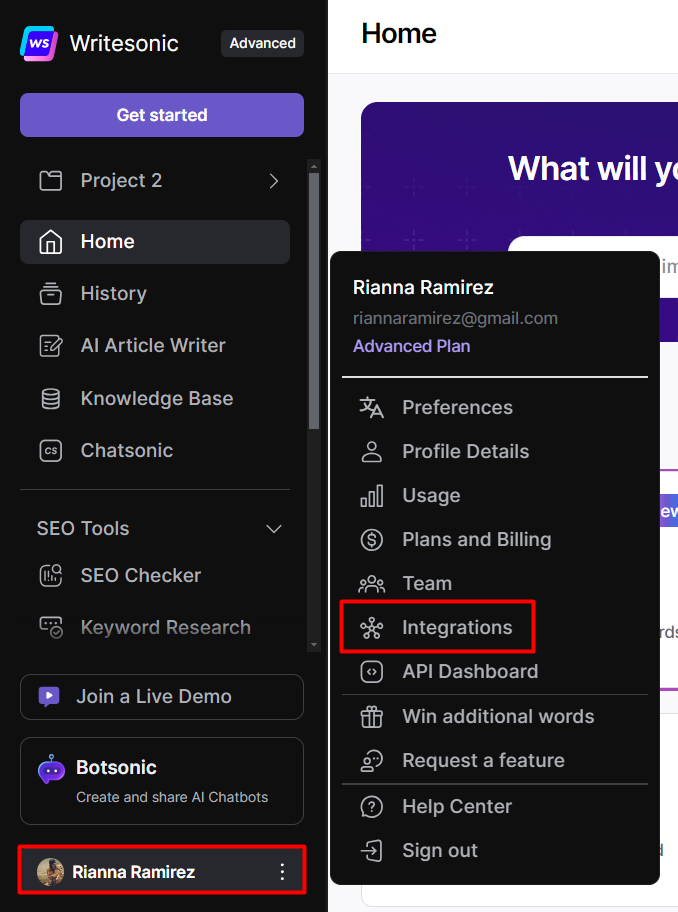
- Click [View Sites] on the Wordpress.Org integratation box.
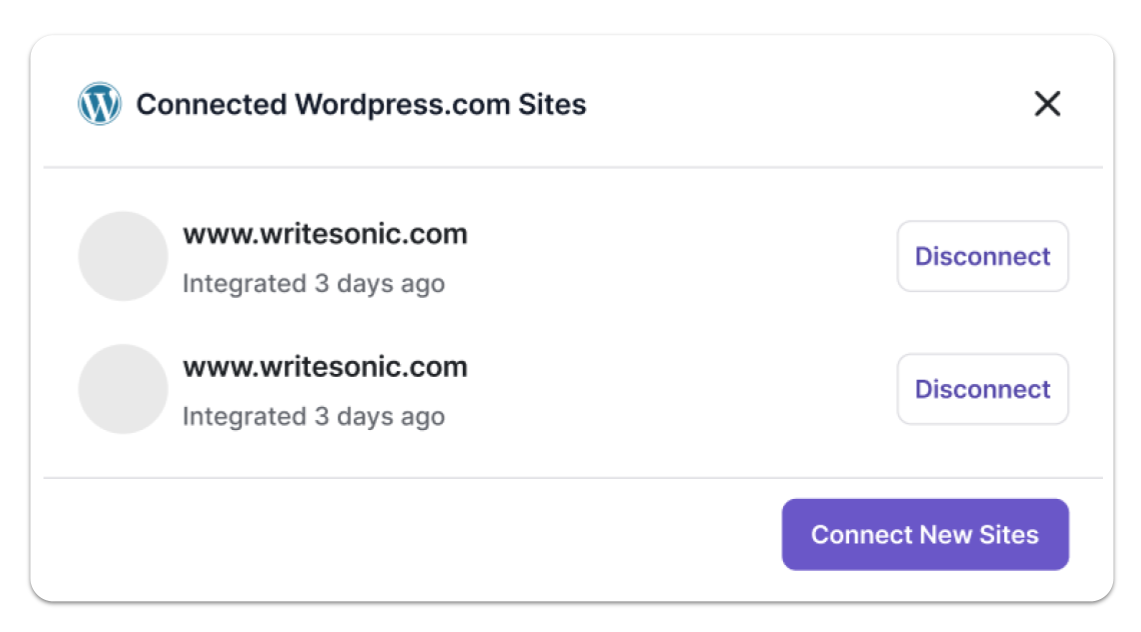
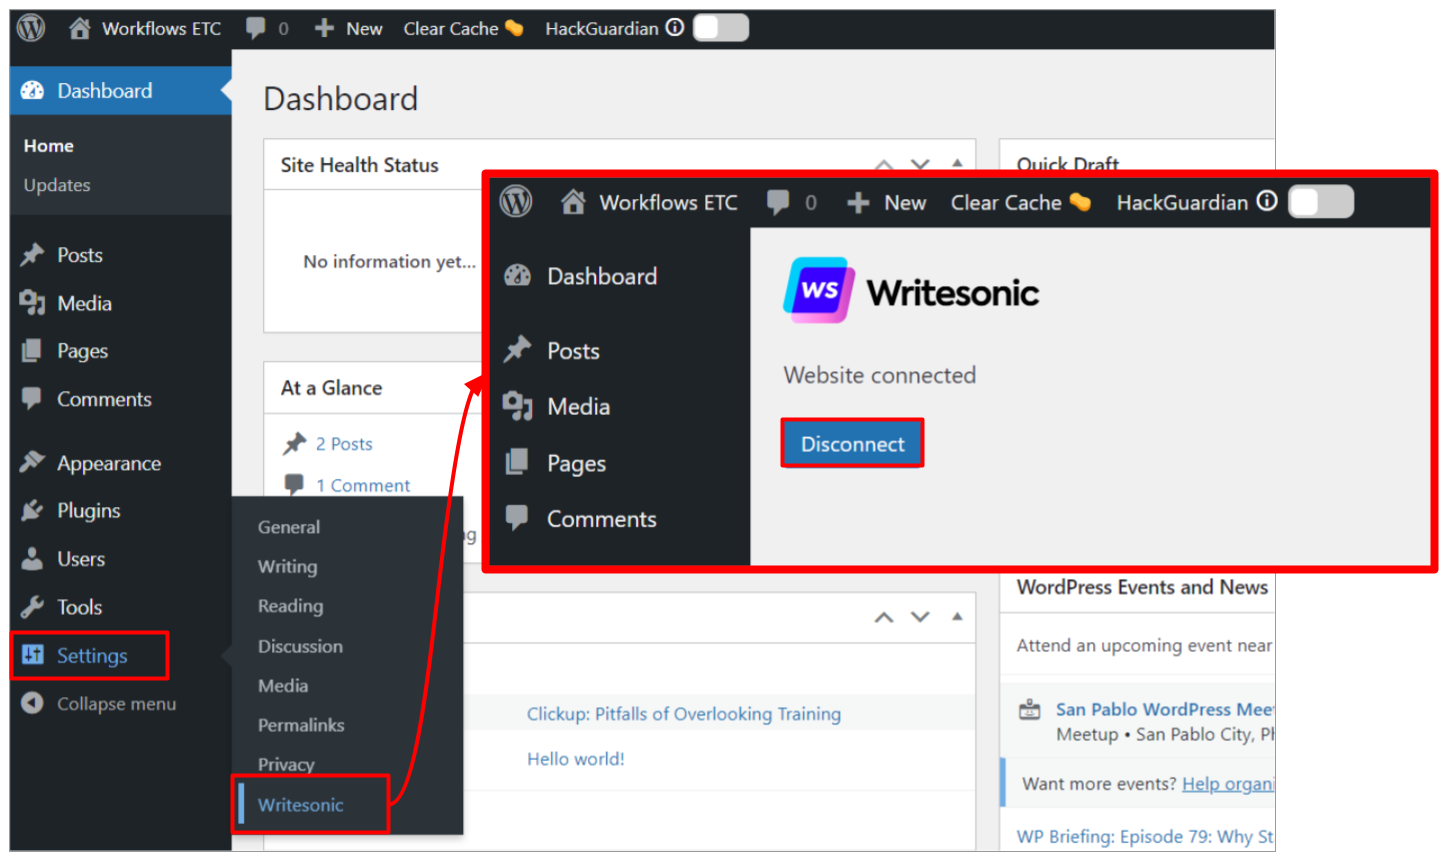
Disconnect Writesonic from Wordpress.org
- In your Wordpress.org account, click [Settings] from the left hand side menu
- Select [Writesonic], then click the [Disconnect] button