Switching to Team Account
Switching between your personal and team workspaces on Writesonic is simple and can help you stay organized and efficient. Follow these easy steps to make the switch:
Step 1: Open Your Profile Menu
Start by logging into your Writesonic account. Once you’re on your main dashboard, click on your profile picture in the top right corner of the screen. This will open a dropdown menu with various account options.
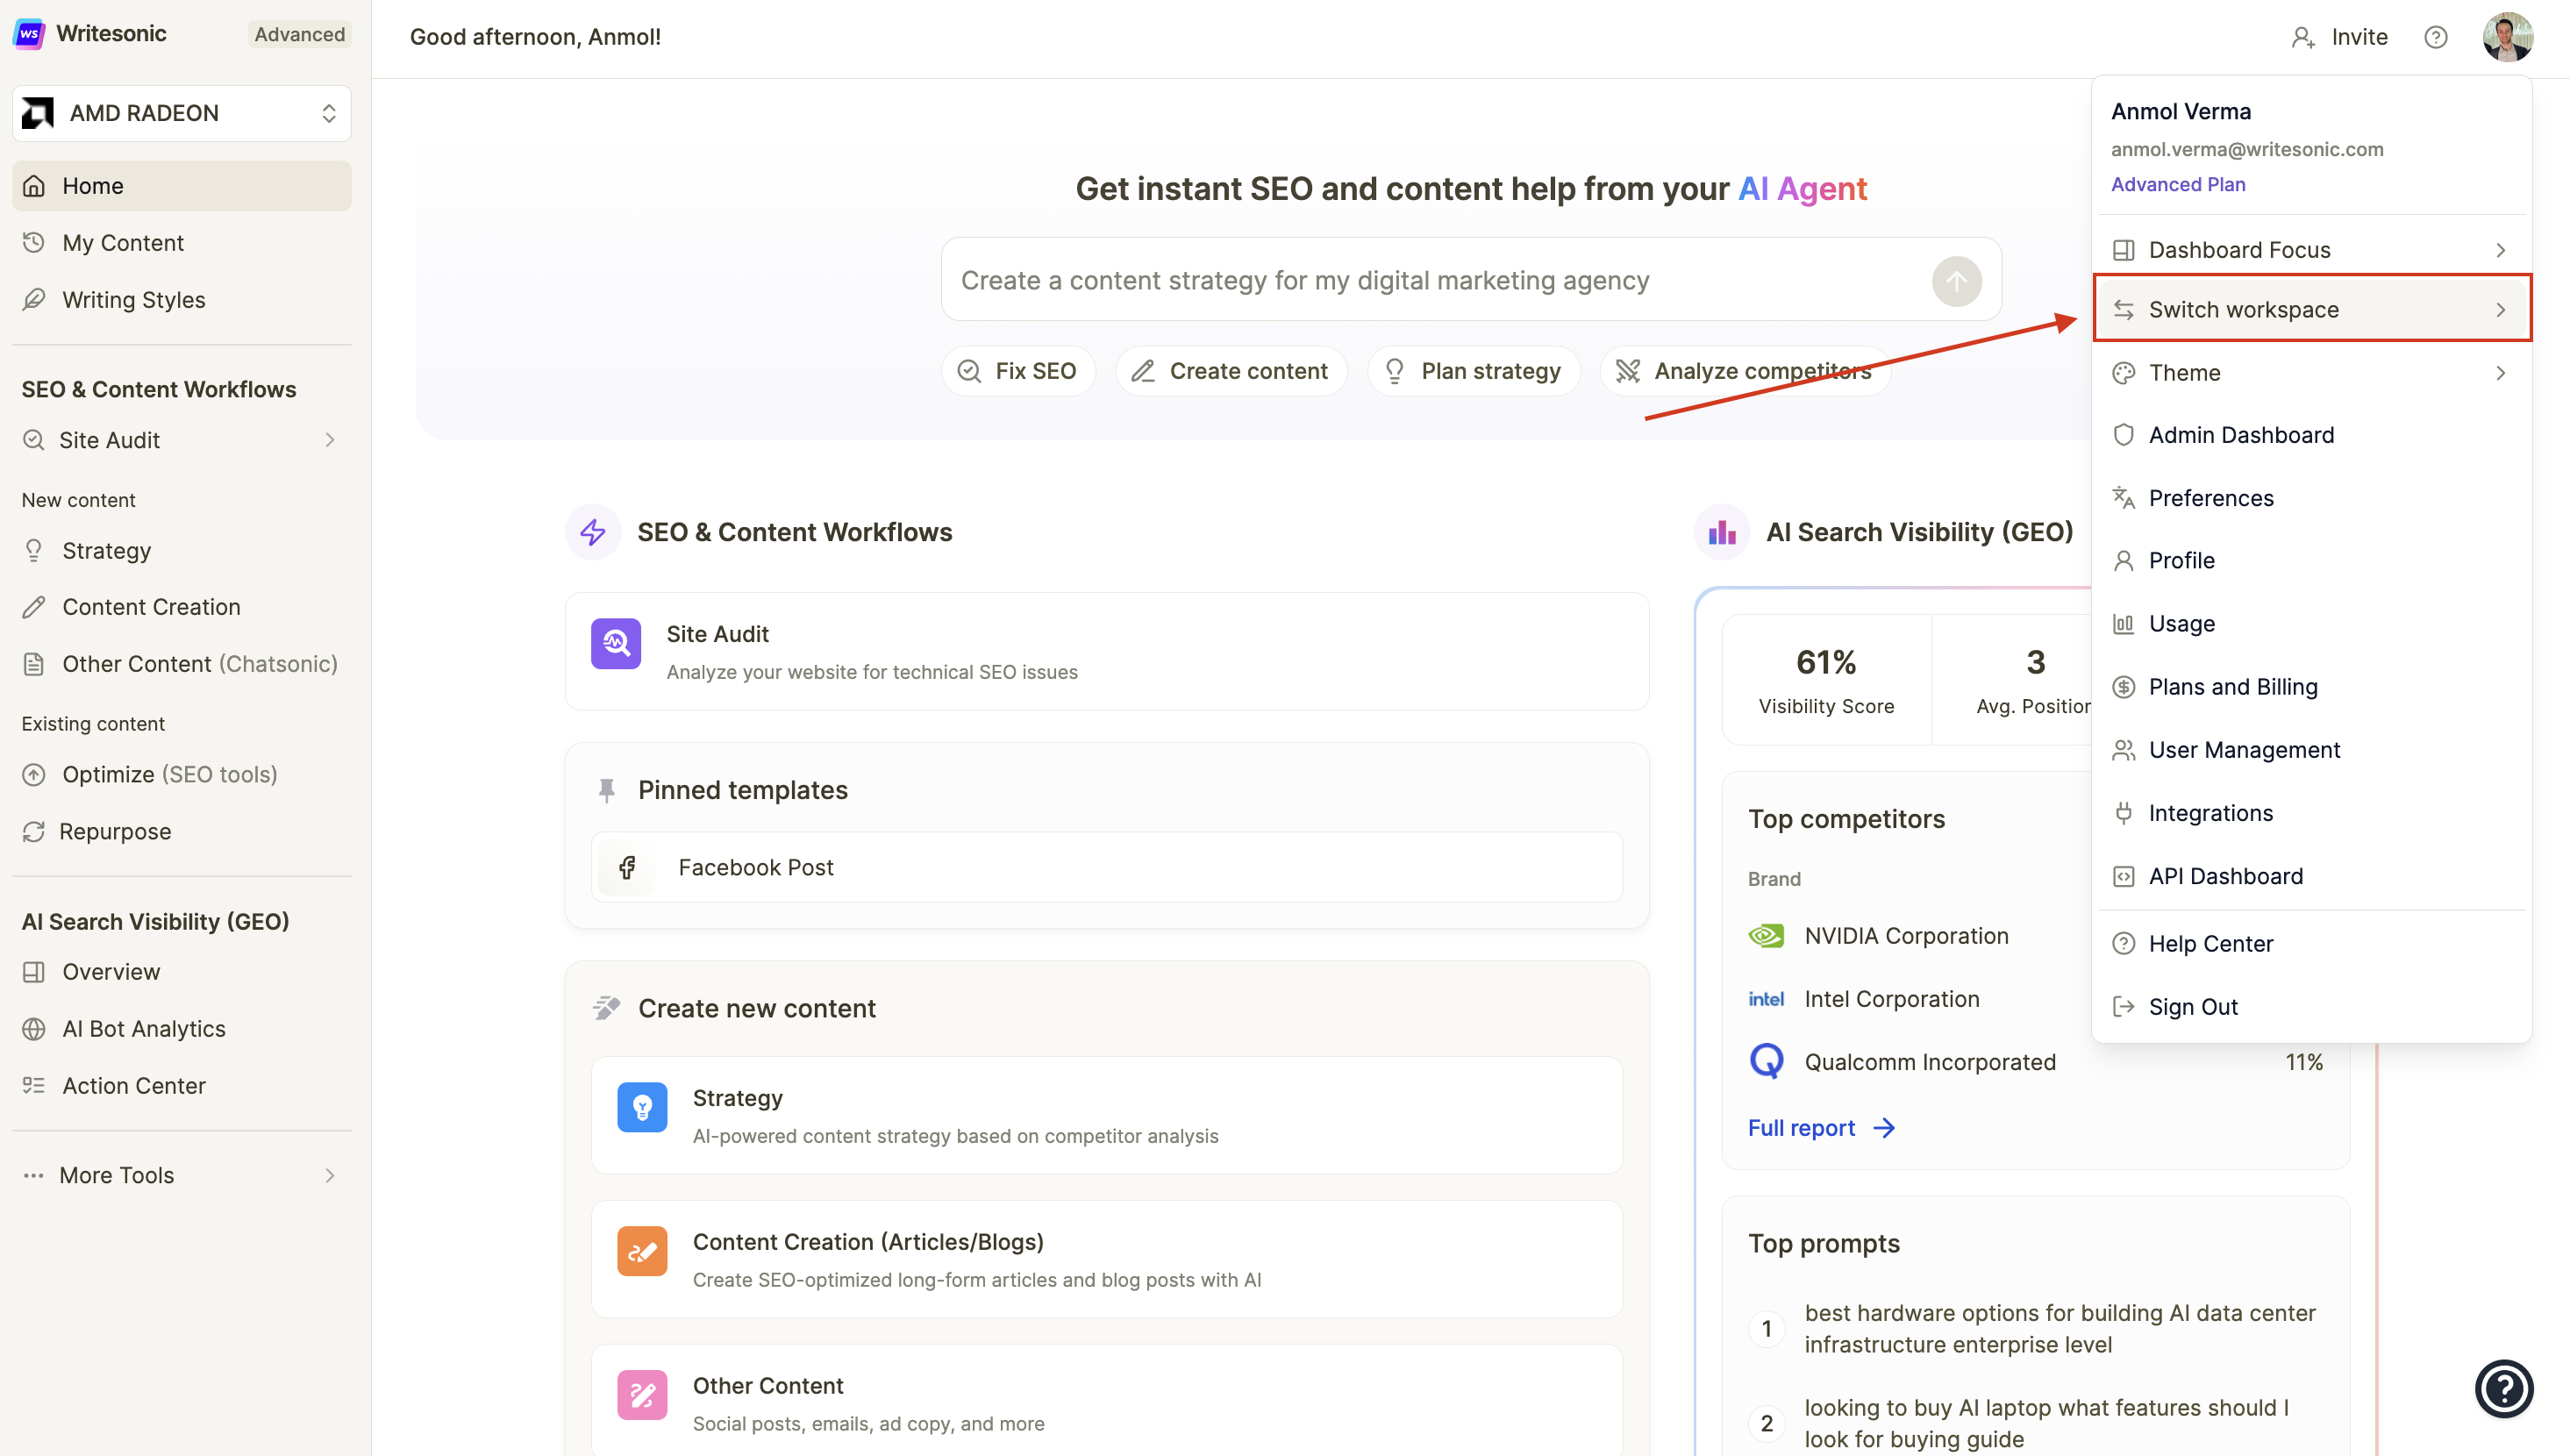
Profile menu showing account options
Step 2: Click on “Switch Workspace”
In the dropdown menu, locate and click on “Switch workspace”. This will expand to show all the workspaces available to your account.
Switch workspace option expanded showing available workspaces
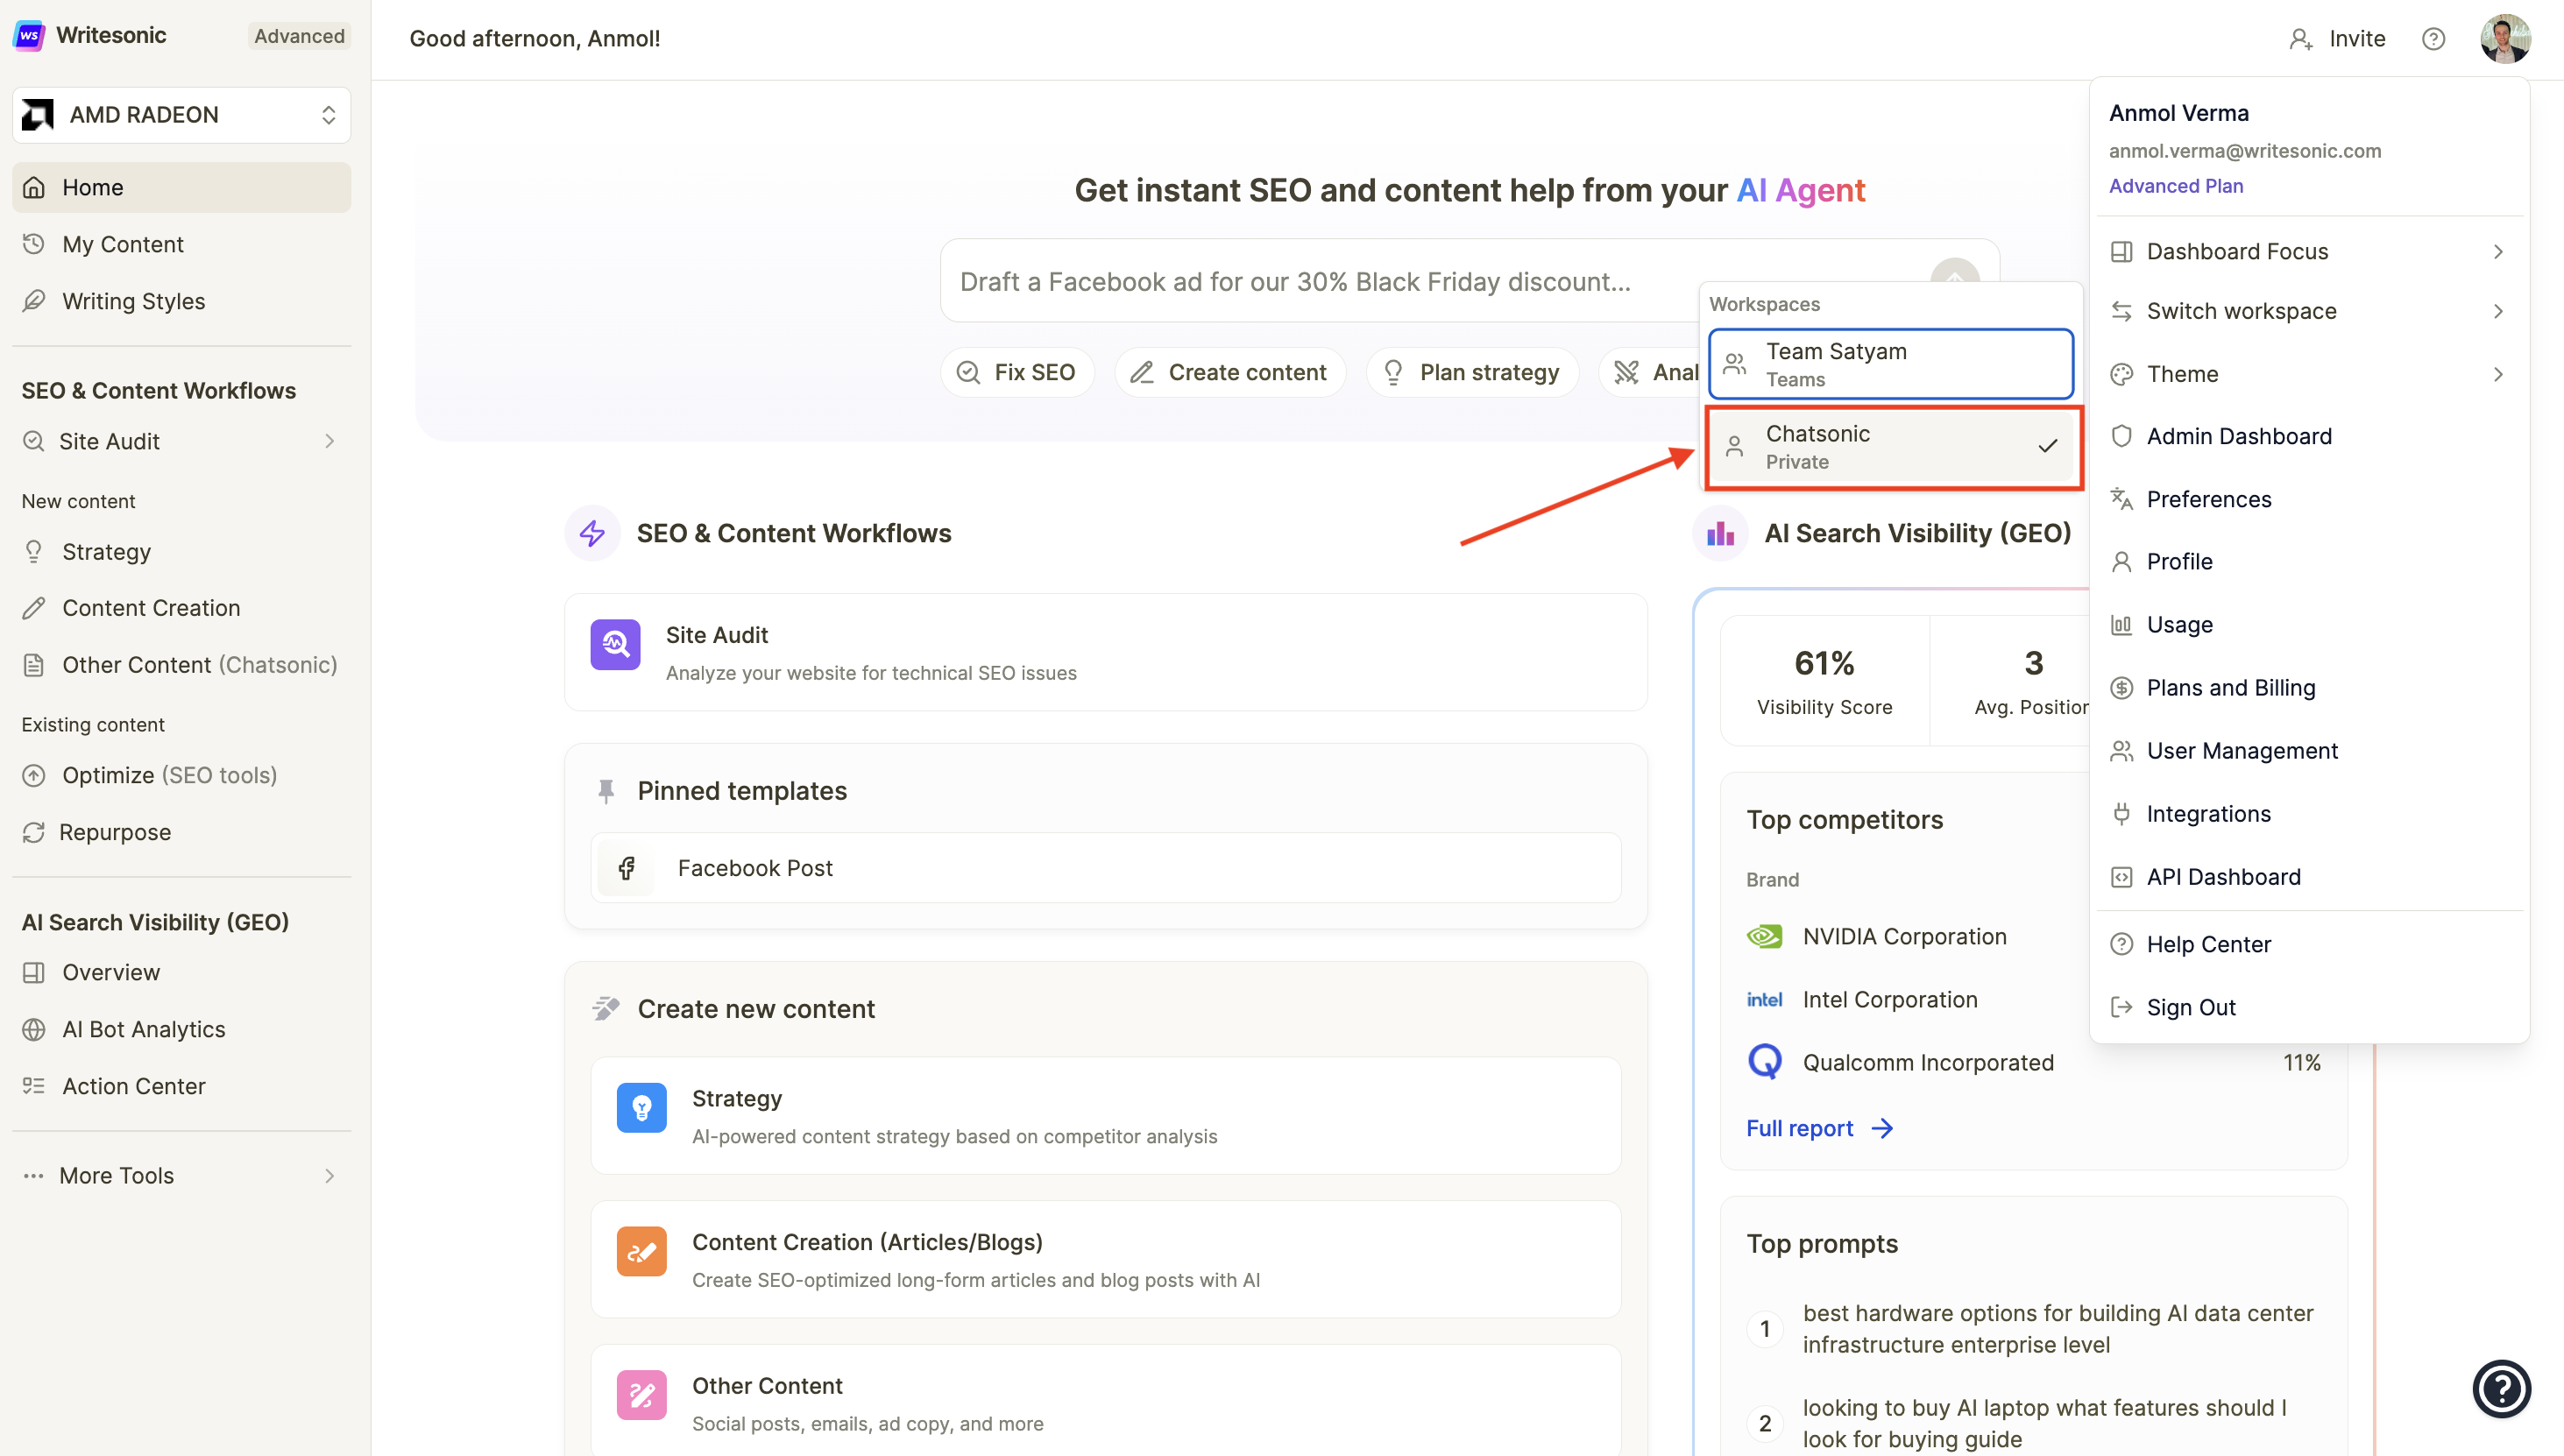
Step 3: Select Your Team Workspace
In the expanded workspace menu, you’ll see a list of available workspaces:
- Teams workspaces (shared with your team members)
- Private workspaces (your personal workspace)
Click on the team workspace you wish to switch to. A checkmark indicates your currently active workspace.
Step 4: Start Working in Your Team Workspace
Once you select a workspace, you’ll be switched to that workspace’s dashboard immediately. Here, you can access all the tools and resources available to your team, including shared projects, content, and AI Search Visibility (GEO) data specific to that workspace.
Conclusion
Switching workspaces on Writesonic is quick and easy, allowing you to work seamlessly across different projects and teams. With this guide, you’re all set to manage your workspaces effortlessly, so you can focus on what really matters—creating amazing content. Happy writing!
Need Help?
If you run into any problems or have questions, don’t hesitate to reach out to Writesonic support at [email protected]. We’re here to help!
Updated 6 months ago