
Writesonic - Zapier Integration for AI Content Generation
Learn how to use Writesonic's Zapier integration to automate your content using AI.
Zapier is an automation platform that connects your apps and services so you can automate workflows without having to code.
Using Zapier, you can connect Writesonic to over 5000+ apps to automate work between Writesonic and other apps.
The following are just a few examples of automations you can build using Zapier:
- Automate your Tweets: Post a tweet generated using Writesonic to Twitter directly from within the Writesonic app in 1-click.
- Publish articles/blogs to WordPress: Publish articles generated by Writesonic's AI Article Writer or Sonic Editor to your Wordpress.com or Wordpress.org sites without copy-pasting and formatting within seconds.
- Update product details on Shopify: Optimize product titles and descriptions to make them engaging to read and SEO-friendly for Google.
- Publish posts on LinkedIn: Directly publish Linkedin posts created by Writesonic's LinkedIn post generator from within Writesonic.
- Create email drafts on Gmail: Generate email copy and compose a draft email on your Gmail account in an instant.
Customers of Writesonic can use Writesonic's Zapier integration for free. You must have a Zapier account to use the integration, and certain apps may require a paid Zapier subscription. For more information, please visit Zapier's pricing page.
Install the Zapier integration
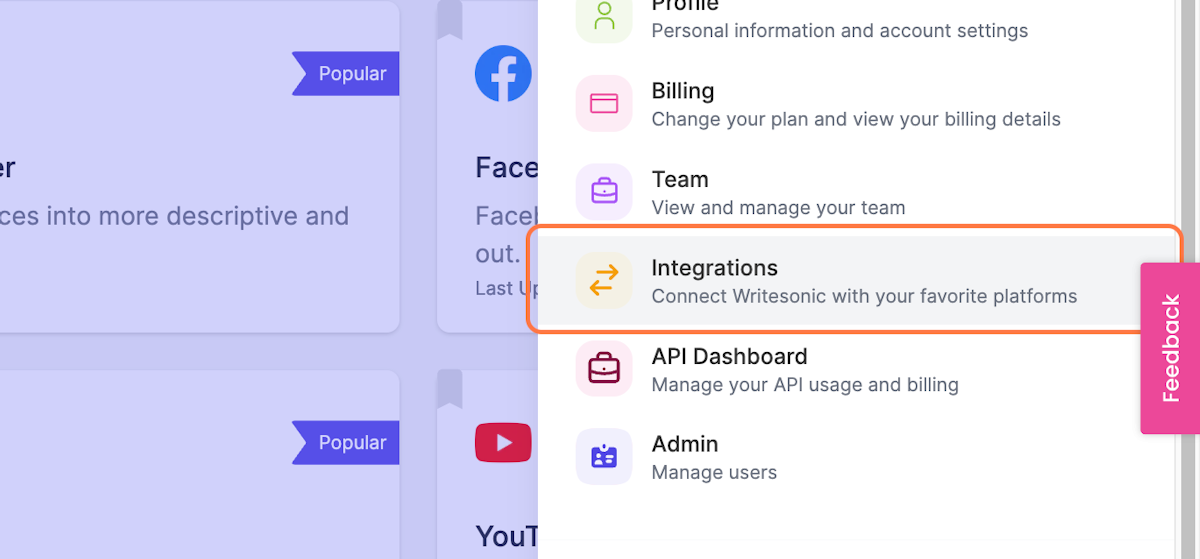
- On the Writesonic dashboard, click on Your Profile image to open the settings sidebar.
- Click on Integrations.
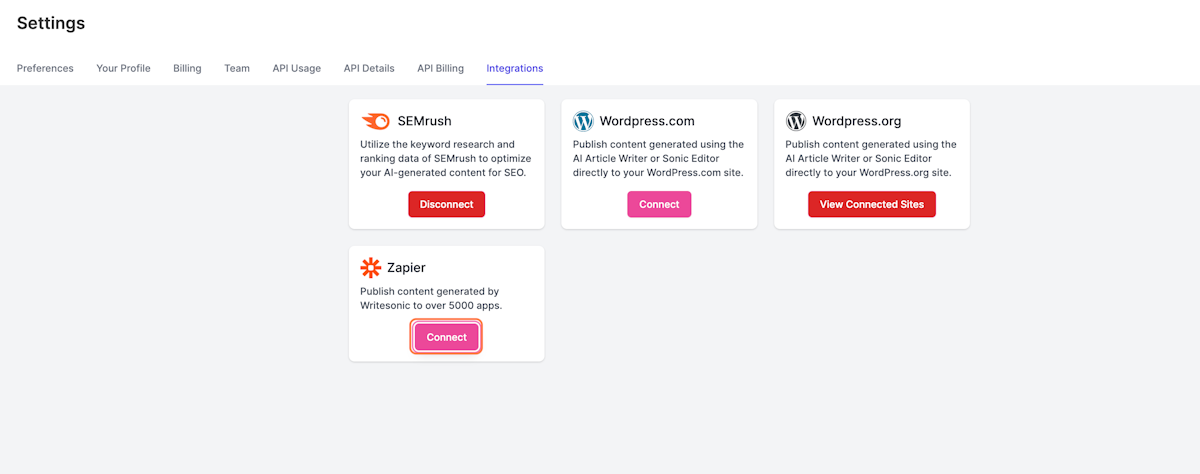
- Click on the Connect button on the Zapier card.
- To complete the integration setup, create your first Writesonic Zap.
Create a Zap
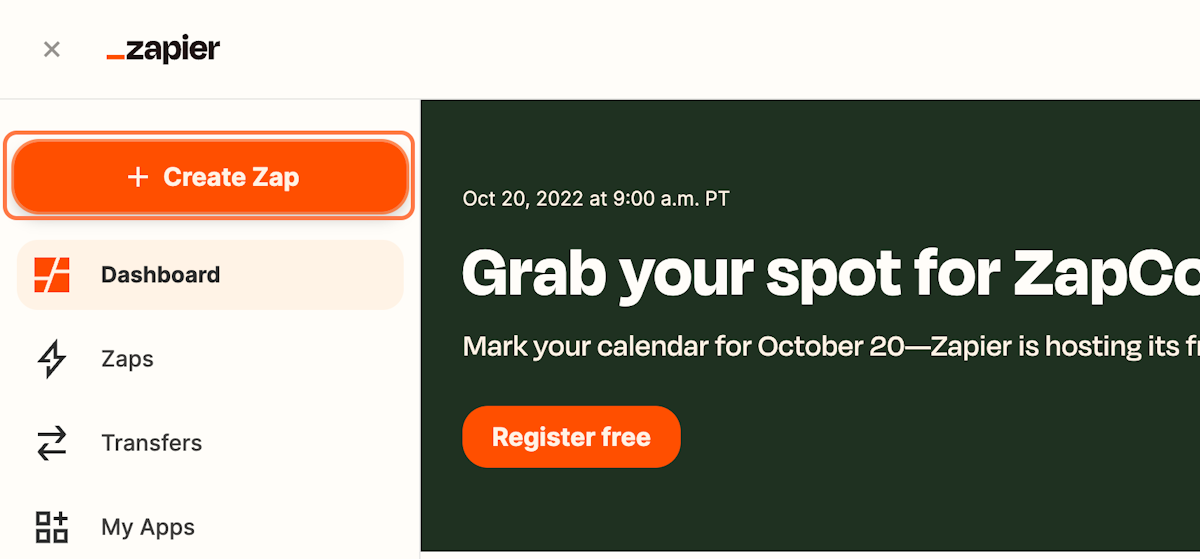
- Log in to your Zapier account.
- Click on Create Zap in the upper left.
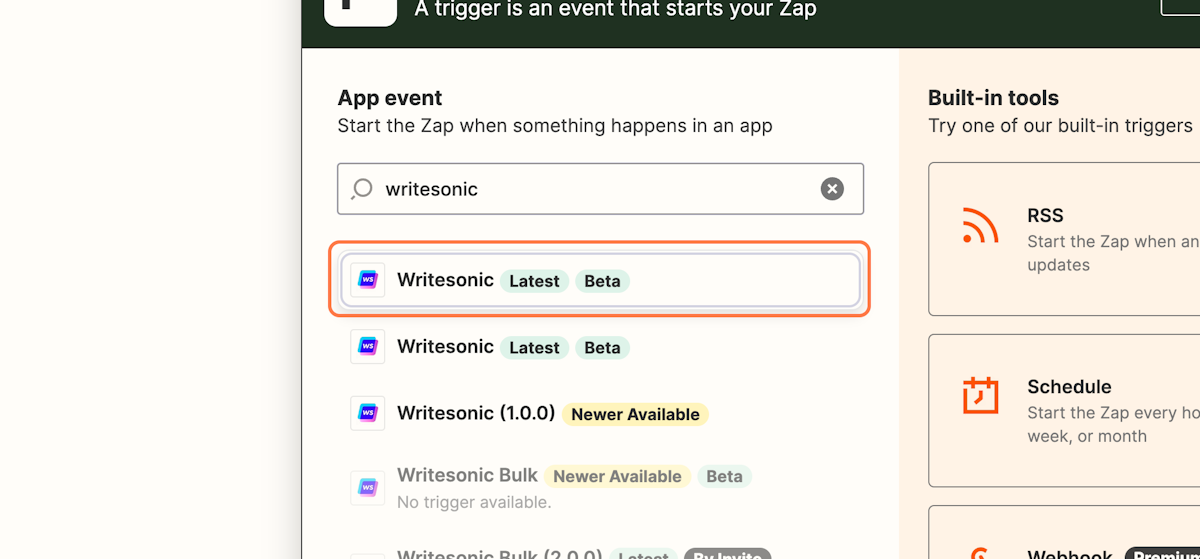
- Search for "Writesonic"
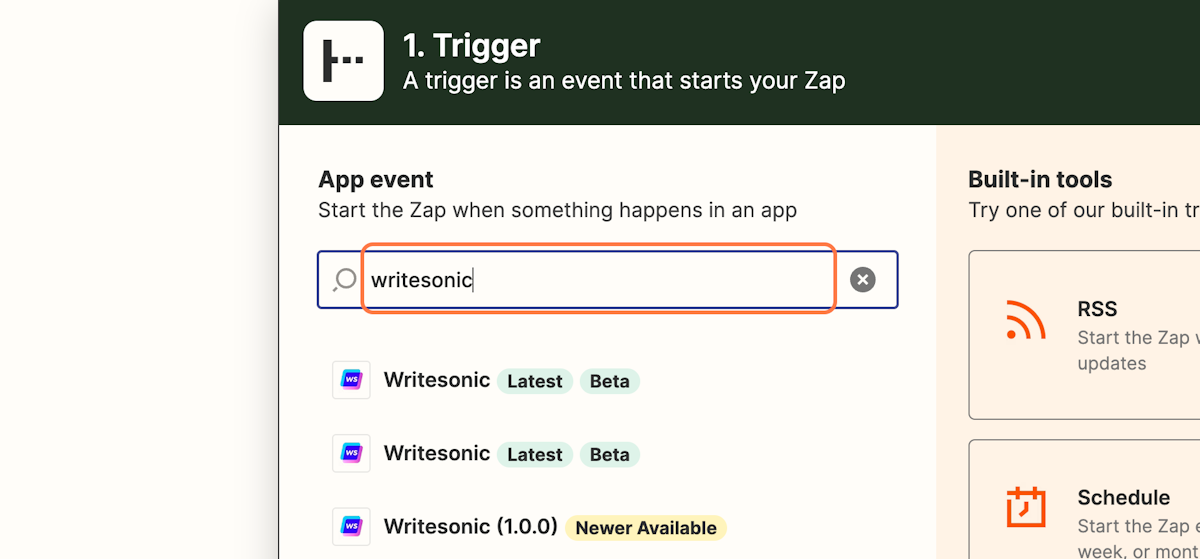
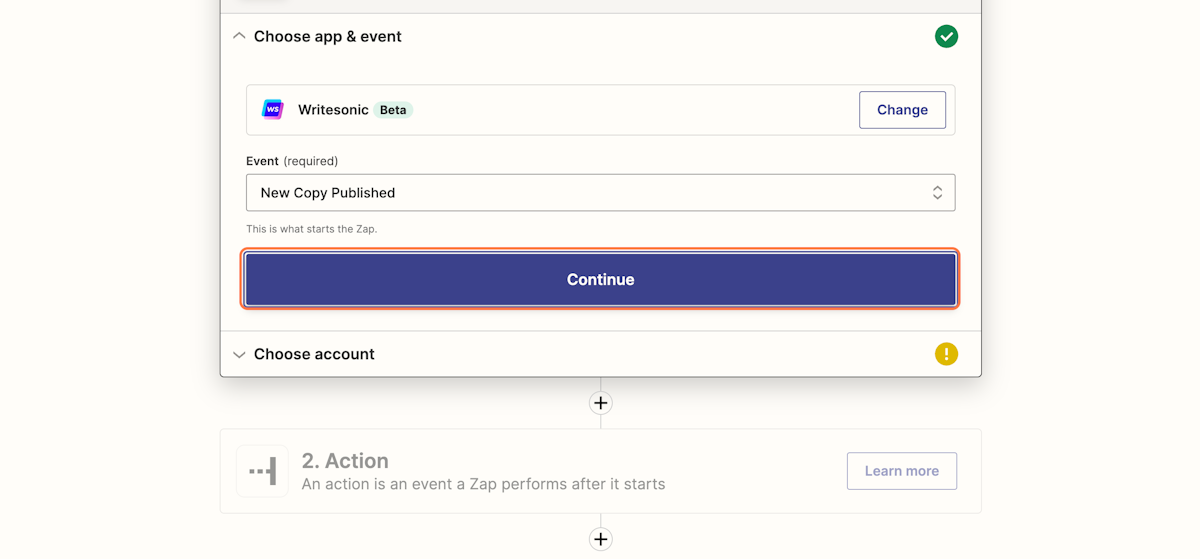
- Select the first option that says Writesonic [Latest] [Beta]
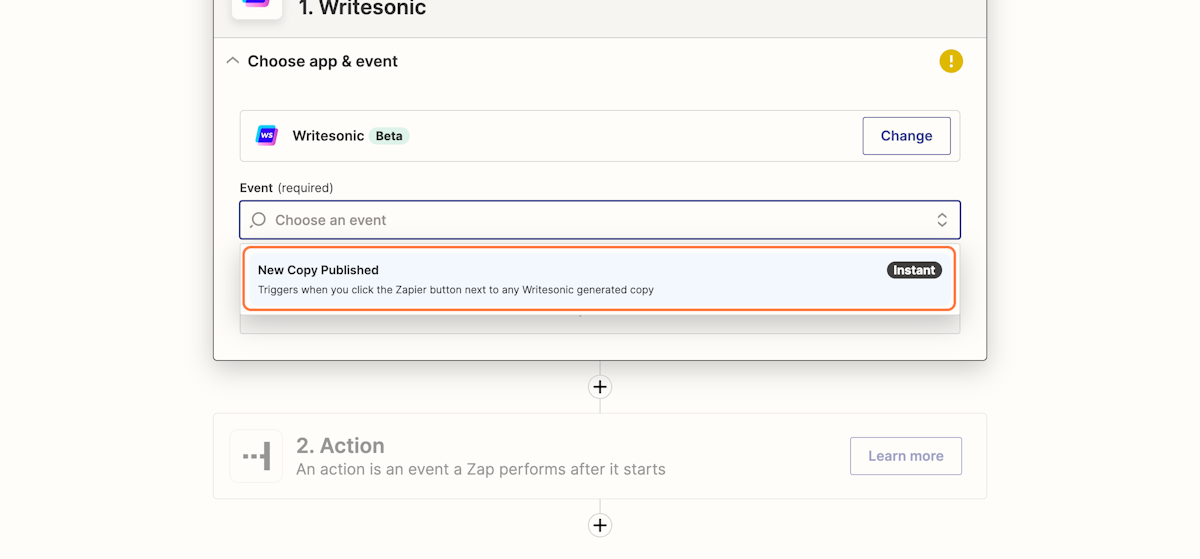
- Click on the Event field.
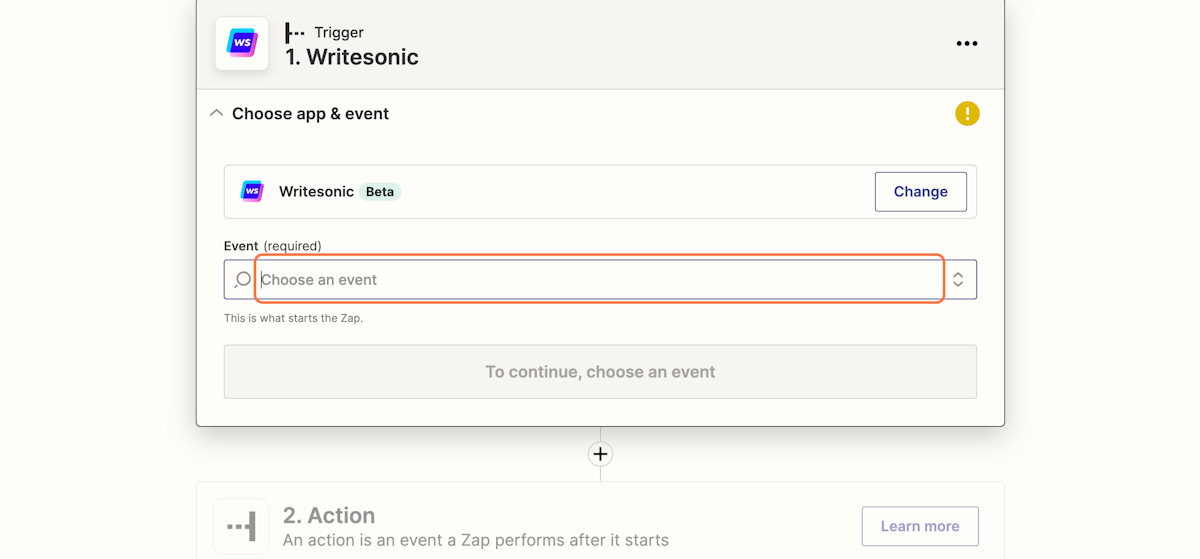
- Select the New Copy Published option
- Click on Continue
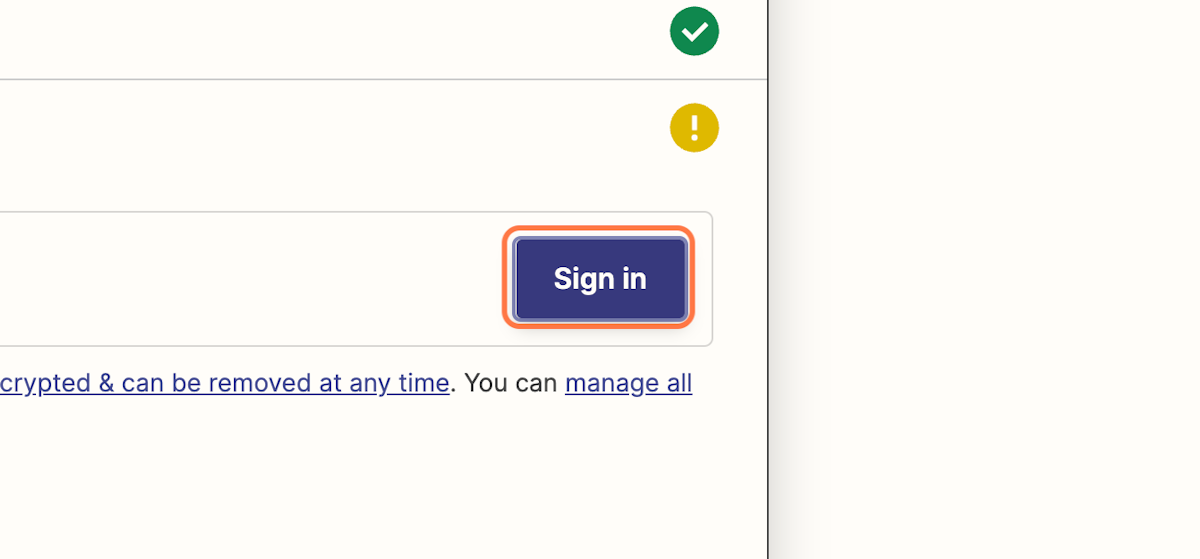
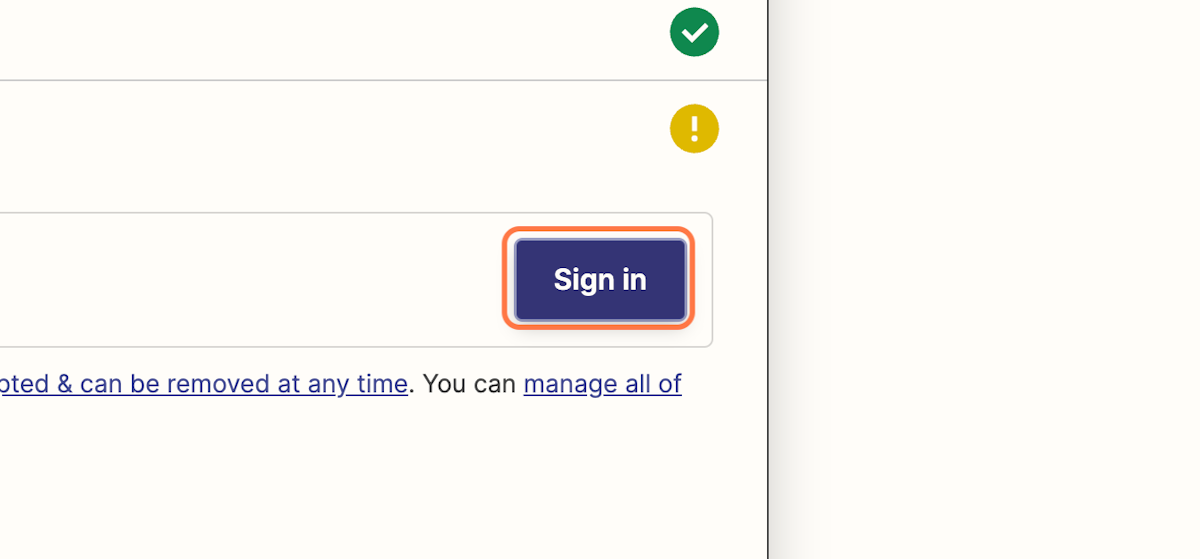
- Click on Sign in to connect Zapier with your Writesonic account
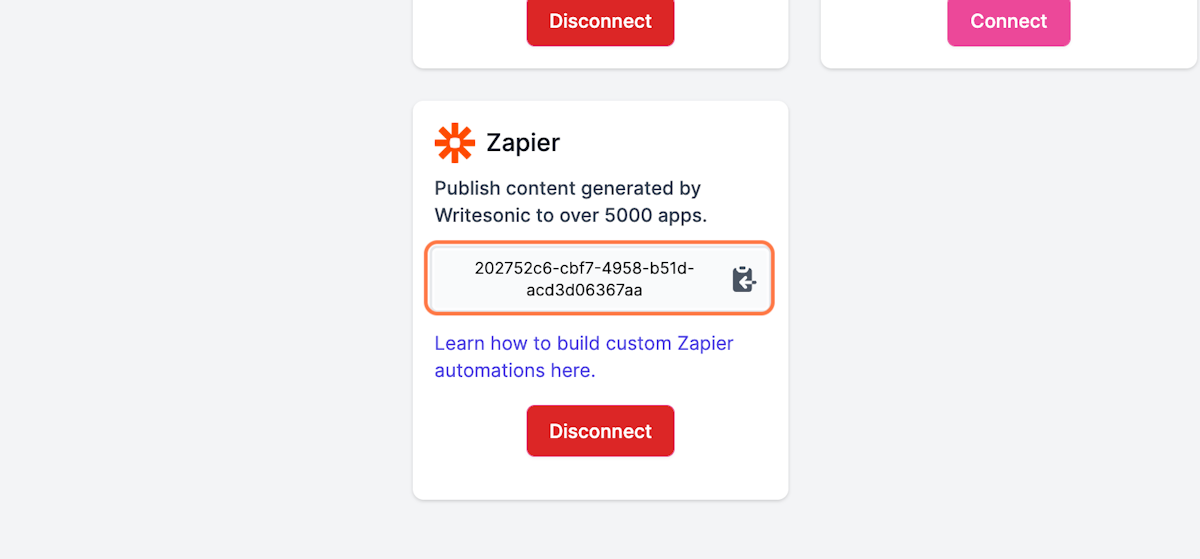
- Go back to the Integrations page on Writesonic
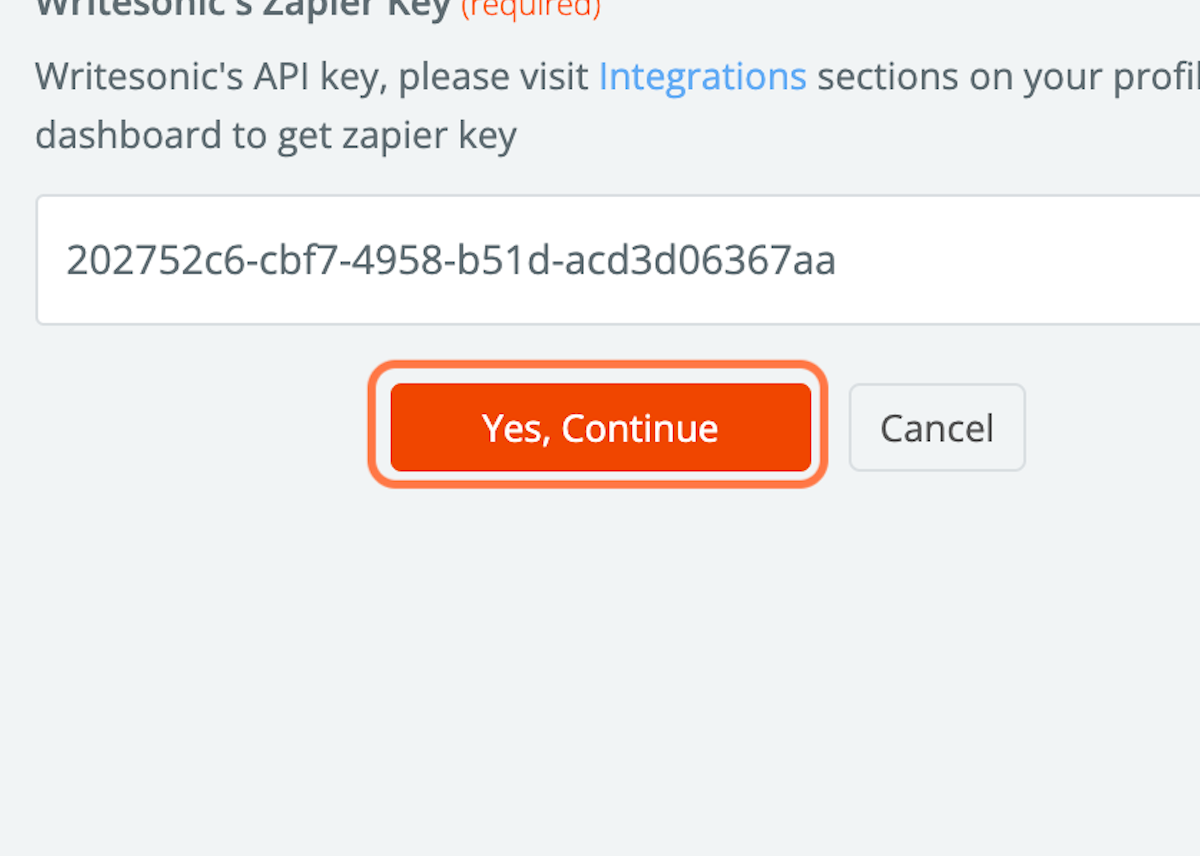
- Click on the Copy to Clipboard button on the Zapier card to copy your API key
- Go back to the Zapier window and paste the API key we copied in the last step
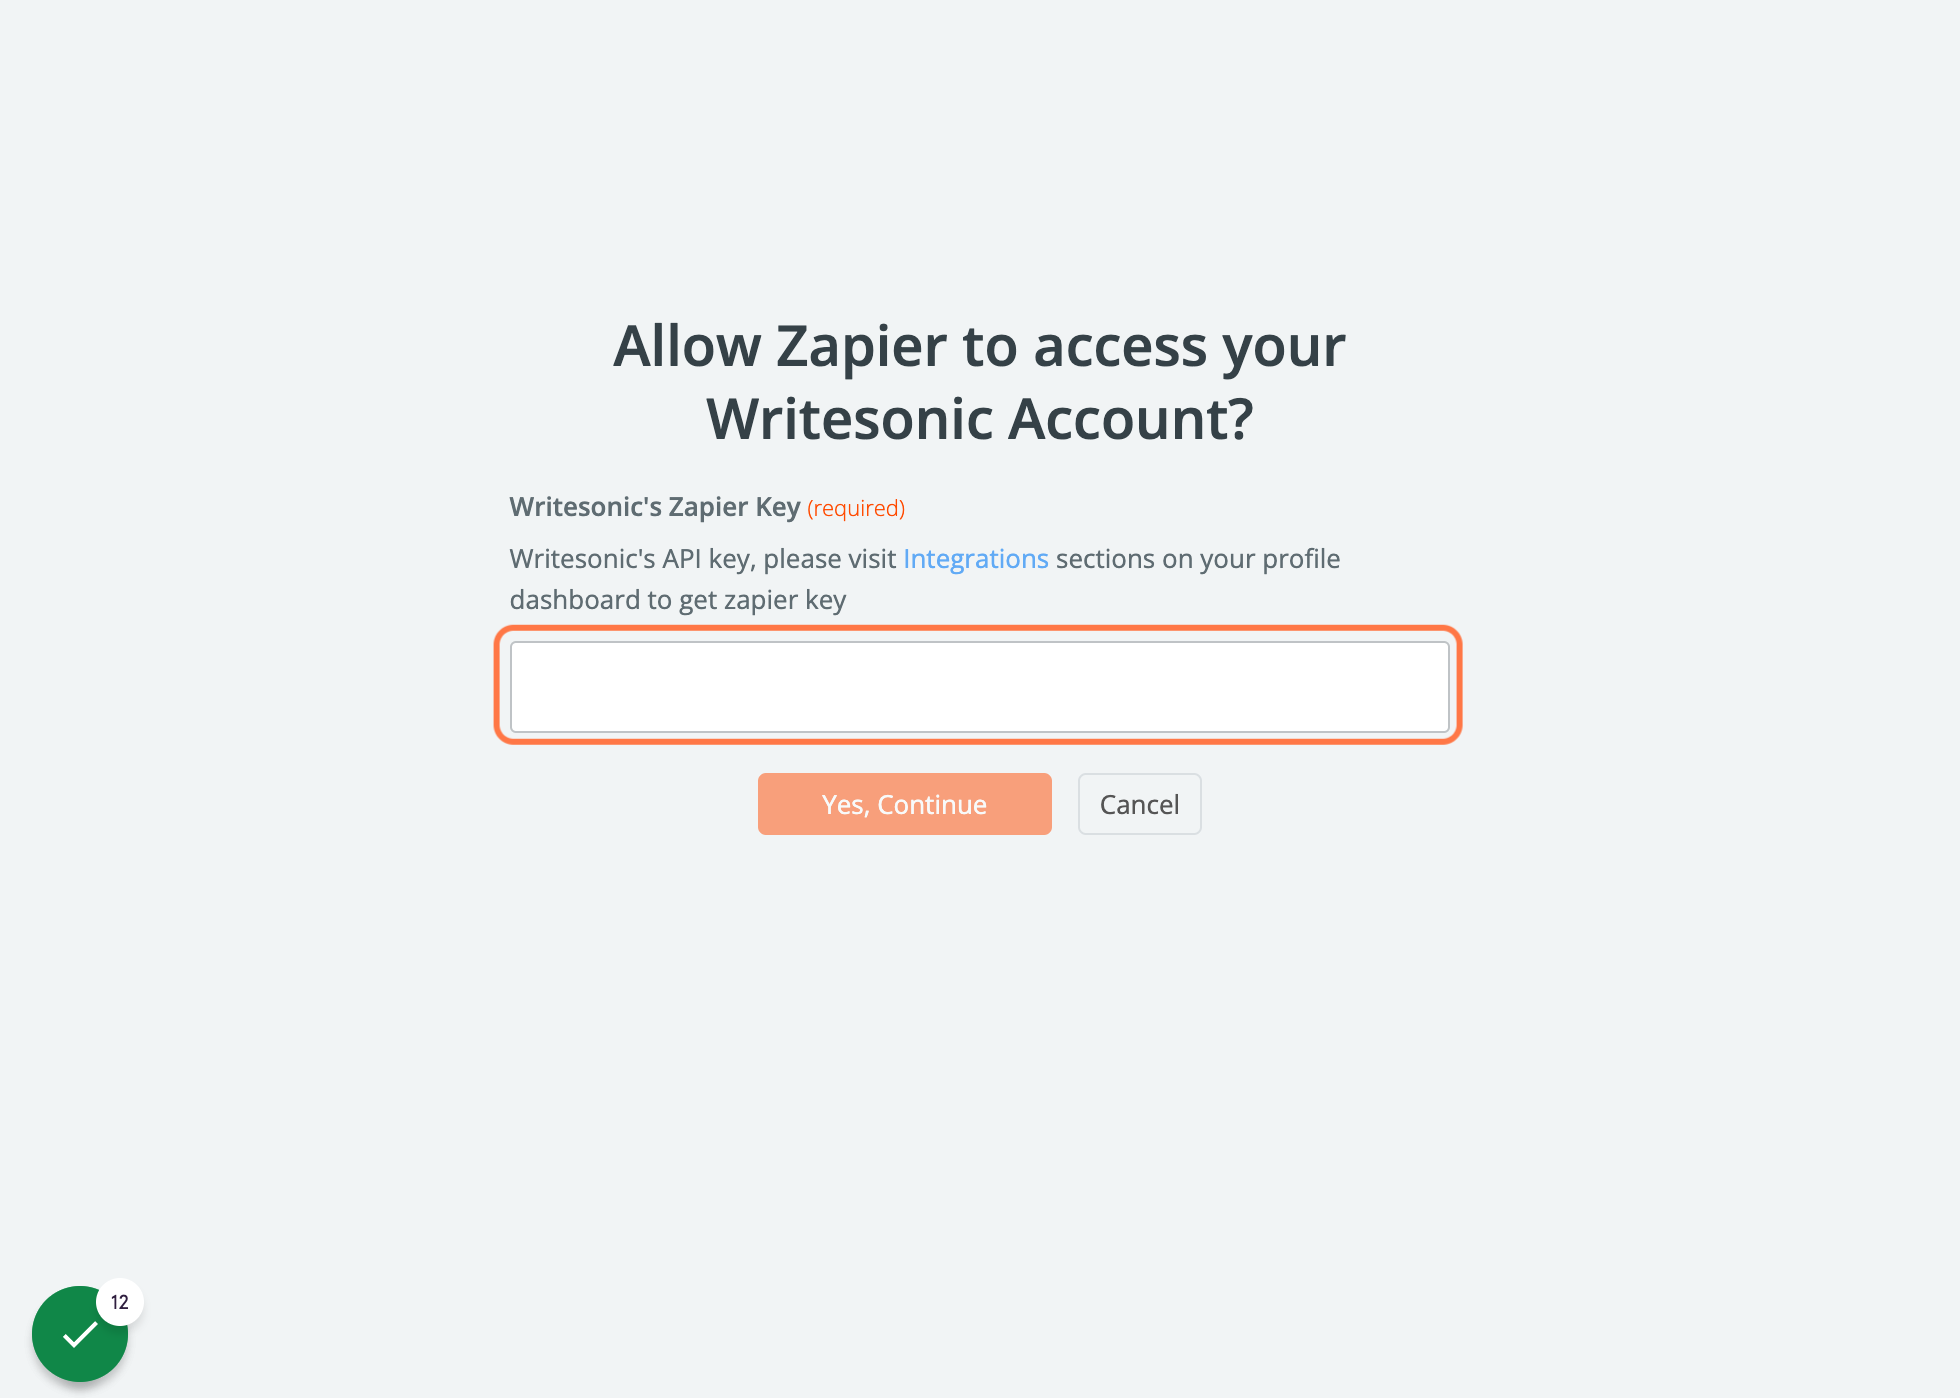
- Click on Yes, Continue
- It should show your connected Writesonic account name, for example, "Writesonic Samanyou Garg"
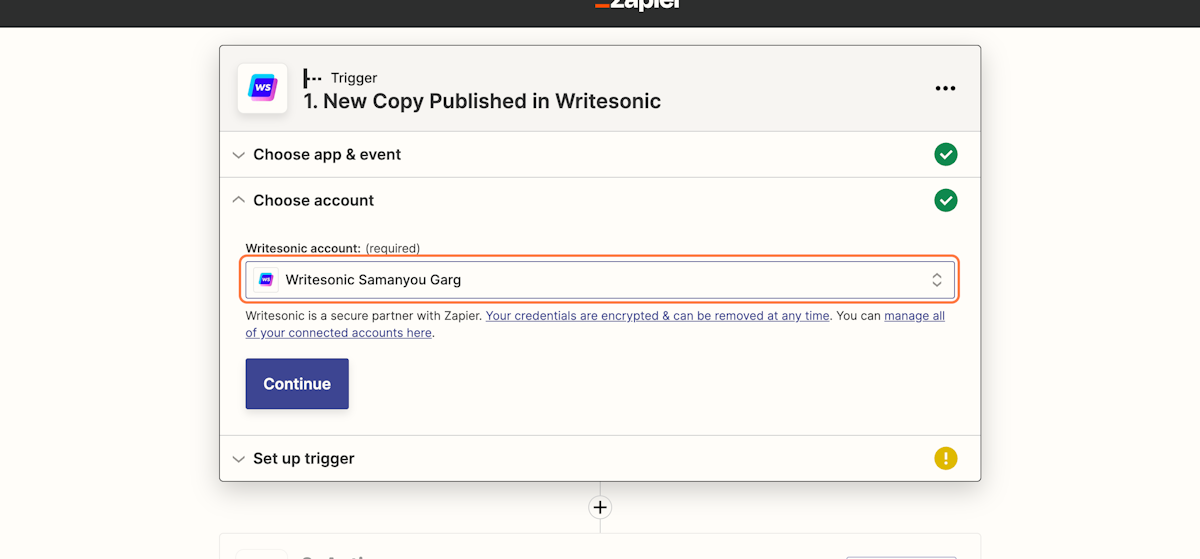
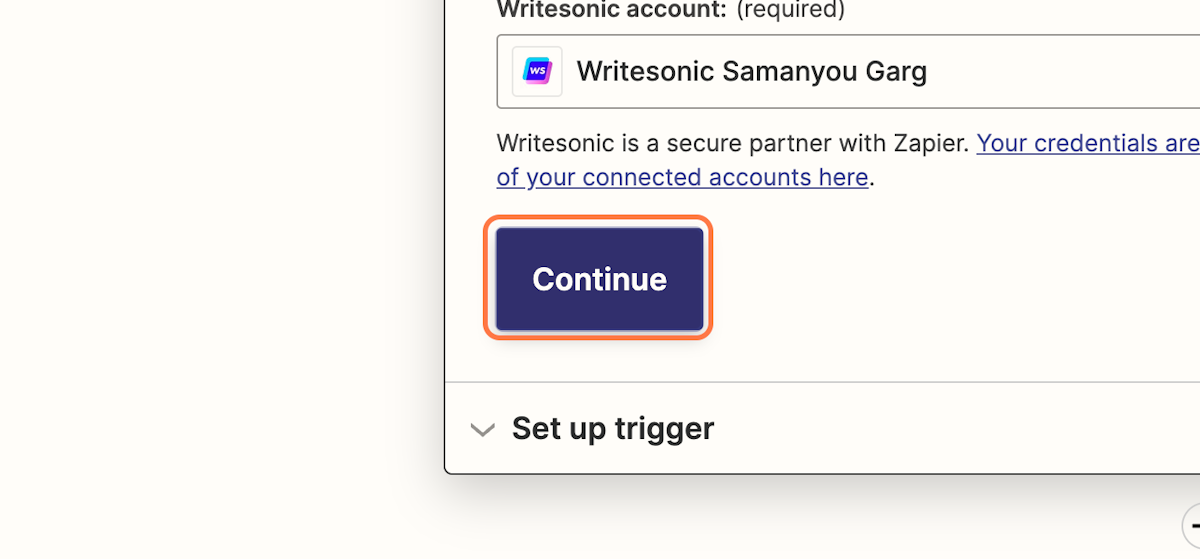
- Click on Continue
- Click on Publishing Destination
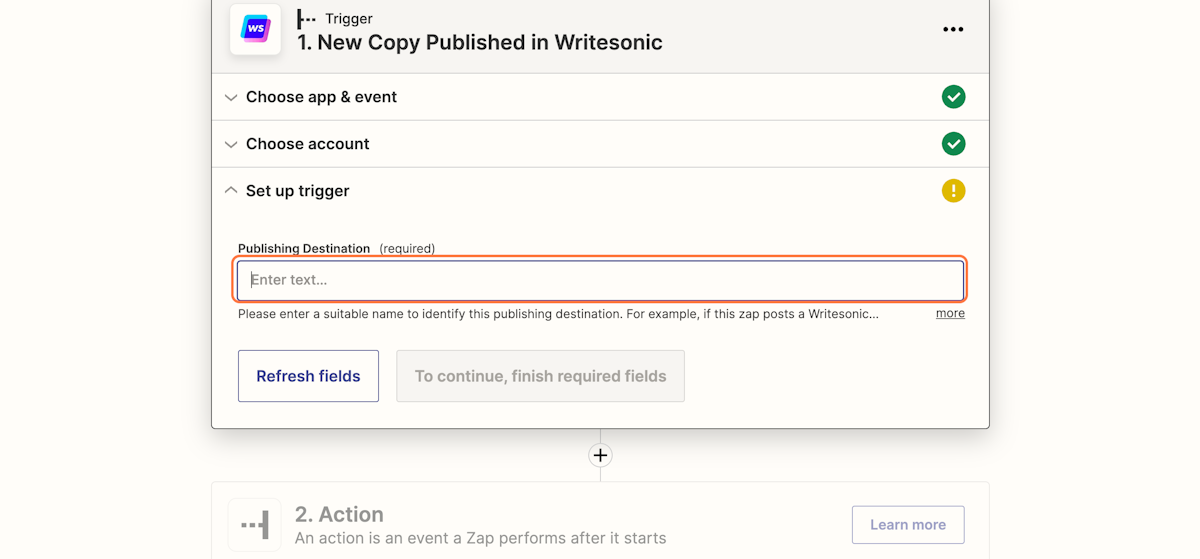
- Enter the name of the publishing destination. For example, if you want to use this zap to post to your personal Twitter account, then you can enter "Personal Twitter Account".
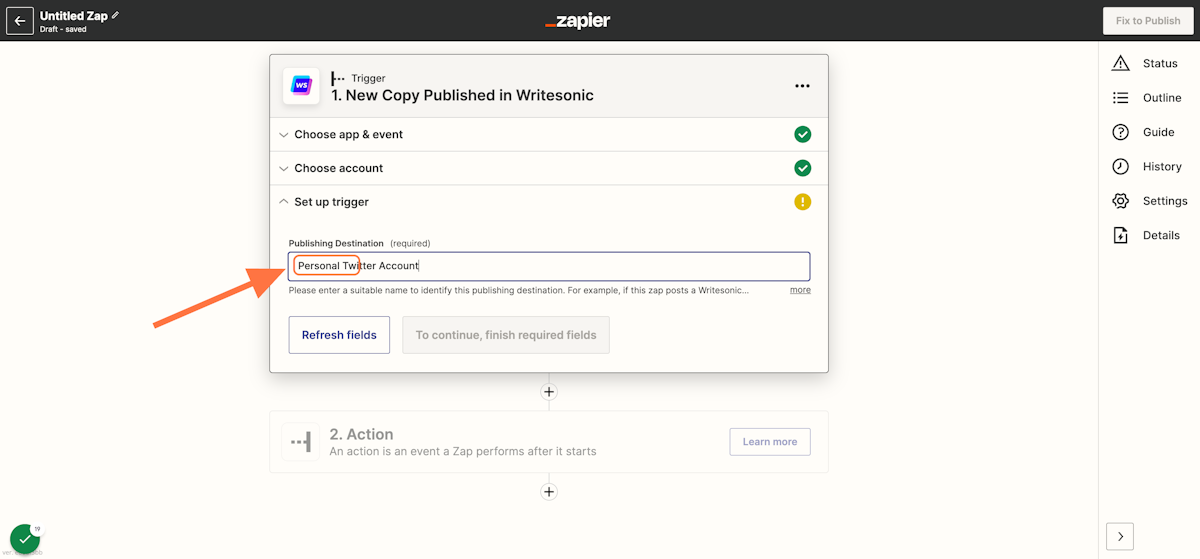
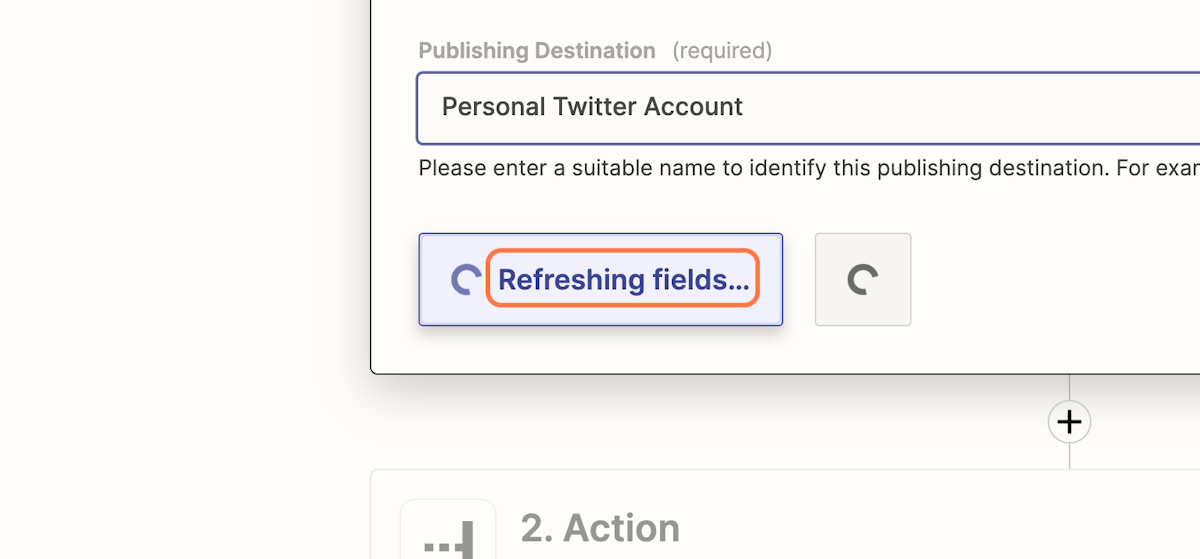
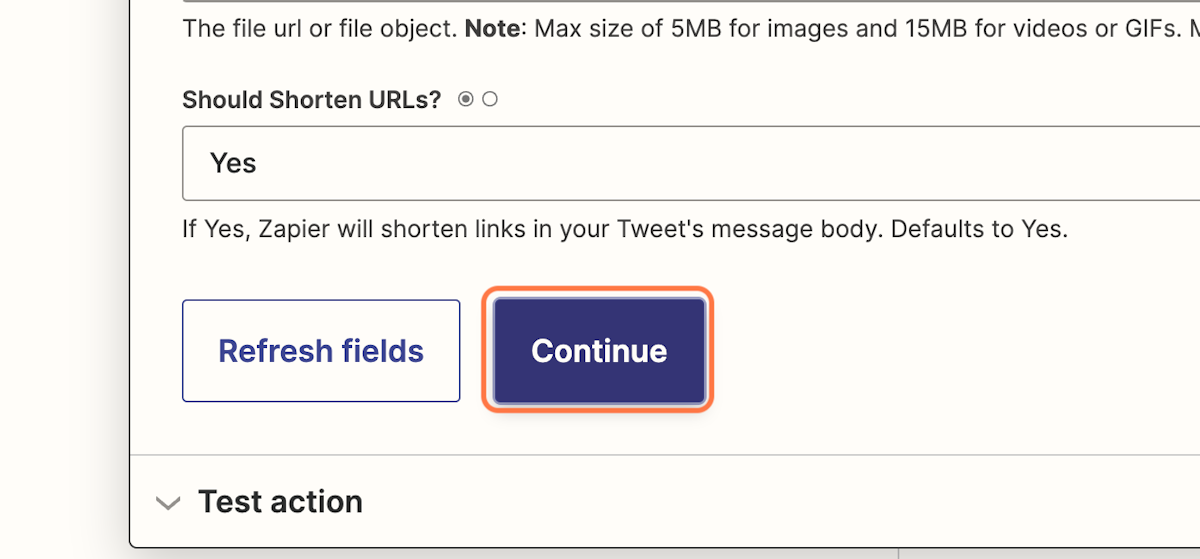
- Click on Refresh Fields
- Click on Continue
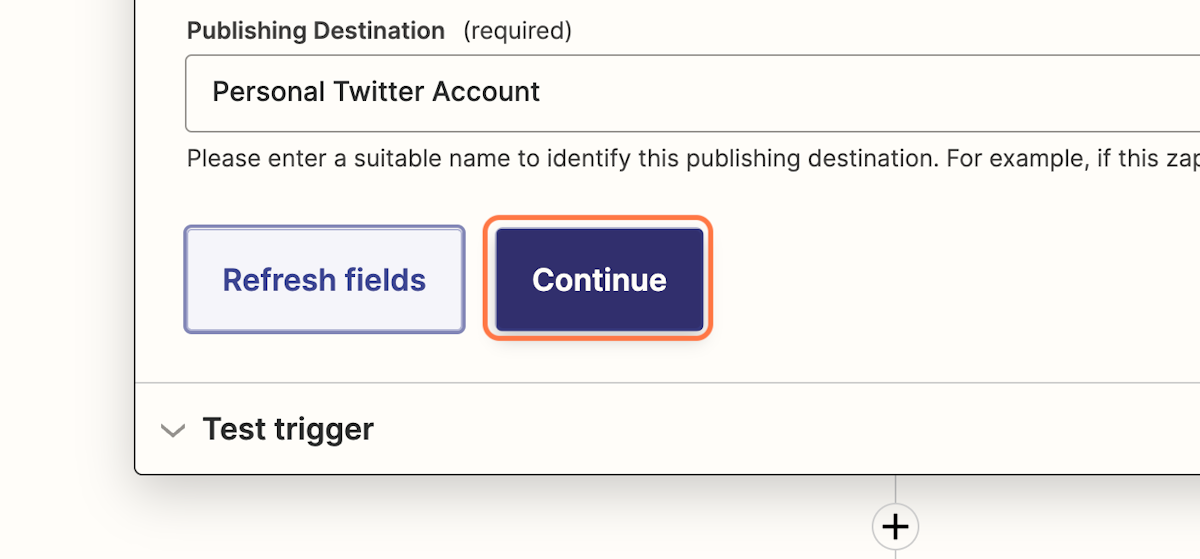
- Click on Test trigger
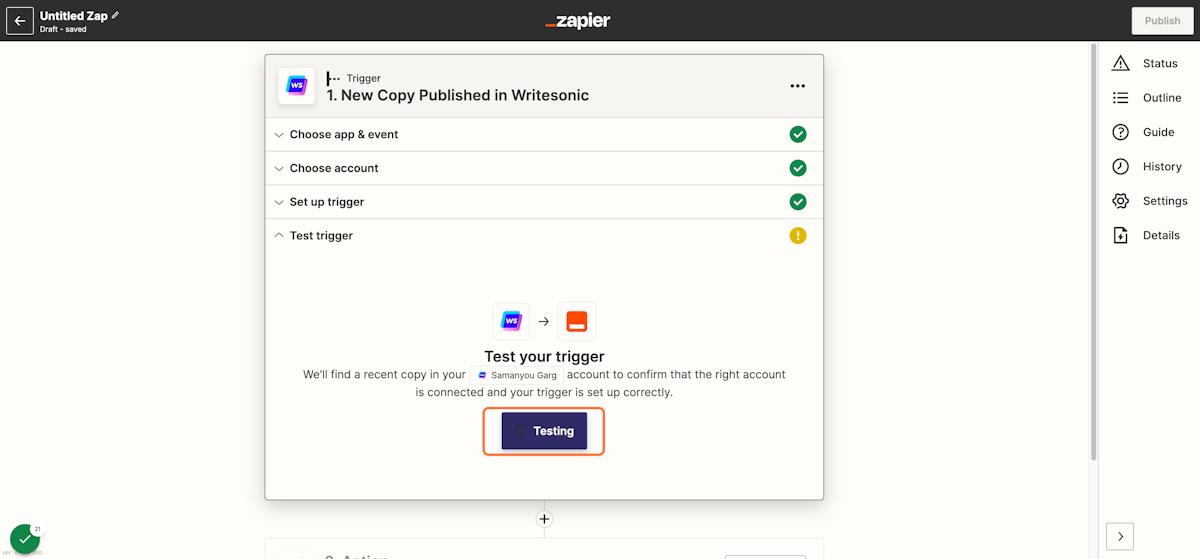
- Click on Continue

Connecting with your target application
For the purpose of this tutorial, we will be connecting Writesonic to Twitter but you can follow the same steps for other apps too.
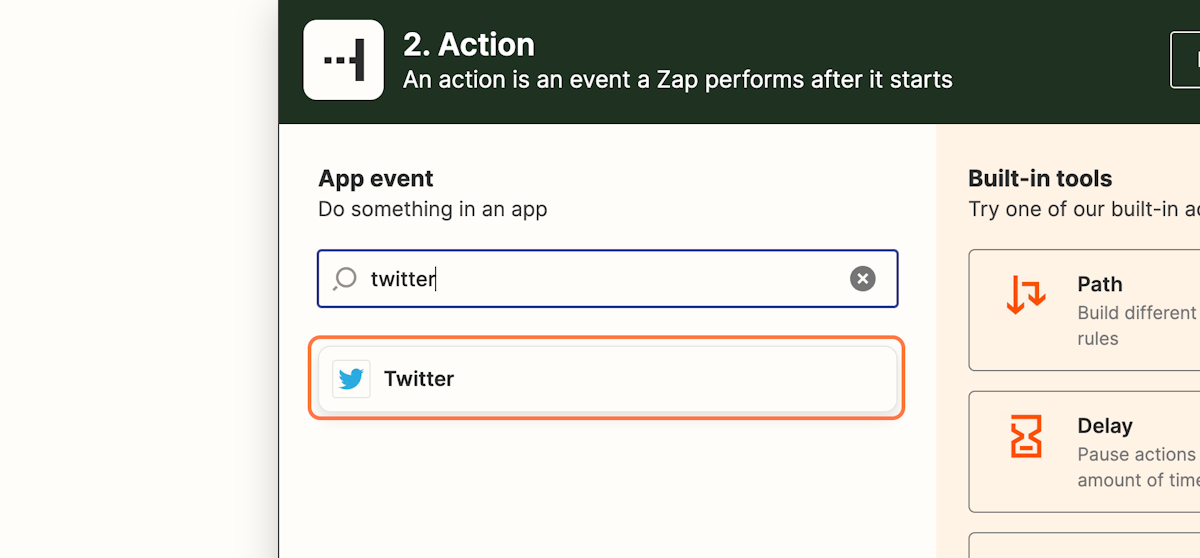
- Search for "twitter" and select the first option
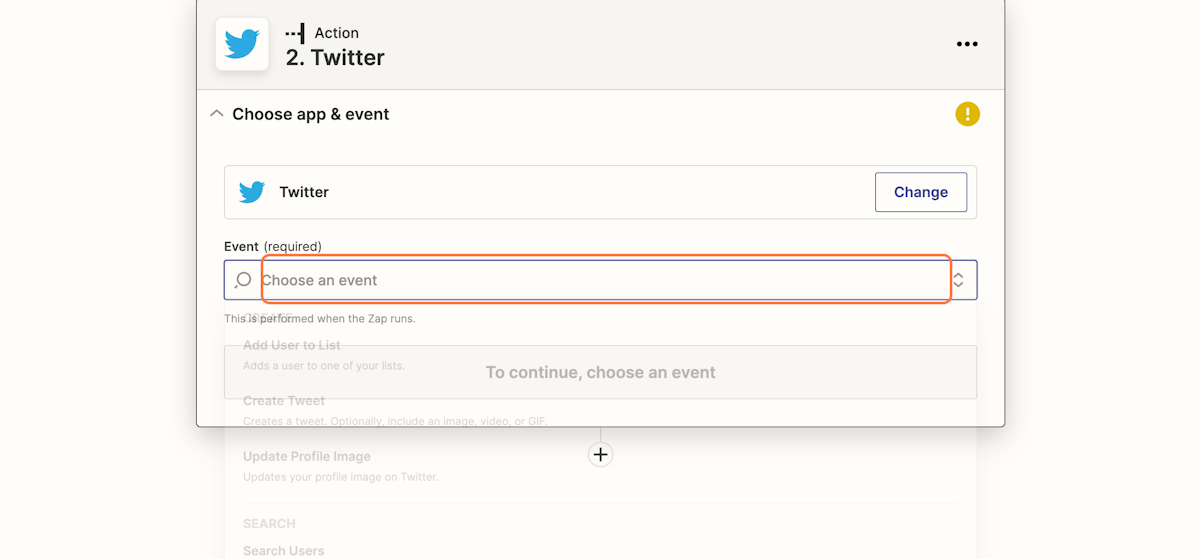
- Click on Event
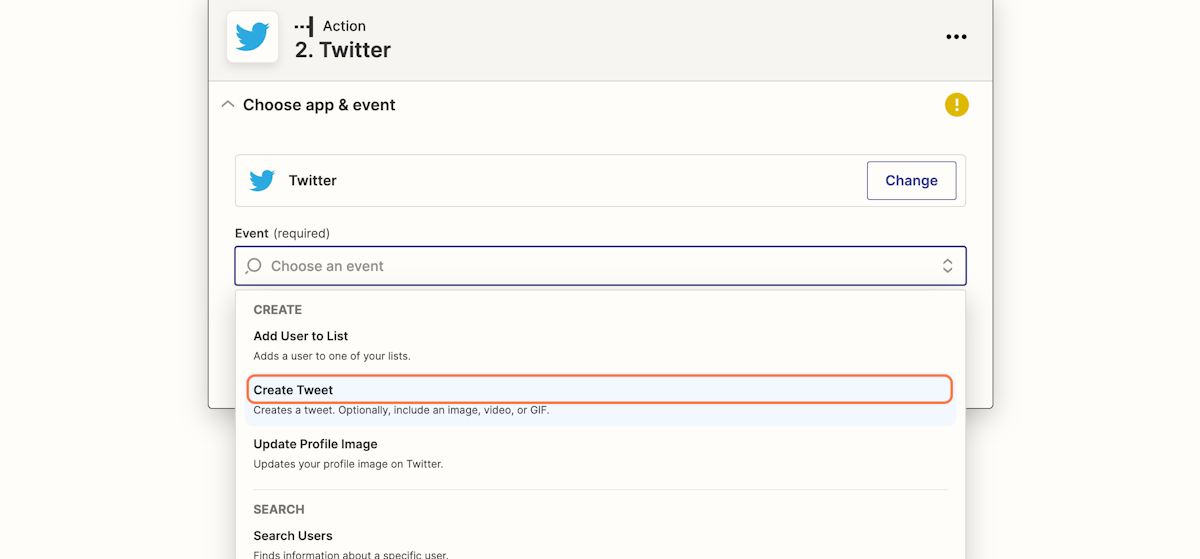
- Click on Create Tweet since we would like a tweet to be pushed using our zap
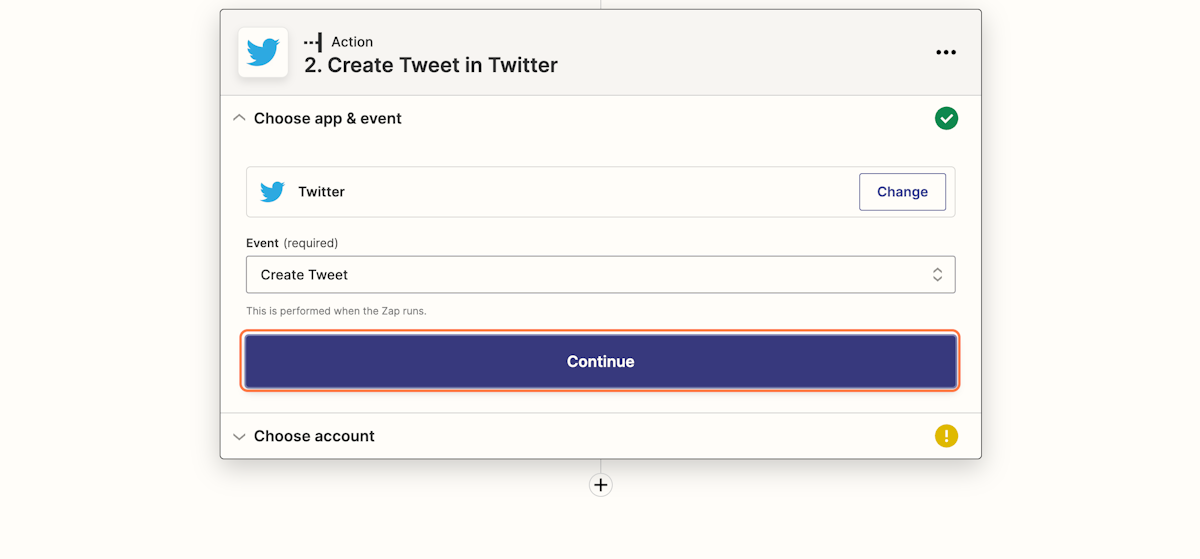
- Click on Continue
- Click on Sign in
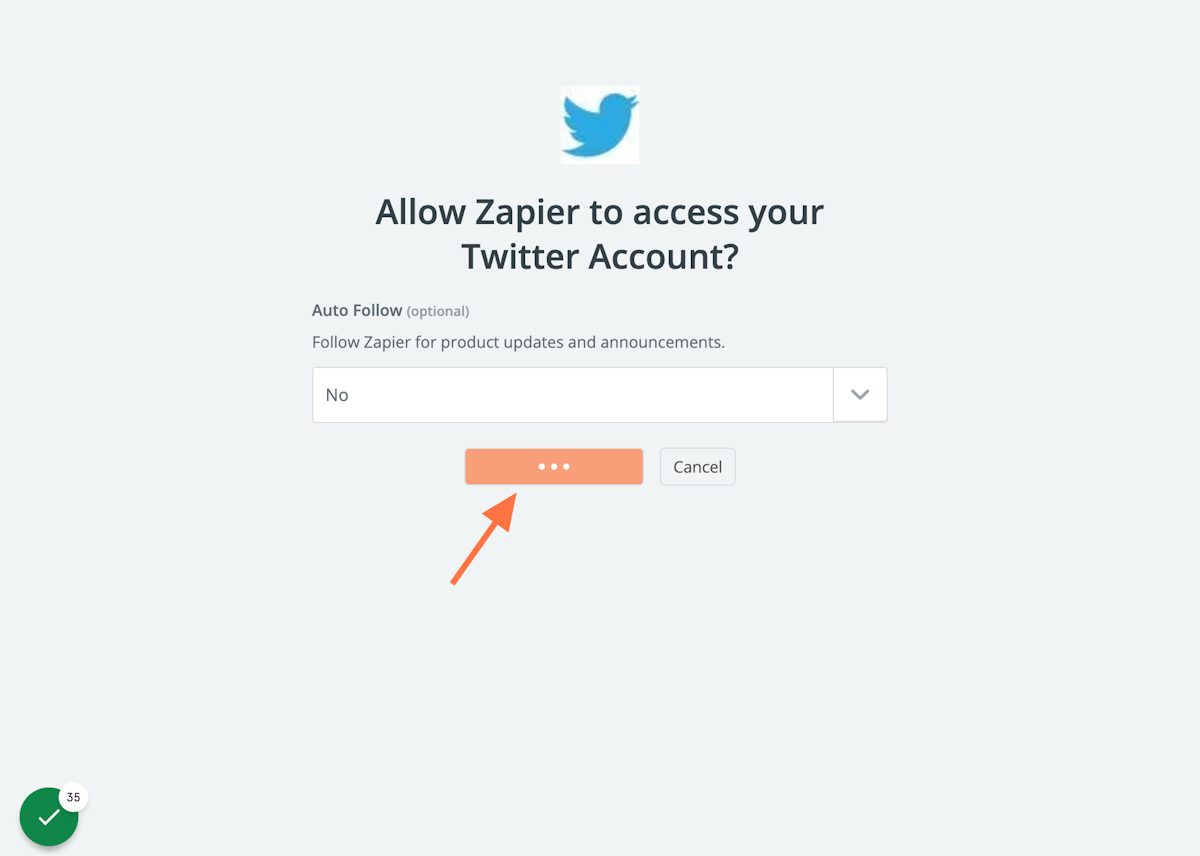
- Click on Yes, Continue
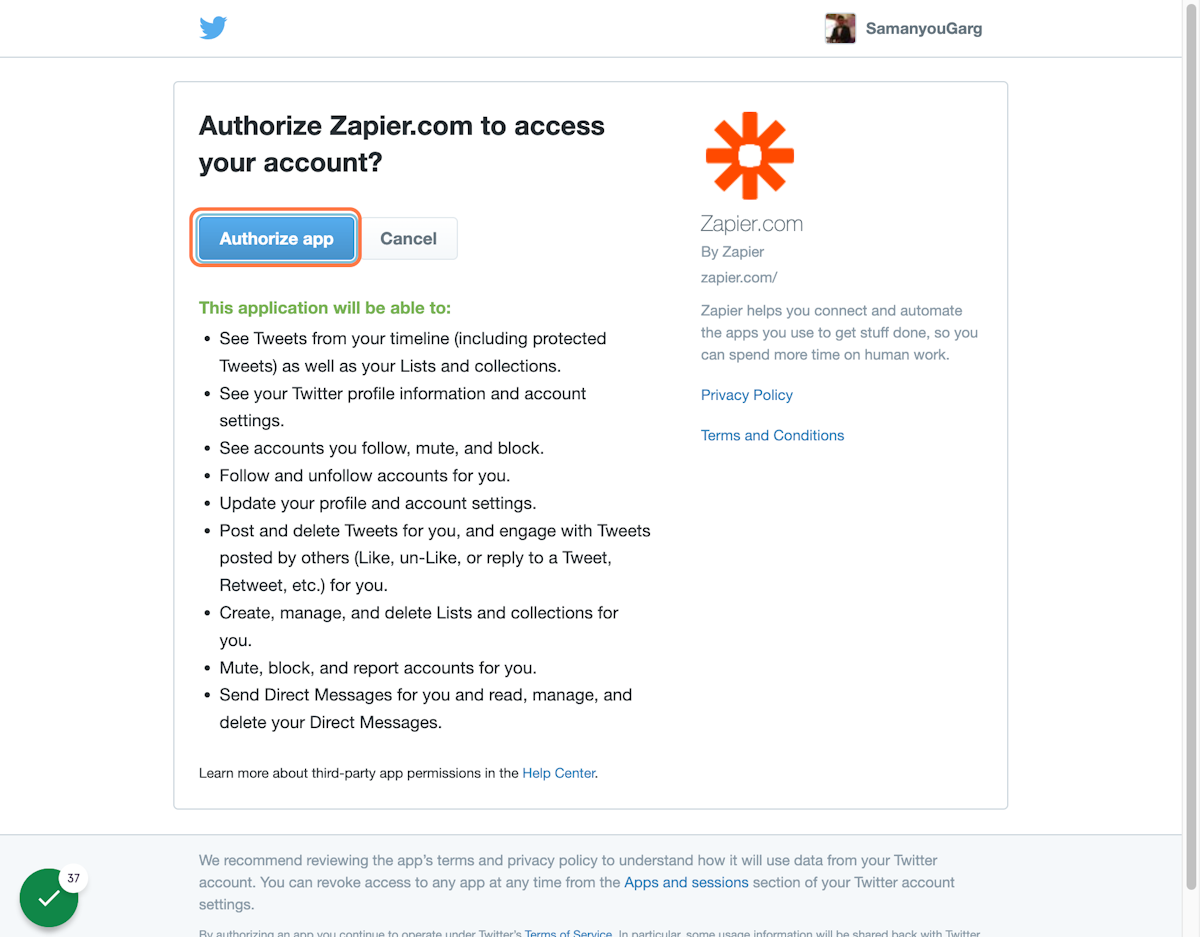
- Click on Authorize app to give access to Zapier on your Twitter account
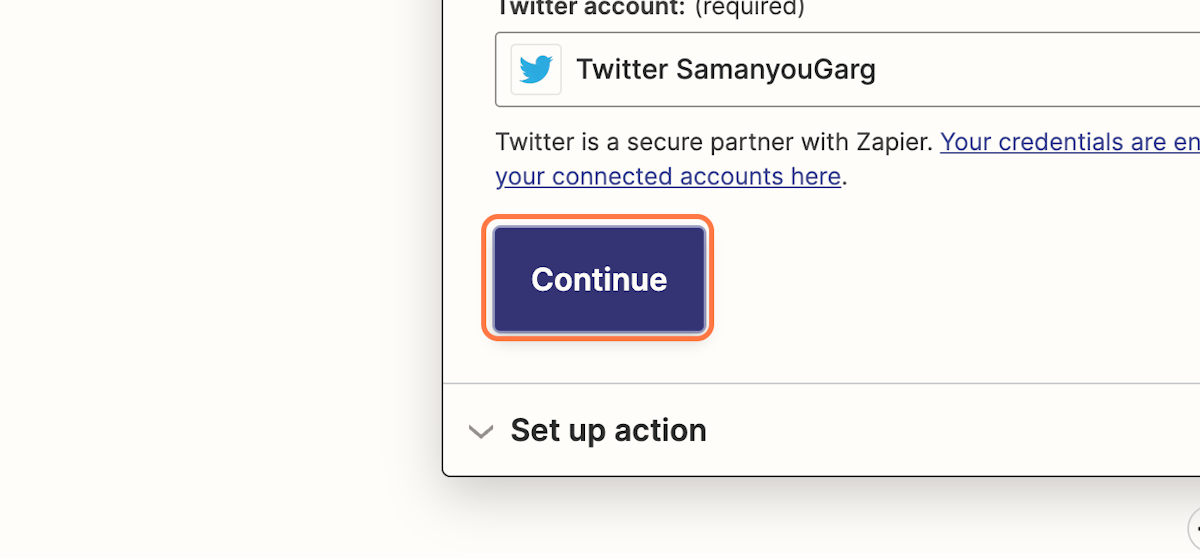
- You should now see the connected Twitter account, like "Twitter SamanyouGarg"
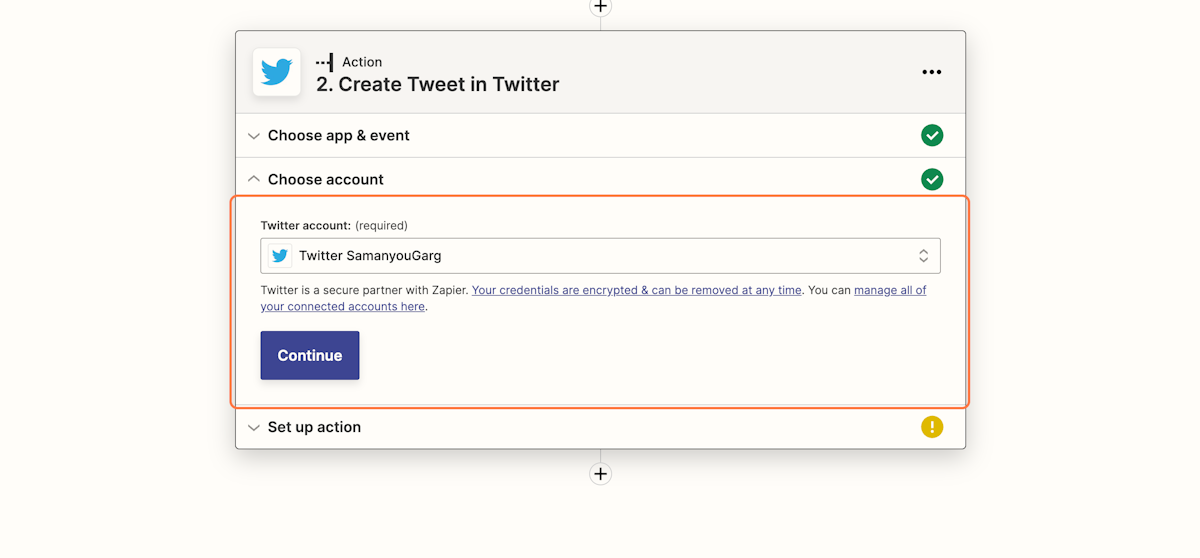
- Click on Continue
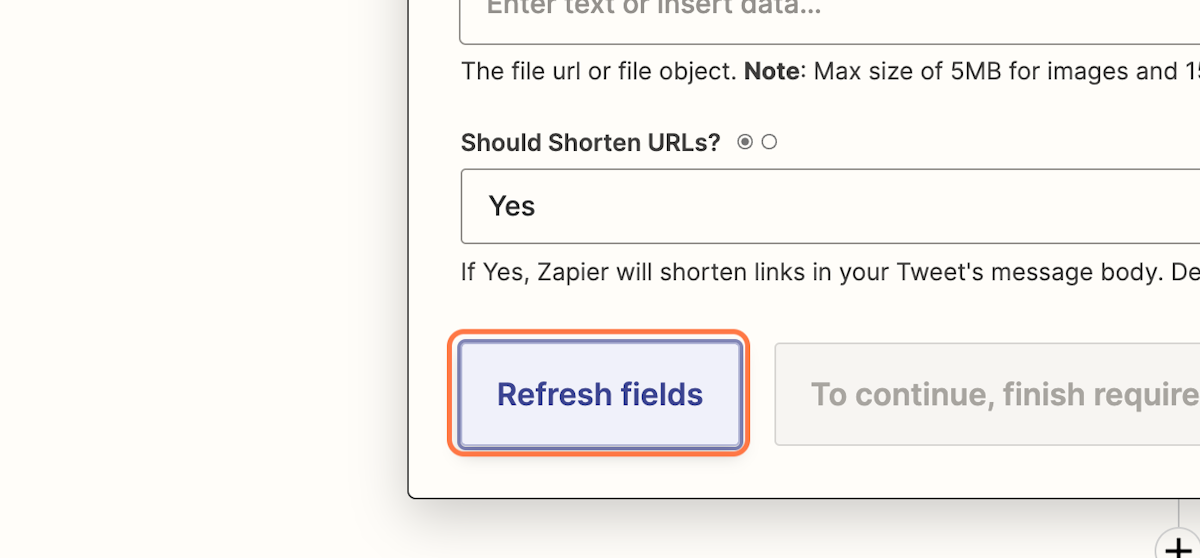
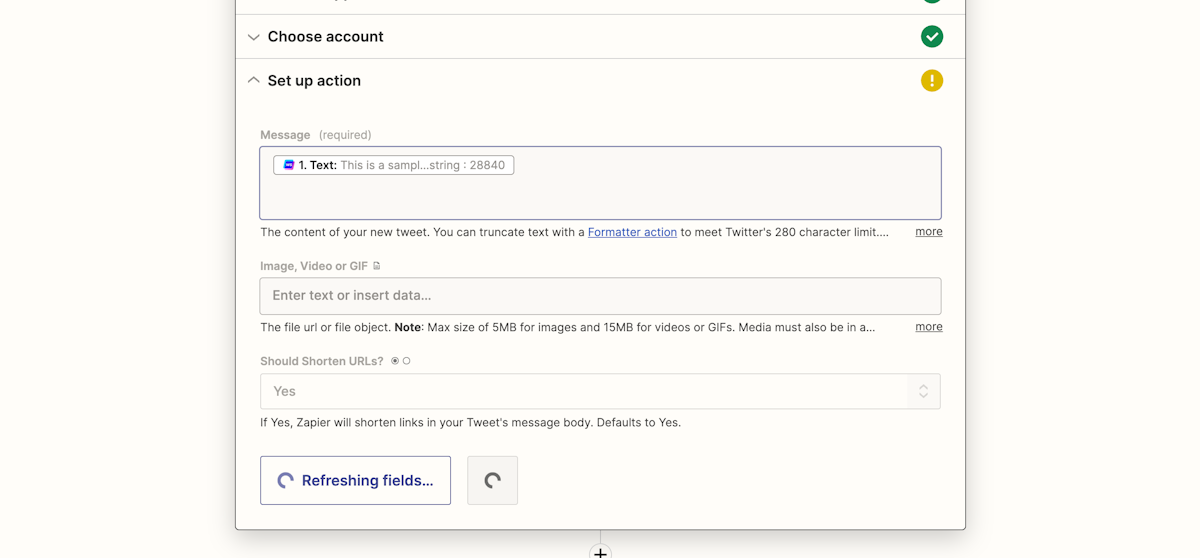
- Click on Refresh fields
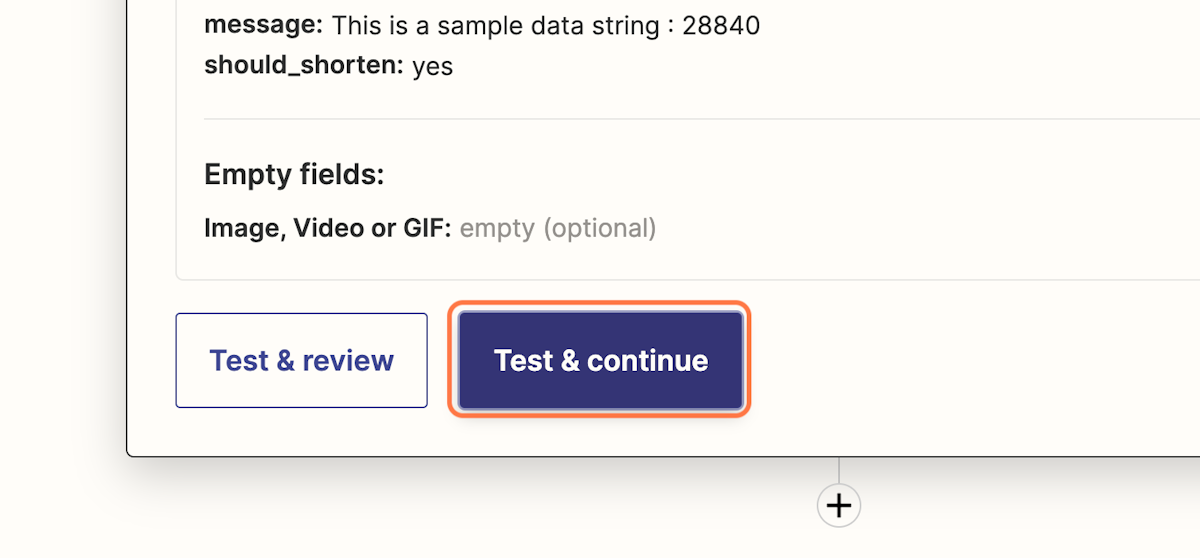
- Click on the Message form field

- Select the 1. Text: This is a sample data string option
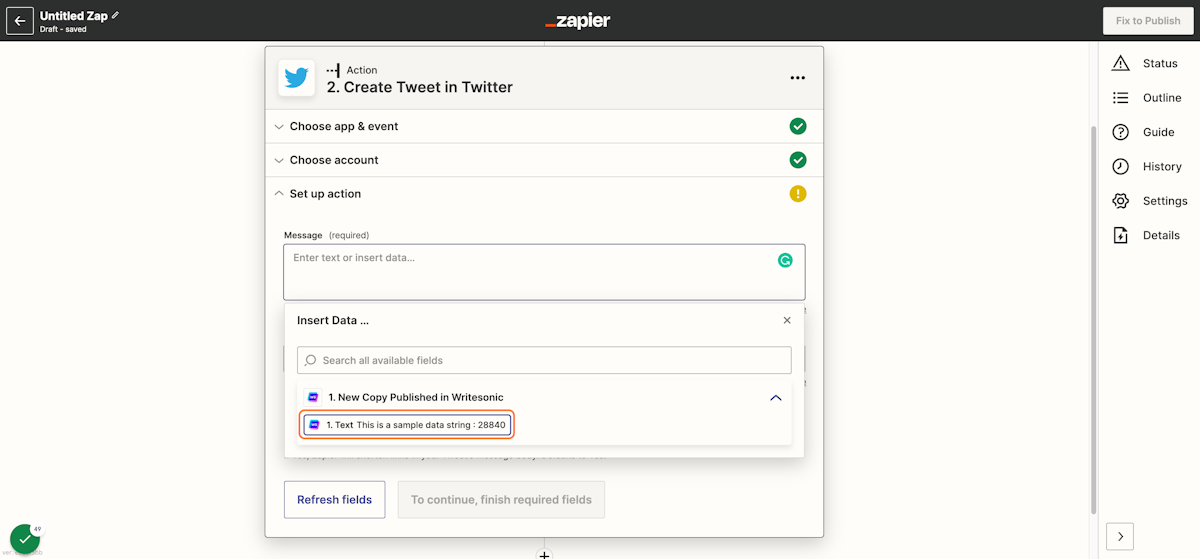
- You should see something like this in the Message box
- Click on Continue
- On the next screen, click on Test & continue
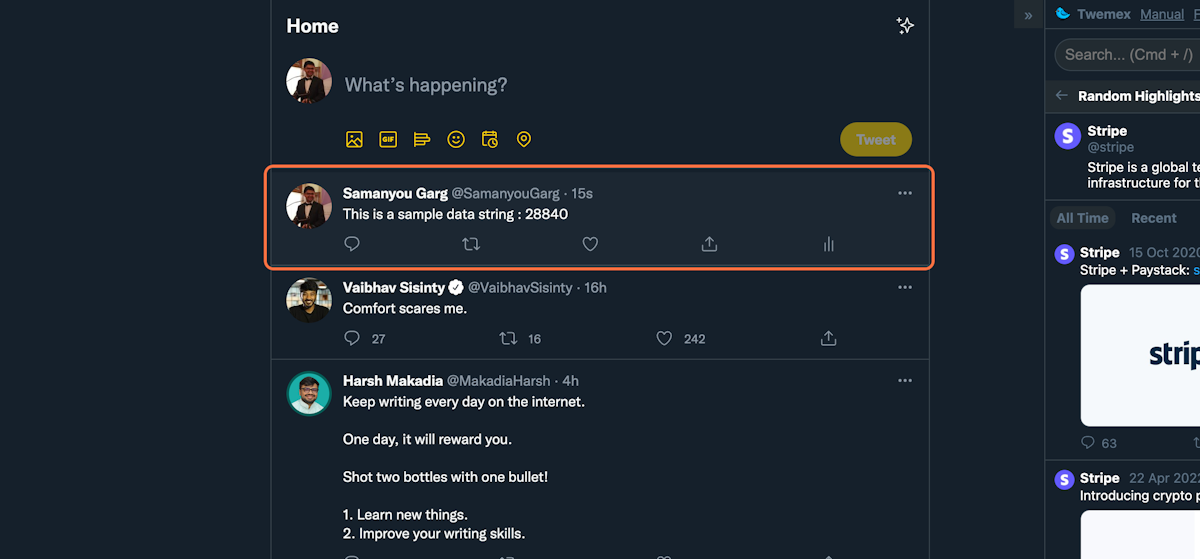
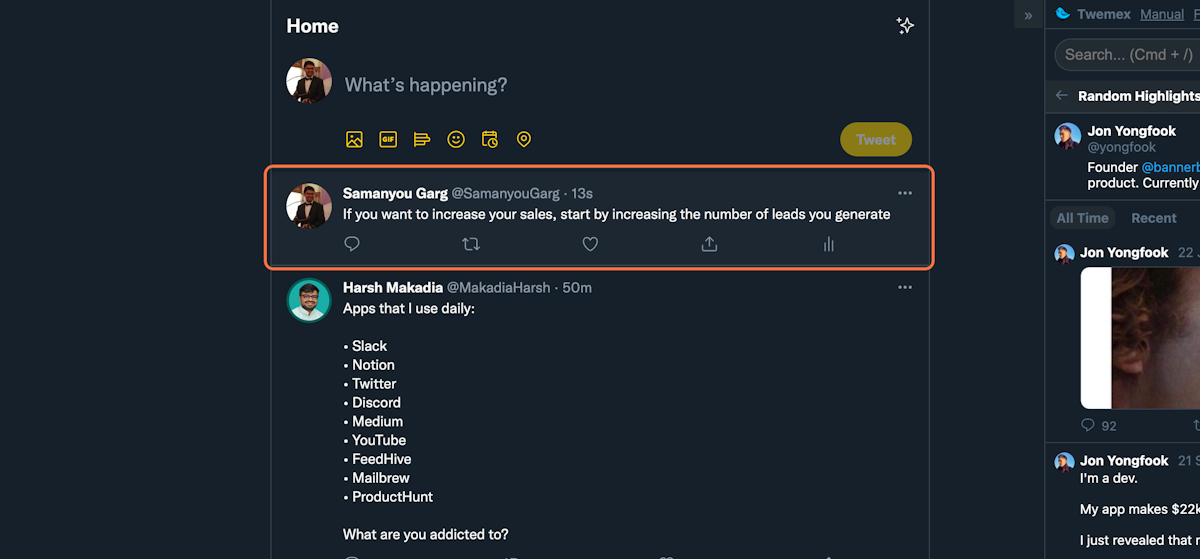
- Go to Twitter and you should be able to see your published tweet
- Now, go back to Zapier and click on Publish Zap

- Click on Publish & Turn On
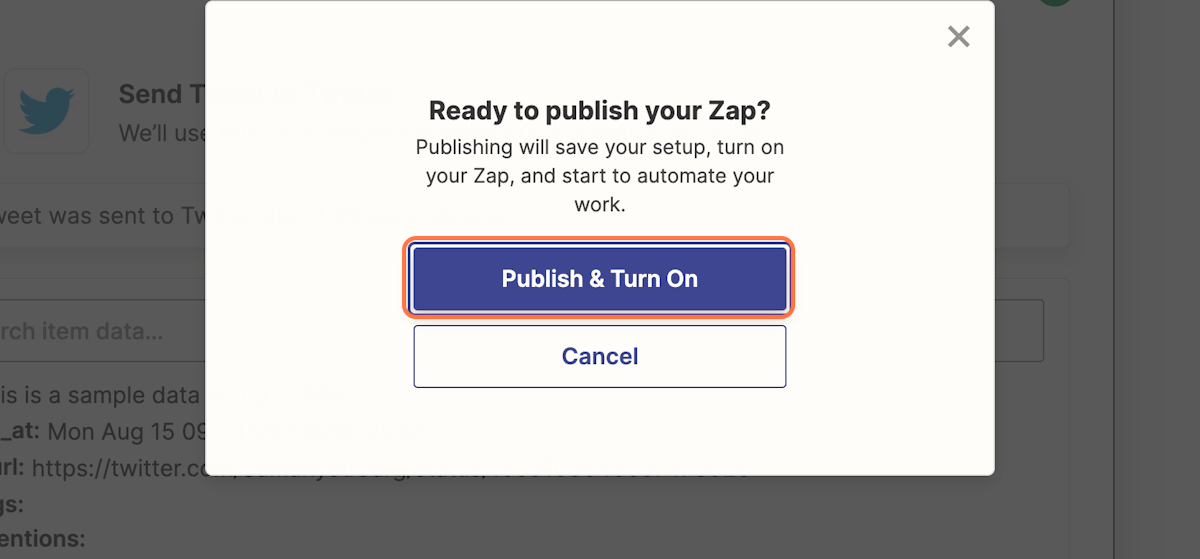
Yay! Your Writesonic to Twitter integration is now live.
Making use of a Zapier zap from within Writesonic
Now, in this section, we will see how we can use the zap we created in the previous section. For this tutorial, we will be using the Twitter zap we created in the last section but you can follow similar steps for any other zap as well.
- Go to the Writesonic dashboard
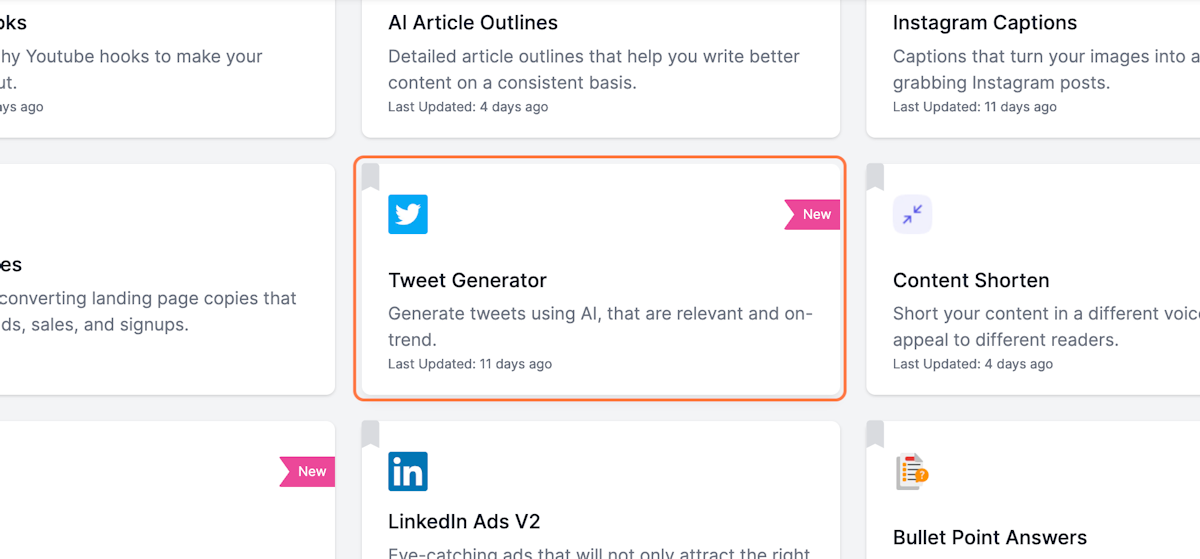
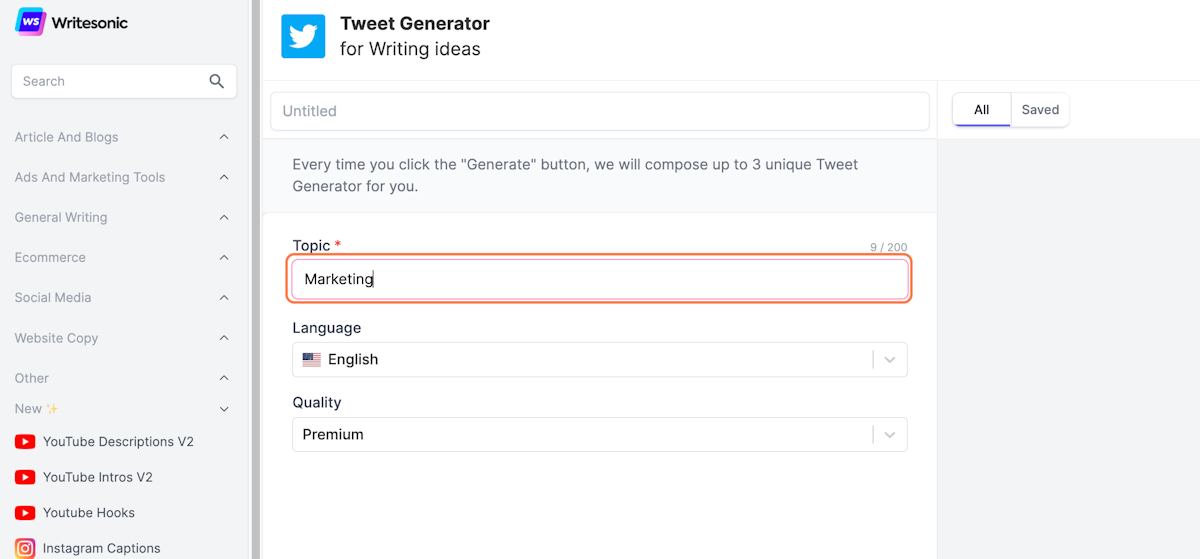
- Find and select the Tweet Generator template
- Enter in your topic
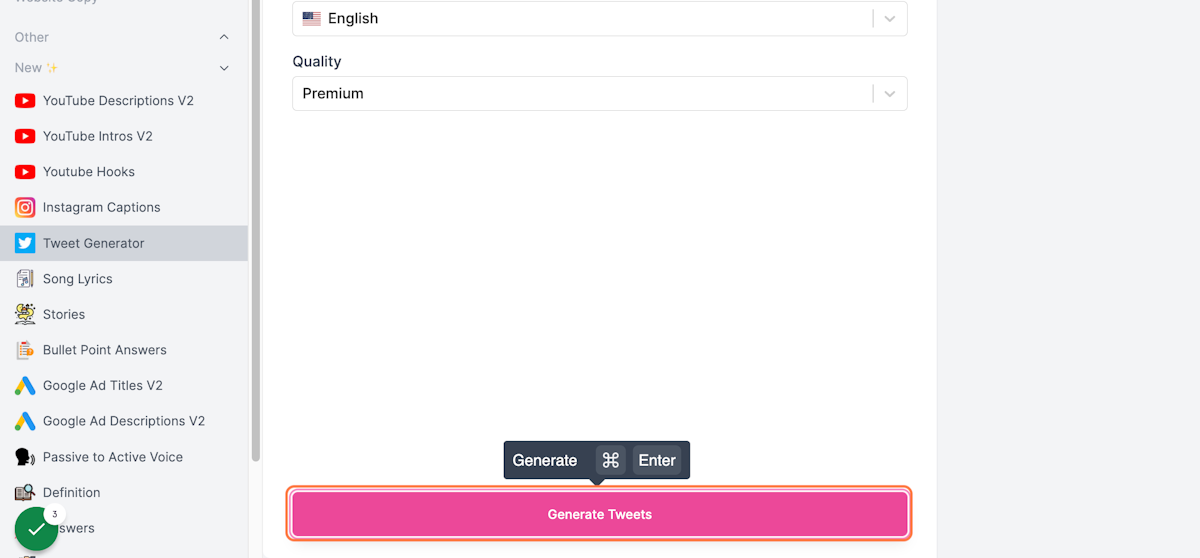
- Click on Generate Tweets
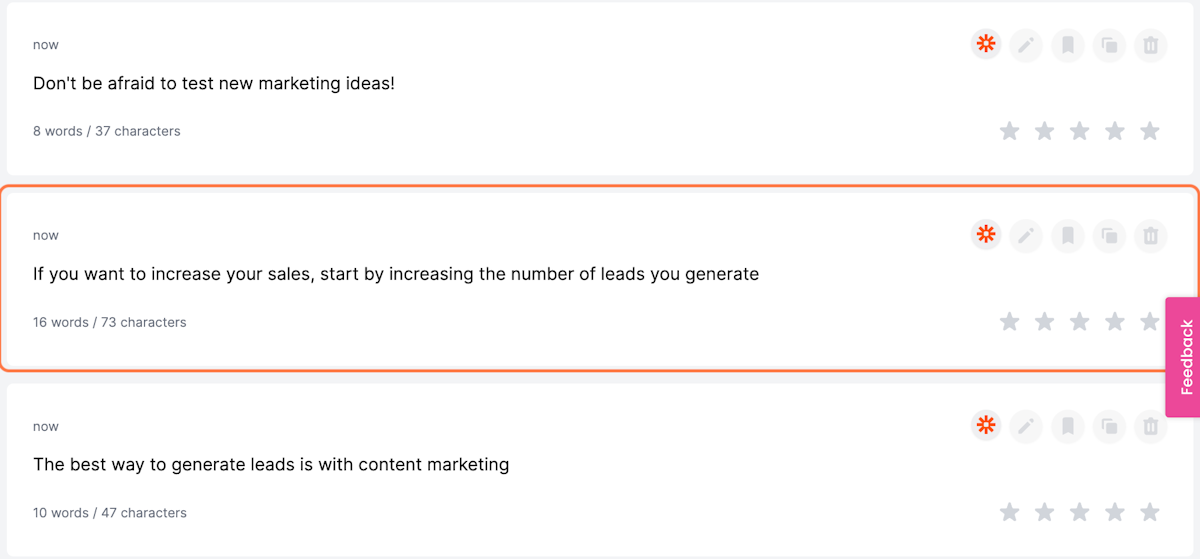
- Writesonic's AI will come up with a bunch of different tweet ideas
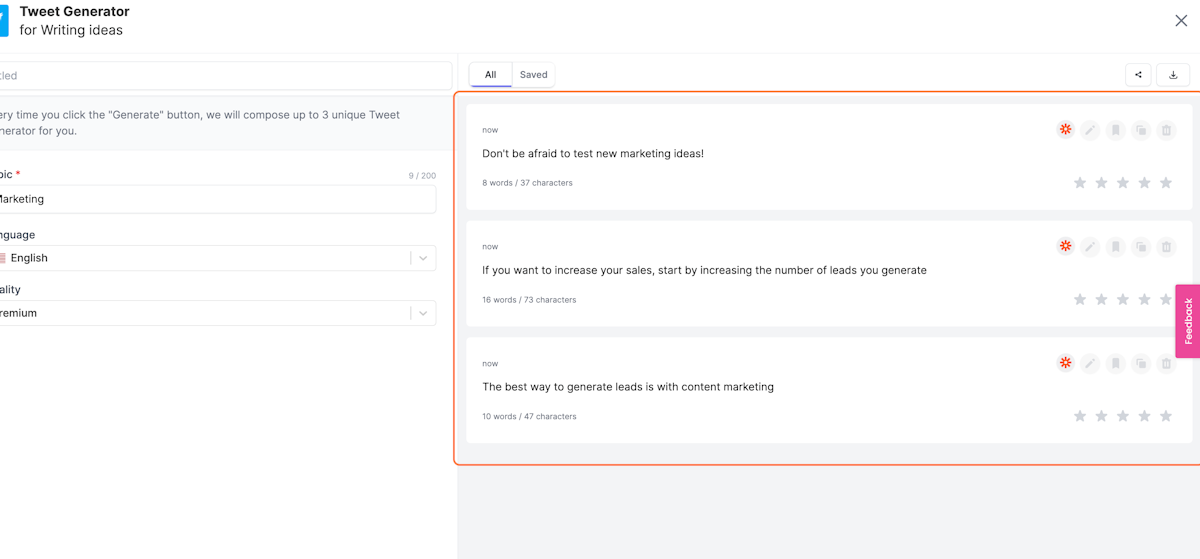
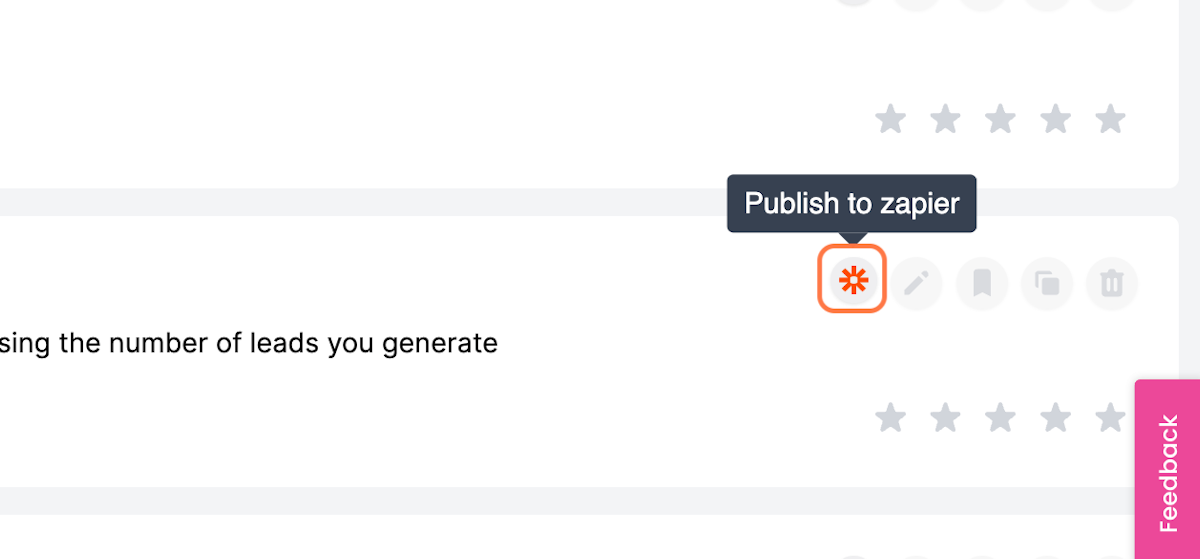
- Select the one you like, for example, I will go with the second option
- Click on Publish to Zapier
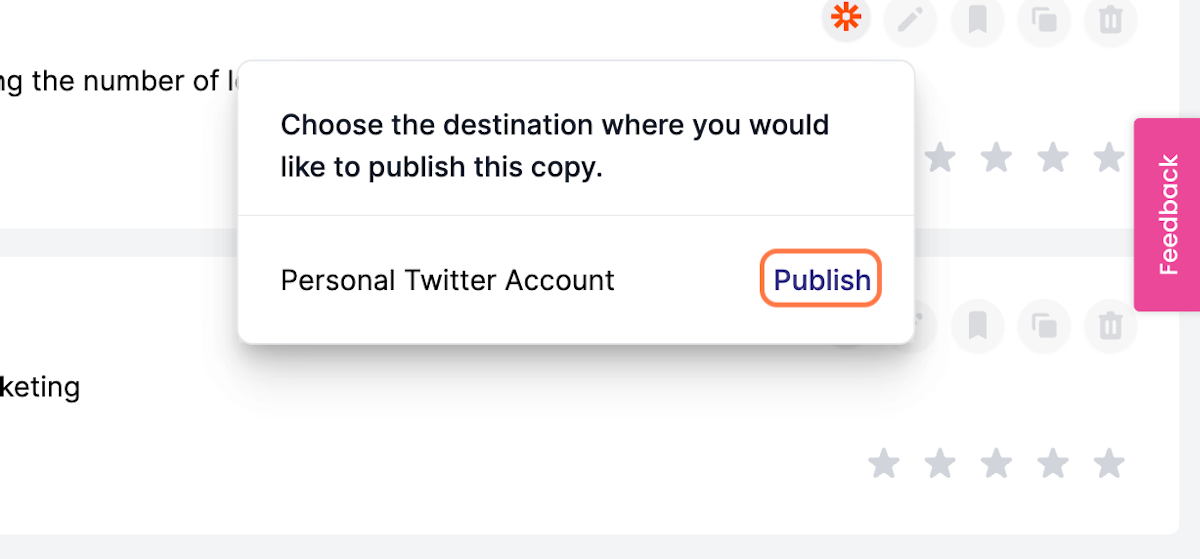
- Now, in the "Choose the destination where you would like to publish this copy." box, you should be able to see a list of all the available zaps that you have created.

- Click on the Publish button next to the zap that you want to use
- Yay! Your copy should have been published to your target application (in this case Twitter) now.
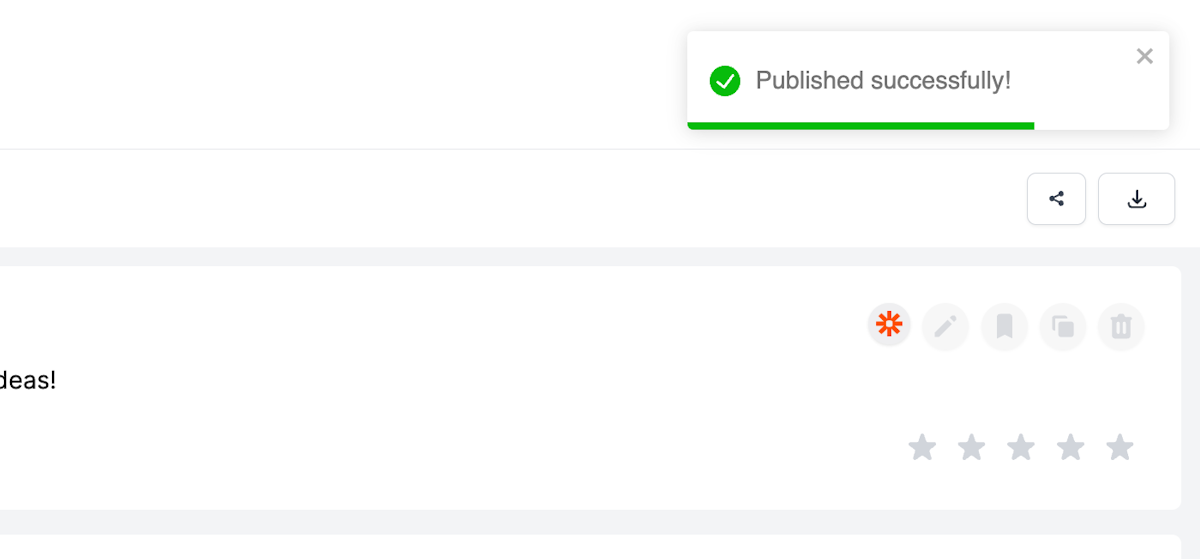
- Go to the target application (Twitter in this case) and check your published copy.
Similarly, you can use Zapier to build automation workflows that connect Writesonic with 5000+ other apps and services.
Updated over 2 years ago